Sometimes there is nothing better than cracking open a cold beer after a long day. Most experts agree that beer is more like a food than a beverage, and many people consider it a liquid bread. It is reasonable to believe that you want your draft beer to taste brewery-fresh no matter where you drink it.
Maybe you believe that quality beer ingredients are everything necessary to get a particular taste of your favorite beverage. Unfortunately, it is not enough since dirty equipment can significantly affect the beer flavor and smell. So, let’s see how to clean beer lines appropriately.

The Importance of Regular Maintenance
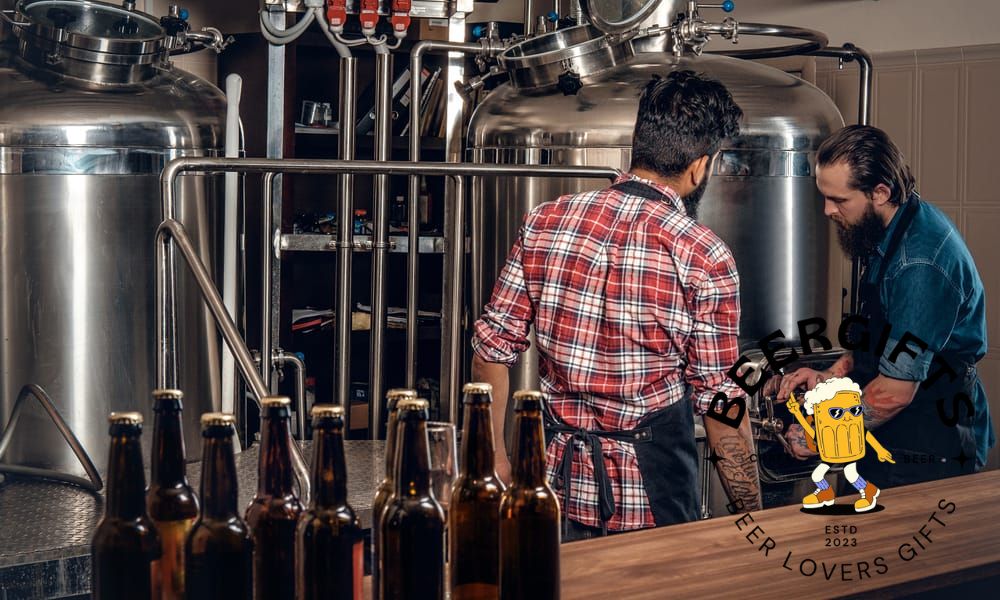
Small craft brewers always spend a lot of time and devote their resources and much effort to make the best possible brew for their consumers. They handpick ingredients, use the latest technological advances in brewing, and test batches of beer throughout the process to ensure superior quality.
Unfortunately, the whole hard work can be ruined while the beer travels from the keg to the glass if the system and lines have not been adequately cleaned and maintained. Regular cleaning of the faucet, beer line, and keg coupler is crucial to get the beer with ultimate foam.
Additionally, there is always a possibility for bacteria and mold growth, and even beer stone build-up. Since their presence will quickly degrade the final product’s quality, routine cleaning is essential to maintain its fresh taste.
The Obvious Result of Dirty Draft Lines
It is not complicated to detect if a beer line is dirty by merely looking at it. Dirt on the edges, mold on underbar couplers and inside the faucets, and old beer residues are sure signs that the equipment is not clean.
While beer flows through unclean draft lines or taps, it will become slightly sour or get vinegary flavor due to acetic acid. Sometimes you can get a beverage with buttery flavor caused by diacetyl, well-known for providing microwavable popcorn’s flavor.
These off-flavors are usually a result of beer material building up inside the plastic tubing. Another reason is beer-spoiling bacteria growing inside the line that causes aroma and flavor change. Be careful since this can happen within a matter of days.
How Often to Clean Beer Lines?
There are varying claims about the length of time the brewer can safely leave between two cleanings the line. In most cases, that period is approximately one to six weeks. You should know that yeast build-up usually occurs very quickly. Plus, water often contains high calcium levels, which can clog lines.
In other words, the longer the periods between cleaning, the greater is the risk to your product. Plus, you will need a more intensive cleaning when you wait too long.
Most experts recommend that a minimum time between two washing processes is no longer than two weeks for home brewing. The better option is to wash your system after every keg, whenever possible. It will help if you use a quality cleaner to remove all the proteins and films that quickly build up over the equipment surface.
When you produce beer for commercial use, the cleaning cycle will primarily depend on the beer line length. When you have a system not more than 25 feet (7.6 m) long, you should wash it at least once in two weeks. As for longer systems, you need to check state guidelines and brewery recommendations regarding the beer line washing process.
Preparations Before Starting the Cleaning Process
You can deliver pint after pint only when you correctly and timely clean lines and always offer the beer with a consistent and high-quality appearance, flavor, and aroma. It is the only way to get customers who will keep coming back.
It will also help if you consider a few things when planning to use a beer line cleaning kit to maintain your equipment correctly. Let’s see.
Safety first
Always use personal protective equipment while handling line-cleaning chemicals. It includes eye and face protection and gloves.
Preparation
The rule of thumb is to start with beer line cleaning when the pub or bar is closed. That will provide more excellent safety to both customers and staff. Be careful when deciding to clean the line during business hours since people can be severely injured when they accidentally drink beer line cleaner.
There is one more thing. Such an organization will reduce the pressure to get the line back in service and allow you to finish the job in your own rhythm instead of conforming to other people’s desires.
Always start by switching off the remote chiller units the night before. It is essential since you can’t use beer line cleaner at temperatures below 32 F (0 C). Any attempt to do such a thing will freeze the cleaner and cause additional delays in thawing out the lines. Additionally, the frozen cleaner can cause flavor taints to the beer lines that are difficult to remove later.
In the end, don’t forget to use warning signs on the beer engines and fonts to show your staff that the line cleaning process is in progress. That is also another safety step as it lets others in the area know that the beer line contains cleaning fluid. You can print signs on a printer or buy them in the local store.
Cleaning Lines and General Maintenance
1. Standards for line cleanliness
Primary standards for line cleanliness include:
- Cleaner – As I have already mentioned, you need to clean your lines every two weeks. The best option is to find a cleaner that can remove protein and films that build up quickly. Always choose the product particularly designed for beer line cleaning and precisely follow the manual to avoid any inconvenience while handling chemicals.
- Time – It will be enough for the cleaning chemical to recirculate through the product line for about 15 minutes at a velocity of about 2 gallons (7.6 l) per minute. Never soak the line when the recirculation in your system is not an option.
- Acid cleaning – This cleaning type performance is required quarterly. It includes removing mineral deposits like beer stones.
- Rinsing – Make sure to rinse lines with enough water after each cleaning. Any residue can change the beer taste and potentially harm your customers’ health.
2. Necessary replacements
High-quality couplers and faucets made of 100% stainless steel can last for years when you well-maintain them properly. However, you need to inspect them regularly to be sure that everything is in the right condition.
- Faucets – You need to disassemble and clean all faucets every two weeks. That is the moment to replace damaged gaskets and seals if necessary.
- Vinyl jumpers – You need to replace vinyl jumpers and direct draw lines at least once a year.
- Couplers – Replace these pieces based on their condition. Inspect O-rings and coupler bottom seal thoroughly and check if they are appropriately lubricated.
- Draught lines – Remember that it is crucial to replace the whole draught line after brewing some particular beers, such as:
- Root beer
- Pepper-flavored beer
- Fruit-flavored beer
- Sour beer
That is the only way to avoid a permanent undesired influence on the traditional beer flavor.
Necessary Cleaners and Tools
1. Cleaner
You can use two cleaner types, depending on the maintenance you need:
- Caustic cleaner with the high pH
- Acidic cleaner with the low pH
Both options are acceptable since these cleaners kill bacteria and mold and dissolve carbohydrate and protein residues built up in the lines over time.
2. Beer line cleaning kits
The best kits available on the market are:
- Hand pump kit
- Cleaning bottles, available in 1.3 gallons (5 l), 3.9 gallons (15 l), 7.9 gallons (30 l), and 13.2 gallons (50 l)
- Pressurized bottle assemblies
- 4-Head cleaning cans
- Two-stage kits
- Electric pump cleaner
- CIP (clean in place) system
3. Accessories
You will also need some convenient accessories to make the cleaning process much more comfortable:
- Cleaning brushes
- Probe lubricant
- Cleaning cups
Cleaning Beer Line Process
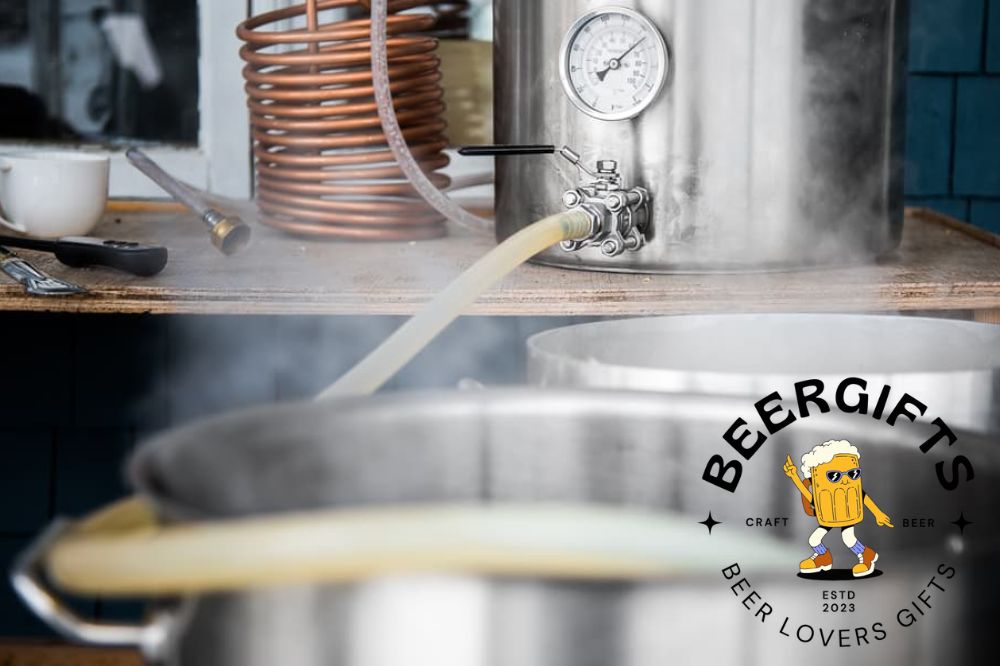
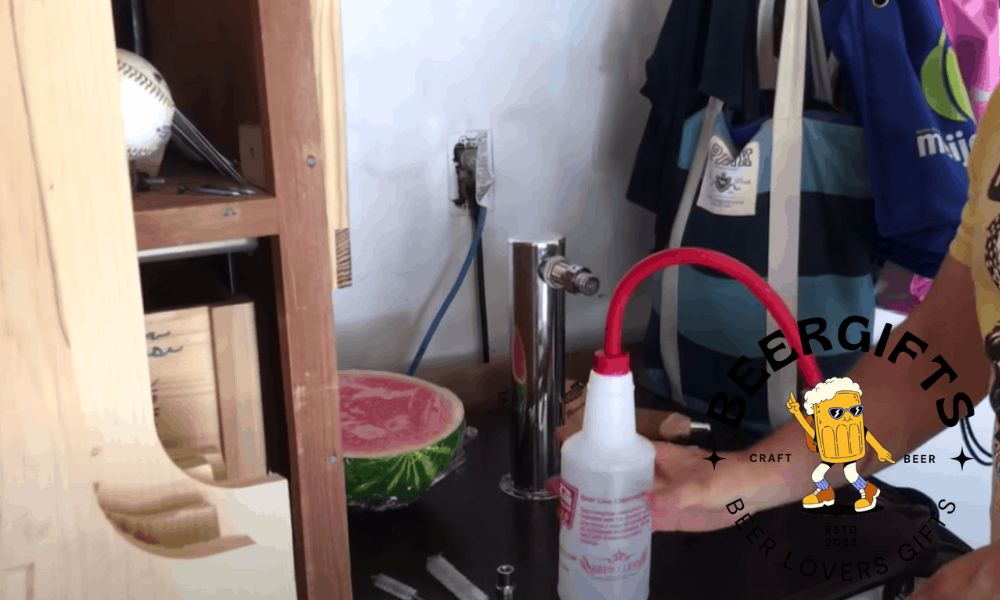
The cleaning beer line procedure is not too complicated. First, you should turn off the CO2 tank and disconnect the faucet and the coupler from the keg. Pour out the beer from the line into the prepared bucket. Then, add the cleaner into the cleaning keg and pump it through the system until entirely emptying the jar.
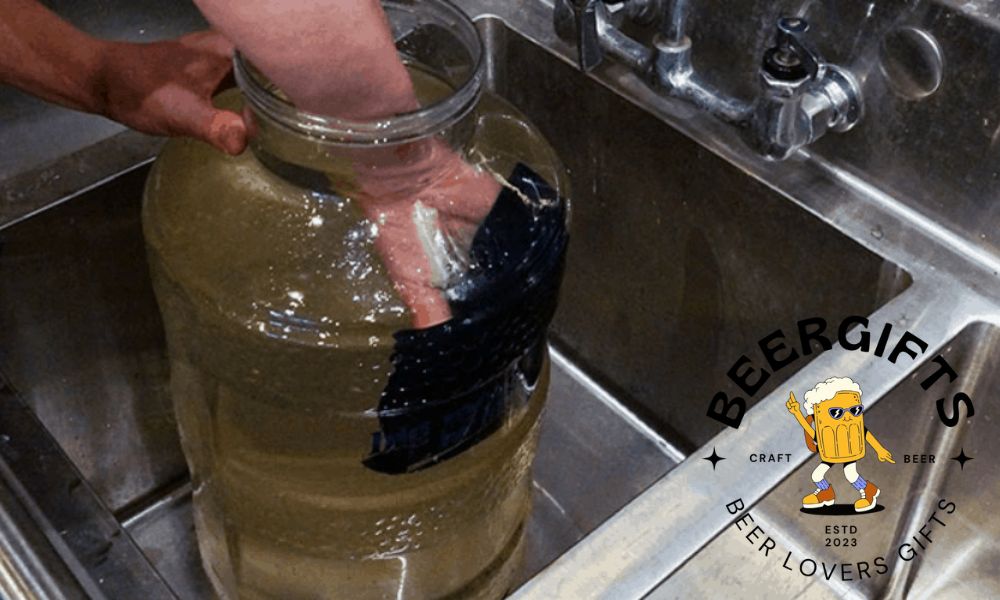
Then, remove the cleaning jar and rinse out the remaining solution. Keep in mind that manual pumping the cleaning solution through the system can be impractical and tiring. Therefore, you can use a pressurized cleaning keg and flush the system with your own CO2 in the end.
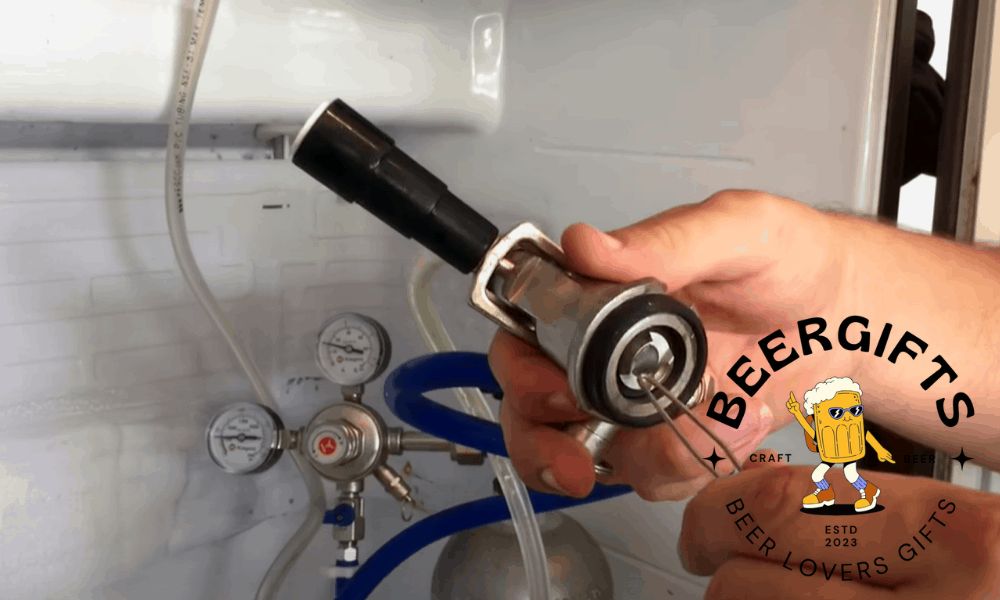
Finally, rinse the remaining cleaner with cold water, reconnect the coupler and faucet, and turn the CO2 back on. That’s it!
Summary
System maintenance is vital if you want to produce quality beer with uniform properties. The procedure is not too complicated but requires proper preparation, adequate protection, and particular tools.
Don’t miss to follow the prescribed deadlines for the line cleaning to prevent additional problems with equipment. Once your beer lines are clean, you can continue with brewing.

I agree with what you said that it’s important to have your beer line regularly cleaned to ensure you’d only produce quality beer with uniform properties. Ginny, my friend, plans on opening her own bar soon. I’ll share this advice of yours with her and suggest she hires a keg cleaning service every three months. Thanks.