Hops are a vital component of beer. If you love home brewing and want to take it to the next level, why not grow your own?
But knowing where to start can be tricky. What soil conditions do you need? What temperatures? When should you sow, and when should you harvest?
We’re going to answer all these questions and more. When we’ve finished, you’ll have everything you need to know to grow hops – and get great results. So step this way to start your hop-growing journey …
What are hops?
Hops are a fundamental building block of beer. They give it flavor, keep it fresher for longer, and help it keep its foamy head.
They’re actually not a whole plant, but rather the flowers of a plant. The species is Humulus lupulus¸but there are lots of varieties with their own distinctive characteristics. Some are used to give a stronger “hoppy” flavor. Others provide a bitterness to balance out the sweetness of the malt.
With the long history of beer, it’s perhaps not surprising that different varieties of hops have also evolved over time.
Many of the original cultivars are still used today. Over time, some were interbred with hardier plants to create a second generation of hops. These varieties produce a bigger harvest and cope better with sub-optimal conditions.
As time moved on, hop growers experimented further. The result was a third-generation – hybrids with very large yields and strong flavors.
So which hops should you grow for your homebrew?
Choosing a variety of hop
A good place to start in choosing a hop variety to grow yourself is considering the climate where you live. Hops are fairly robust – and careful interbreeding has produced varieties that will do well in colder temperatures.
The names often give cold-hardy plants away. If you live in a chillier spot, a hop like Canadian Redvine or Glacier will be a good choice. But if you’re somewhere that gets a lot of sunshine, they won’t thrive.
It’s also important to think about what role you want your hops to play. Do you want a hop that will merge into the background and balance out the sweetness of the malt? Or are you looking for something with a stronger flavor?
Magnum, Newport and Galena are good varieties for bittering, while Spalter, Golding or Fuggle will give distinctive flavors and aromaa. And if you’re looking for a hop able to provide a wider range of styles, try Cascade, Centennial or Willamette.
Note that there are some hop varieties – Sunbeam, for example – that are grown purely because they’re pretty. If you spot these in your garden center, don’t confuse them with hops for brewing. If the tag says “ornamental”, they won’t work for your beer.
Can I grow hops where I live?
As we’ve seen, different varieties of hop can cope with different temperatures. Nevertheless, they won’t thrive in extreme climates.
Hops grow best with plenty of sunshine in the summer, and need at least 120 days of warmth. But they also need a cold snap in the winter.
As long as you live somewhere between the 35th and 55th degree latitude, you should be able to grow hops successfully. You’ll probably get the best results between the 44th and 51st degrees.
In the USA, the vast majority of hops are grown in the states of Washington, Idaho and Oregon. New York and Michigan also have long hop-growing histories.
But if you’re somewhere hotter, like Florida or Texas, don’t be put off. With care and the right choice of cultivar, you can get a successful crop.
You can also get some great flavors. Florida-grown Cascade, for example, has a sweeter, fruitier flavor than the same variety grown further north. That gives brewers a great tool for creating new and exciting flavor profiles.
And in warmer areas, you may be able to get more harvests in a single year too.
Finding the right spot in your garden
Knowing you can grow hops in your area isn’t quite the same as knowing exactly where to plant them! So what makes the ideal location for your crop?
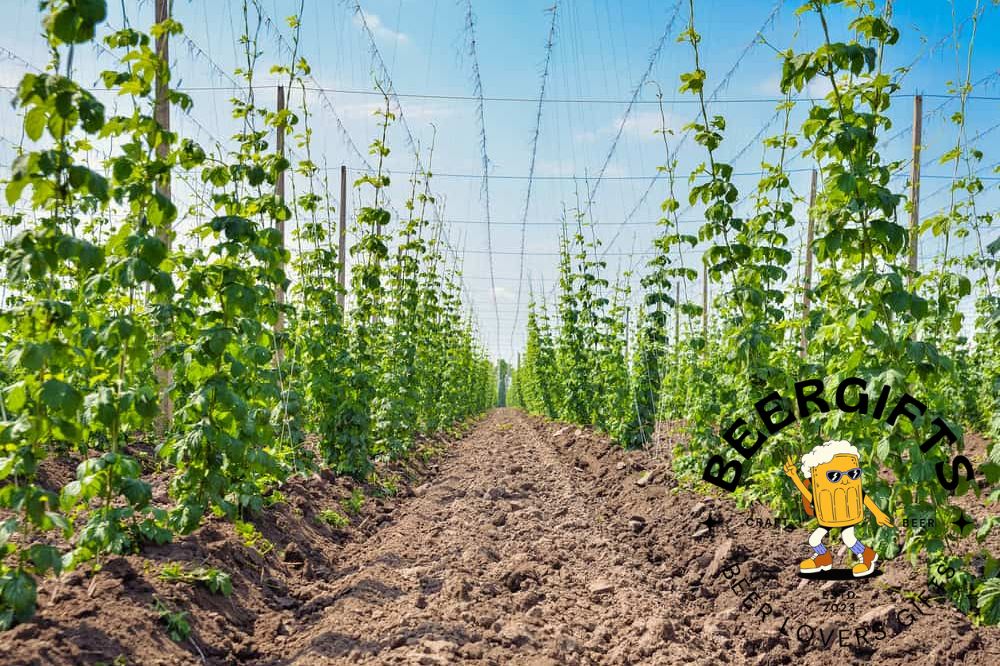
Perhaps the most important aspect is that the plants need to be somewhere they’ll get plenty of sun. You’re looking for a spot that gets between six and eight hours of sunshine each summer’s day. Avoid planting them beneath trees or in the shade of fences of buildings.
You’ll also need enough space for the hops to grow. They’re perennials, meaning they’ll live for several years. They can get very tall over that time – as high as 25 feet. Make sure they have room to reach their potential! This is another good reason to avoid beds with overhanging trees or shrubs.
Preparing the soil
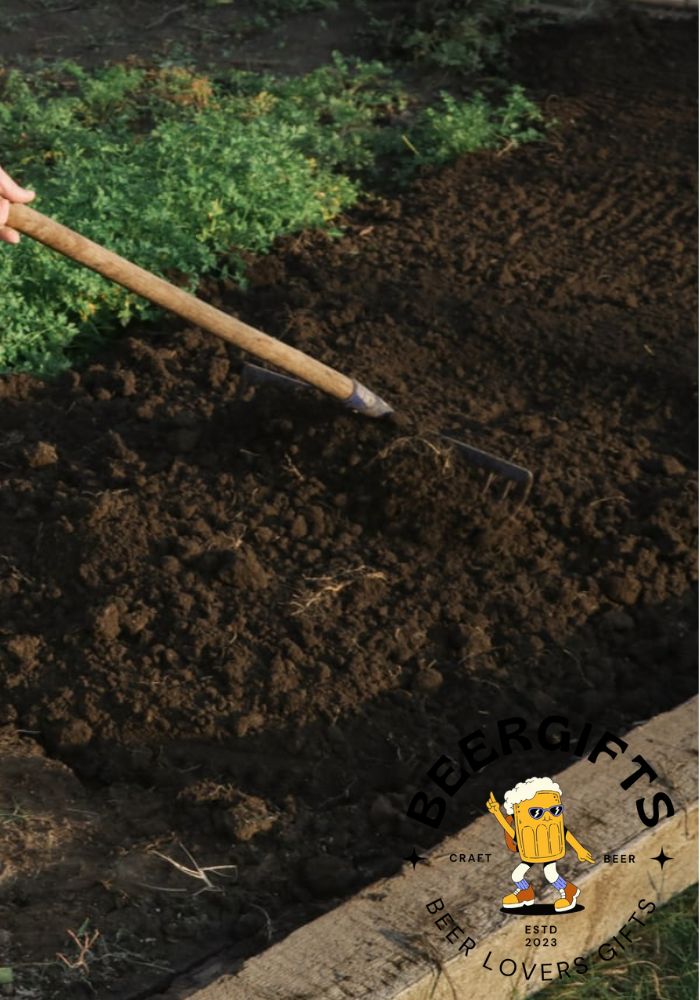
Hops are grown from rhizomes – a part of the plant that will put down roots – rather than from seed. Make sure they get off to the best possible start by preparing the soil well.
Hops need well-aerated soil with good drainage, and that’s rich in nitrogen, potassium and phosphates. Adding compost or well-rotted manure will increase the nutrient count. And some sharp sand will help the water drain away, preventing the roots from rotting.
You also want neutral or slightly alkaline soil, one with a pH of between 6.5 and 8. Use a soil testing kit if you’re not sure of your soil pH. Don’t worry if the result isn’t in the right range. You can change that, although larger adjustments are best made over two growing seasons.
If your pH reading is below 6.5, your soil is too acidic. Deal with that by adding roughly 7 pounds of crushed limestone for every 100 square feet of surface area. Alternatively, use wood ash from your fire pit. You’ll need less of this – about a pound for every 100 square feet.
If your pH is higher than 8, peat moss, oak leaves, sawdust or powdered sulfur will reduce it. Again, you want to use about a pound for every 100 square feet of surface area.
It will take a few months for the soil pH to change, so you’ll need to be patient. It’s best to dig in your limestone or ash in the fall, so you can plant your hops the following spring.
Planting
When your soil is ready, your rhizomes need to be planted at a depth of about 4 inches. Each plant will need plenty of space around it to grow. Leave at least 4 feet 11 inches before planting the next one. If you’re planting in rows, leave the same distance between each row.
Once the rhizomes are in the ground, cover them with a nitrogen mulch or high-nutrient soil or compost. Firm it in with your feet to get rid of pockets of air.
The best time of year to plant is the spring. You want to be far enough into the year to avoid frosts, and for the soil to be nice and warm.
Support the plants

When the plants begin to grow, they’ll need some support for the shoots – called bines. There are lots of different options for this. Some people use trellis or bamboo poles. Perhaps most common is to use a rough-textured string.
Once the shoots have grown to between 6 and 12 inches long, it’s time to thin them out. Trim back all but four to six shoots and wind those that are left around your supports. Make sure you wind them clockwise. If they go in the other direction, the hops will fall off.
To help protect your plants from pests, remove the bottom leaves. This is best done when the plants are between 2 and 3 months old. It will help avoid the leaves from providing a handy platform for creepy crawlies!
When are the hops ready?
Your plants are growing well, and you’ve supported those trailing bines. But how do you know when it’s time to harvest the hops?
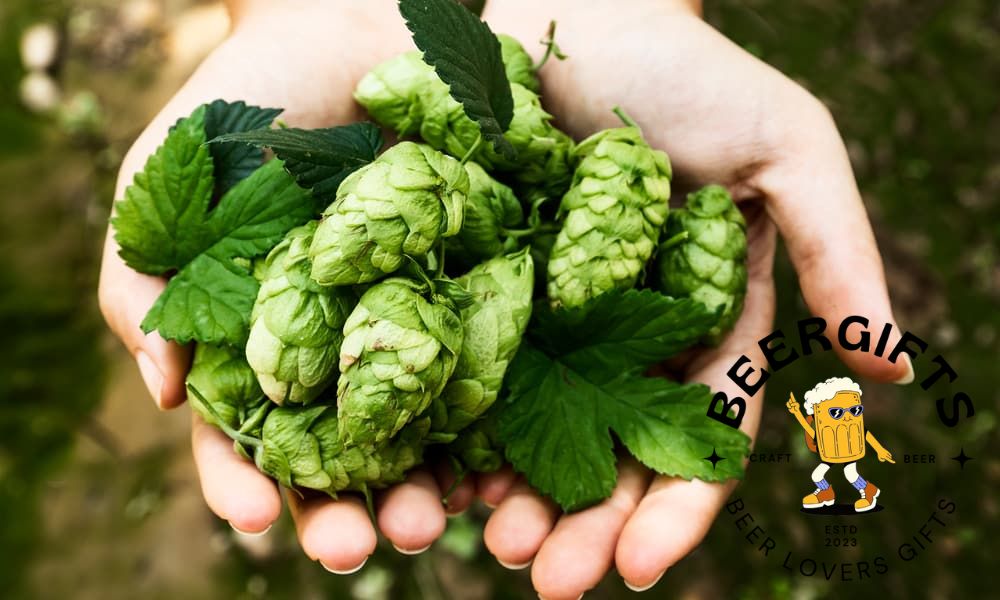
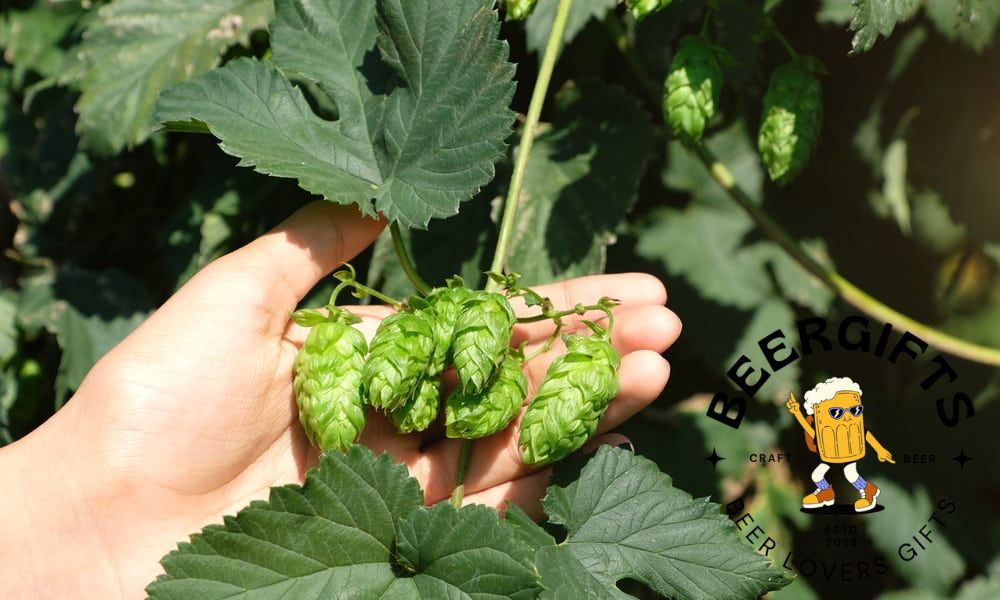
The cones will feel dry, with a papery texture. They’ll leave behind a yellow powder on your fingers when you touch them. And they have a strong aroma too.
You need to pick them before they turn brown. If you’re not sure whether they’re ready, you can check by breaking one open. If it’s ready to be harvested, it will be packed full of yellow powder.
It’s a good idea to check each hop, as they may be at different stages of maturity. If all the hops on a bine are full of that yellow powder, you can cut off the whole thing. Place it on the ground and it will be easier to pick the hops.
Preparing your hops for brewing
After harvesting, give your hops time to dry out before you use them to brew. Store them in a dry place away from direct sunlight.
If you can, leave them for up to two weeks before using, to make sure all the moisture has evaporated. If you’re in a hurry, you could use a small fan to speed up the process.
Ready to grow your own hops?
We hope you’ve enjoyed our guide to how to grow hops! Choose the right variety for your conditions, prepare the soil carefully, and give your plants a supporting structure to climb up. The result will be healthy plants that increase their yield for at least the first three years.
You’ll also be able to create a truly personalized recipe for your beer. Enjoy the fruits of your labor – and happy brewing!