If you are new to the world of home beer making, brewing up some hard cider is a good place to start practicing and improving your skills. Once you gather the easy-to-access equipment and supplies, you should be able to prepare alcoholic cider right in your kitchen.
There are many different recipes out there. But, in this article, we’ll start by showing you a basic recipe on how to make hard cider, and later you can experiment with adding your favorite spices and flavors.
So, without further ado, let’s get started with our home-made hard cider recipe.

Tools For Making Hard Cider
As mentioned, you will need basic equipment and ingredients that you probably already have in your house.
Here’s what you need:
- 5- gallon brewing pot
- 5-gallon fermenter bucket with lid
- Large plastic or stainless steel spoon
- 5-gallon carboy with airlock and stopper
- Bottling bucket
- Food-grade tubing
Here is a list of the ingredients you will need to brew your own hard cider.
- 5 gallons 100% pure apple juice with no added sugar or preservatives.
- 3 lb of brown sugar or honey.
- 1 lb of corn sugar
- 1 lb of Dry Malt Extract
- Cider Yeast
Now that you have your equipment and ingredients ready, it is time for the fun part: brewing!
Step-by-Step Guide to Make Hard Cider
Step 1: Clean and Sanitize Your Equipment
Before using the equipment, make sure everything is clean and thoroughly sanitized. When you use tools that are not sanitized, you risk introducing bacteria, which can interfere with the fermentation process, flavor, and safety of your brew.
You should take this step seriously. It is not enough to give your brewing equipment a quick rinse and then off you go to brew your cider. We recommend watching this video for tips on the correct way to sanitize your equipment.
Step 2: Set Up All Your Ingredients within Easy Reach

Prepare the ingredients you need ahead of time and set up everything else on the kitchen counter or the workspace from where you will be brewing. In particular, bring out the apple juice, brown sugar and corn sugar, yeast, and malt extract.
You should also be ready with a clean saucepan, carboy, spoon, and primary fermentation bucket. Having everything within easy reach will help you move along faster and efficiently.
Step 3: Prepare the Yeast

There are many different types of yeast options for this recipe. But, we decided to go with the Wyeast cider yeast, which is formulated specifically for brewing hard cider.
We like the Wyeast strain because it is big on the fruity aromas and we believe a fruity finish is one quality of a well-made cider.
If you are unsure about the kind of yeast to use, ask the staff at your local home brewing supplies store for recommendations.
When preparing the yeast, make sure you follow the instructions to a tee. For our particular strain, we re-hydrated the yeast by adding it to a cup of water in the temperature range of between 800F and 900F degrees.
Let the yeast sit in the cup for about 20 minutes before it can be ready to use.
Step 4: Boil the Apple Juice
The apple juice is basically the core content of your hard cider drink. The best option is to make your own apple juice or buy it fresh from your local orchard if possible. The goal here is to use apple juice that does not contain any preservatives.
If making your own juice or buying from a local mill is not possible, you can use store-bought apple juice. But, be sure that the juice does not contain potassium sorbate or sodium benzoate, which are common preservatives that will easily kill your yeast and prevent the cider from fermenting.
Pour a quarter gallon of the apple juice into a saucepan and simmer over medium heat for about 30 minutes, maintaining the temperature at about 1850F.
Once the cider comes to a boil, switch off the stovetop. Boiling the cider helps with killing off any microbes and wild yeast that can potentially cause off-flavors in the final hard cider drink.
Step 5: Add the Sweeteners
In this next step, you want to make a sweet slurry, which the yeast will ferment to produce alcohol and carbon dioxide.
Add the corn sugar and brown sugar or honey to the hot apple juice. We prefer brown sugar because it gives the brew a nice, brown color and caramel flavor. Alternatively, you can use honey and the results will be the same.
Stir the hot cider juice as you add the sweeteners. Next, add the dry malt extract into the sweet cider mixture and keep stirring until the malt completely dissolves.
Malt extract can clump up really fast when mixed with a hot liquid so be sure to add it slowly into the hot cider. If you notice lumps, keep stirring until the clumps disappear.
Step 6: Allow the Wort to Cool
After mixing the sugars and malt extract, the resulting liquid is called wort, in brewing parlance. The yeast will ferment this and convert it into alcohol.
You must let the wort cool first before adding the yeast for fermentation. Pitching hot wort will kill the yeast, which will prevent proper fermentation and you will end up with a so-so cider drink.
Ideally, you should allow the wort to cool to about 800F, which is about the temperature range at which fermentation happens.
You can place the saucepan with the slurry in the fridge for a few minutes or you can cool it with an ice bath.
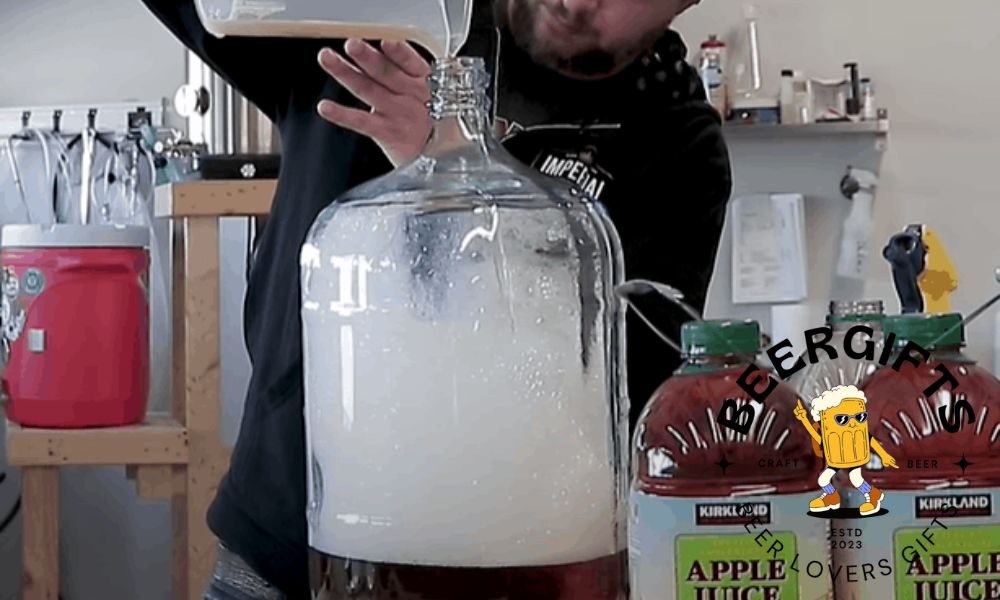
Step 7: Mix the Apple Juice with the Wort
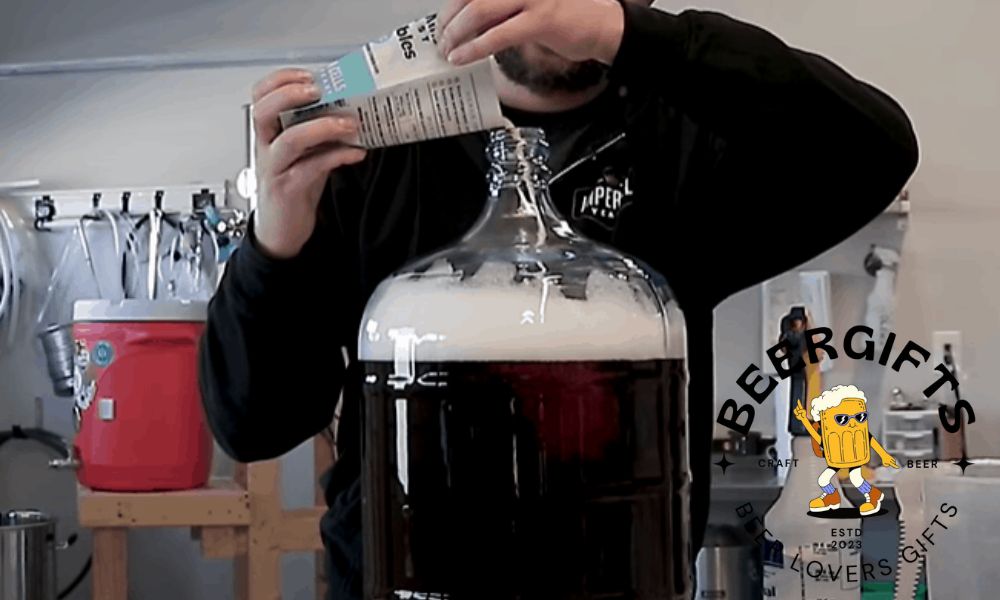
Once the wort cools, transfer it to the fermentation bucket. Then, pour the remaining cider juice into the fermentation bucket containing the wort.
Try holding the bottle of apple juice high in the air as you pour its contents into the fermenter bucket. As you pour out the juice and it hits the wort, aeration takes place.
Aerating the wort this way is a good idea because you are providing the oxygen that the yeast needs to ferment the fluid.
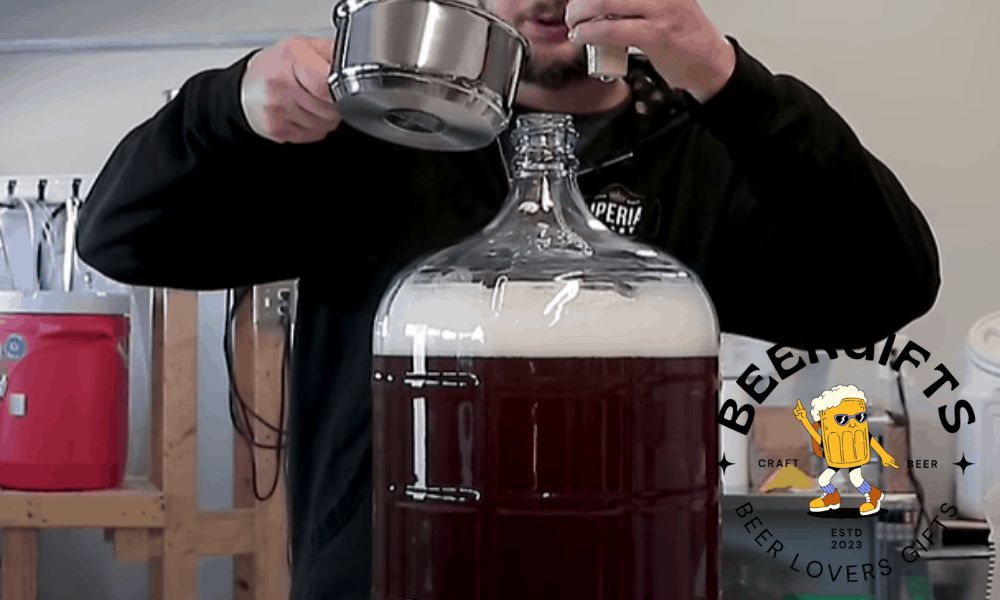
Step 8: Pitch the Wort
Pitching simply means adding yeast into the liquid to start the fermentation process. Remember the yeast we dehydrated earlier on? Now, slowly pour it into the wort as you stir vigorously for a few minutes.
Once you add yeast to the liquid, replace the lid on the fermentation bucket. Then, insert the airlock bubble into the grommet hole on the lid of the fermentation bucket.
Now, store the fermentation bucket in a cool, dark place where the temperatures range between 650 F and 750 F. Lower temperatures will prevent the cider from fermenting while higher ones will cause the cider to ferment too fast and the final drink will not taste as good.
Step 9: Let the Wort Ferment
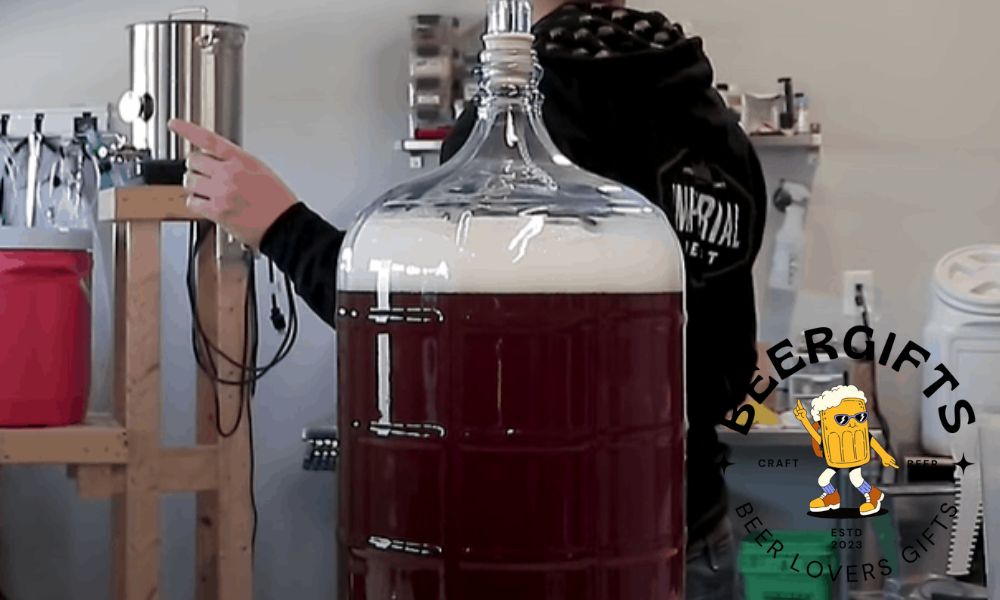
A large part of homebrewing involves waiting and waiting some more for fermentation to be complete. The good thing is, at the end of it all, you will be rewarded with a deliciously refreshing beer or cider.
Hard cider will need up to 3 weeks to ferment. But, within 48 hours, the fermentation process will be in high gear and you will start to notice bubbles rising in the airlock. This gas is carbon dioxide resulting from the fermentation process.
The bubbles will decrease after two weeks, which is a sign that the primary fermentation process has ended. Give it an additional week for the yeast to settle to the bottom of the bucket.
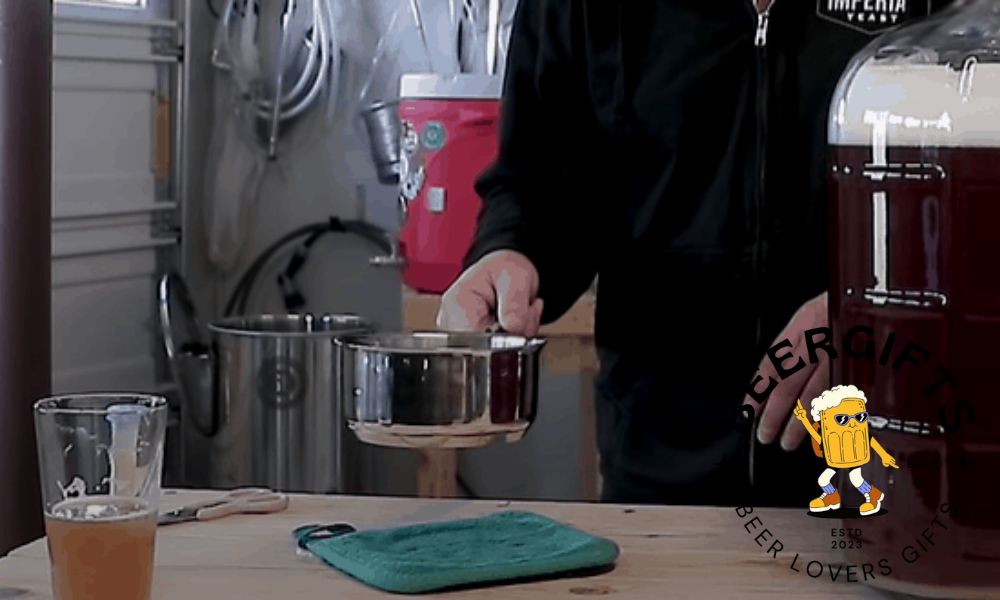
Step 10: Bottle the Hard Cider
After the 3 weeks are up, you can bottle the drink and enjoy it immediately. The hard cider will be delicious but cloudy.
If you want a clearer drink, you can store the hard cider for an additional 4 weeks for the yeast to completely settle to the bottom. Transfer the liquid from the fermentation bucket into a clear carboy and allow the liquid to clarify.
After 4 weeks, you will have hard cider that is clearer and ready for bottling. We like the explanation this video provides on how to siphon hard cider.
Extended Tips
- If you do not want to buy supplies and equipment separately to make hard cider from scratch, you can purchase a starter kit. The kit contains all the essential items you need to make your own alcoholic drink.
- Think about what you want your cider to taste like when choosing your yeast. Some strains have an earthy aroma and flavor, others are musky, while others are fruity.
- Apart from Wyeast, you may opt for other popular strains such as Safcider, Cider Yeast M02 by Mangrove Jack, and the WLP775 English Cider Yeast by White Labs just to mention a few.
Are you eager to make your own hard cider?
As you can see, making hard cider at home is super easy and fun. You really do not have to be a pro to brew a delicious alcoholic cider to enjoy any time of the year.
Once you gather your equipment, this process will probably only take you one hour at most and the rest of the time is spent waiting for your brew to come together.
Be sure to use 100% apple juice and high quality yeast that is specially formulated for making alcoholic cider.
Lastly, always, always sanitize your brewing equipment to avoid contamination and to preserve the good flavors and aromas of your brew.