Have you ever drank beer that tastes so good and looks so beautiful that you couldn’t help but want to make some for yourself to sip at your own convenience? Yep! Few beers have that effect and the super popular Hefeweizen is one of them.
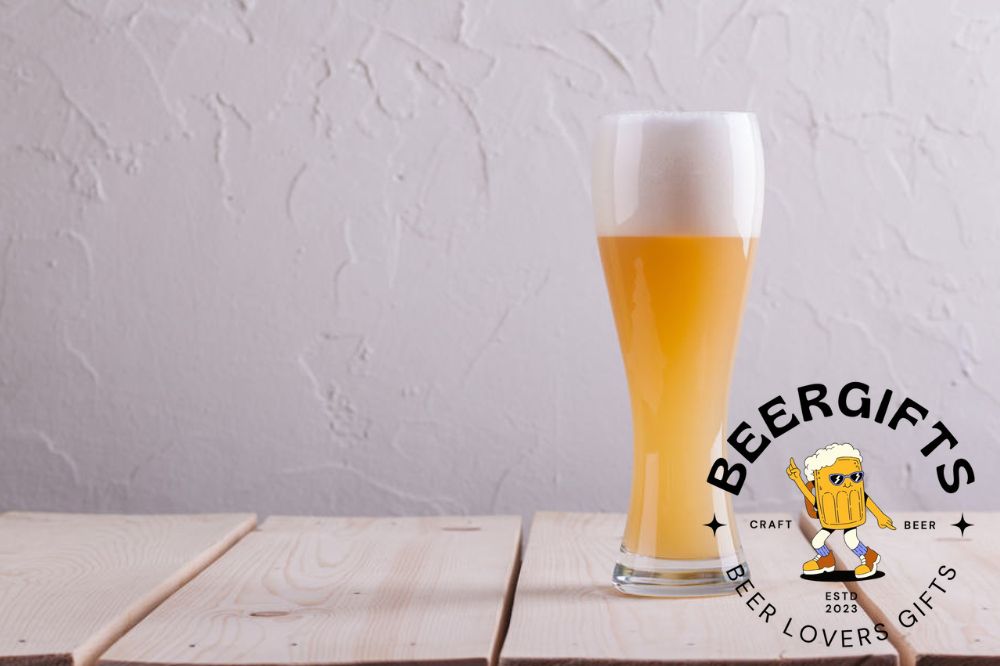
Originally a German brew, this variety of wheat beer is everything you would want in an easy-drinker. Made using top-fermenting yeast and a high amount of wheat malts, weizen beer is low in bitterness, bubbly, light, serves delicious notes of cloves and bananas, and contains low to moderate alcohol content.
When making this beer, you want the wheat grain and yeast to shine while keeping a low profile on the flavor, aroma, and bitterness.
So, without taking any more time, why not come along—we’ll show you how to make Hefeweizen that is so good you can’t wait to share it with your mates!

Tools and Supplies For Making Hefeweizen
Gather the following equipment and supplies needed for making Hefeweizen beer:
- 5-gallon brewer pot
- Fermenter bucket
- Bottling bucket
- Large plastic or stainless steel spoon
- Wort chiller or a bag of ice cubes for making an ice bath
- Hygrometer for measuring gravity
- Kitchen timer
- Bottles
- A source of heat
- Siphoning tubes
Here is the recipe we will be using:
Malts
- 6 lb. liquid wheat malt
- 1 lb. Wheat dry malt extract
Hops
- 25 oz. Hallertau
Yeast
- 12 Danstar Munich Wheat Beer
Priming
- 7-10 oz. corn starch
Step-by-Step Guide to Make Hefeweizen
With all your supplies and ingredients ready, follow these simple steps to make Hefeweizen.
Step 1: Prepare Malt Mash
We will start by making the mash, which simply involves mixing the malt with water and boiling the mixture. Mashing helps to extract the flavors of the wheat grains.
In this recipe, we are using wheat malt extract instead of actual wheat grains. Extracts are pre-made grains and they form the basis of any beer. Instead of going through the process of milling your own grain, you can just use ready-made malt, which is as good as whole wheat grain.
To make the malt mash, fill your 5-gallon brew pot halfway with clean, distilled water. Place on a stovetop and bring the water to a boil.
Then, add half of the liquid wheat malt, turn off the heat and continue to stir the wheat malt for a few more minutes. This mixture is called wort, which is basically beer that is yet to be fermented.
Step 2: Add Hops to the Wort

Hops give beer its characteristic bitterness. There is a wide variety of hops from which to choose. But, it is important to select less bitter hops with a low alpha acid content. With Hefeweizen, we want to keep the bitterness to a minimum so that it does not overpower the fruity flavors of the yeast that we’ll add later.
For this recipe, we chose the Hallertau hops. This hop variety originates from an area in Germany called Hallertau, which is recognized as the largest hop-planting region in the world.
Hallertau hop variety has a mildly spicy floral and citrusy aroma, making it the perfect choice for making Hefeweizen.
Return the wort to the stovetop to boil at medium-high heat. Add the Hallertau hops and set a timer for 60 minutes.
Fifteen minutes before the end of the boil, pour in the dry wheat malt extract and the remaining liquid malt. Boil the wort, hops, and additional malt extracts until the 60 minutes are over.
Step 3: Cool the Wort
At this point, we have the used two important ingredients—malt and hops. There is one more vital ingredient i.e. yeast, which we will soon put to use.
Now, take the wort off the heat and cool it to 450F-550F. A wort chiller is the fastest way to bring the wort down to the desired temperatures but if you do not have a chiller, you can improvise and submerge the brew pot in an ice bath in your kitchen sink.
It is really important that you let the wort cool as recommended. You will soon add yeast to the wort to start the fermentation process. But, you should never dump the yeast into a hot liquid as this will instantly kill the yeast and therefore fermentation will not be possible.
Step 4: Sanitize the Fermenting Equipment
The wort will take some time to cool so meanwhile, you can put this waiting time to use by cleaning and sanitizing the equipment you will use for fermentation.
Take your time to thoroughly sanitize everything including the pack of yeast and the pair of scissors you will use, fermenting bucket, siphoning equipment, ladle, as well as stoppers and airlocks.
Everything you will use during fermentation should be cleaned and sanitized to get rid of any lingering microbes.
This step is so important that we recommend that you watch this video to find out exactly how to sanitize your brew equipment to avoid potential contamination.
Step 5: Top Up the Volume of The Wort
It always helps to increase the volume of the wort to ferment. The more wort there is to ferment, the likelier you will achieve your desired alcohol content.
Fill the fermenter bucket with 2 gallons of cold water then transfer the cooled wort into the same fermenter bucket. If necessary, add more water to top up the volume of the wort to 5 gallons.
At this point, you can measure the gravity of the wort using a hydrometer. This step is not completely necessary but gravity measurements will give you a good idea of the amount of alcohol content you can expect your beer to have.
We found this video that does a wonderful job of explaining everything you need to know about measuring the gravity of beer. Be sure to check it out.
Pro Tip: Pour out the wort slowly to avoid unsettling the sludge at the bottom of the brewing pot. This way, you will have a less foggy, clearer, and of course more beautiful beer.
Step 6: Pitch The Yeast
Before adding the yeast, aerate the wort first. If you do not have aeration equipment, you can simply put a lid on the fermenter bucket containing the wort and shake it up for a few minutes. This will provide the oxygen required to activate the yeast.
Now, cut the packet of yeast using a pair of scissors that is sanitized and pour the yeast into the fermenter bucket containing the word. Put a lid on the fermenter and insert the lock to seal the bucket.
Step 7: Allow Fermentation To Take Place
Once you add the yeast to the wort, move the bucket to a warm, dark place to allow fermentation to take place. The ideal temperature range required to ferment Hefeweizen beer is about 650F-750F. Be sure to move the bucket as needed if the temperatures go lower or higher than this optimal range.
During this process, the yeast will ferment the wort and break it down into alcohol and carbon dioxide (CO2). Active fermentation will start about two days after brewing. Store the brew away for 1-2 weeks to allow complete fermentation.
When fermentation is complete, the foam that had bubbled up on the surface of the beer will now fall into the beer, gaseous bubbling will slow down, and the beer gravity will be more stable.
At this point, your Hefeweizen will be ready to drink but before then, you want to bottle your booze.
Step 8: Bottle Your Hefeweizen Beer
Congratulations on coming this far! You have made your own delicious Hefeweizen and now all that is left is to bottle it so you can enjoy your beer nice and slowly at your own convenience.
Start with sanitizing the bottling equipment. Use the same method for sanitizing that we recommend earlier.
Before siphoning the beer into the bottles or the bottling bucket, add corn sugar solution into the beer to provide carbonation. Carbonation is what gives beer that crispy, clean, and tangy mouthfeel.
To prepare the corn sugar priming solution, mix ½ cup of corn sugar with water and bring the solution to a boil. Remove the solution from the heat and allow it to cool before pouring it into the bottling bucket. Stir in the sugar solution to distribute it evenly.
Use the siphoning equipment to transfer the beer into the bottling bucket where you will mix it with the sugar solution. Stir gently, pour your beer in bottles, and store it in the refrigerator to chill. Now, sit back and enjoy your cold, refreshing Hefeweizen beer!
Extended Tips
- If you do not want to start your home brewing process from scratch, invest in a starter kit for making Hefeweizen. The kit will come with the equipment as well as the fermentable ingredients, hops, and yeast.
- Use the ‘right’ water when preparing your beer. Ideally, you should aim for water with a pH of about 5.2-5.6. Distilled water is a good choice because all impurities have been filtered out but on the other hand the water lack minerals. You can add minerals to the water, for example, chloride, which brings out the texture of the beer.
- Take the time to understand what is required of your yeast. Read the instructions on the package for the ideal temperature ranges. It is really important to stay within this range throughout the fermentation process.
Make the most flavorful Hefeweizen today!
Making such a fine beer might seem intimidating. But, the truth is brewing Hefeweizen is not all that different from brewing regular beer,
All that is needed is high-quality malt extracts as well as suitable hops and yeasts that will bring out the light and fruity notes of this wheat beer.
You will also need to keep a close eye on the ideal temperatures for brewing and fermenting. Any slight deviation from the recommended temperature will easily throw off the brewing process and the final product.
Give it a week or two and your Hefeweizen should come together nicely, ready for you to enjoy!