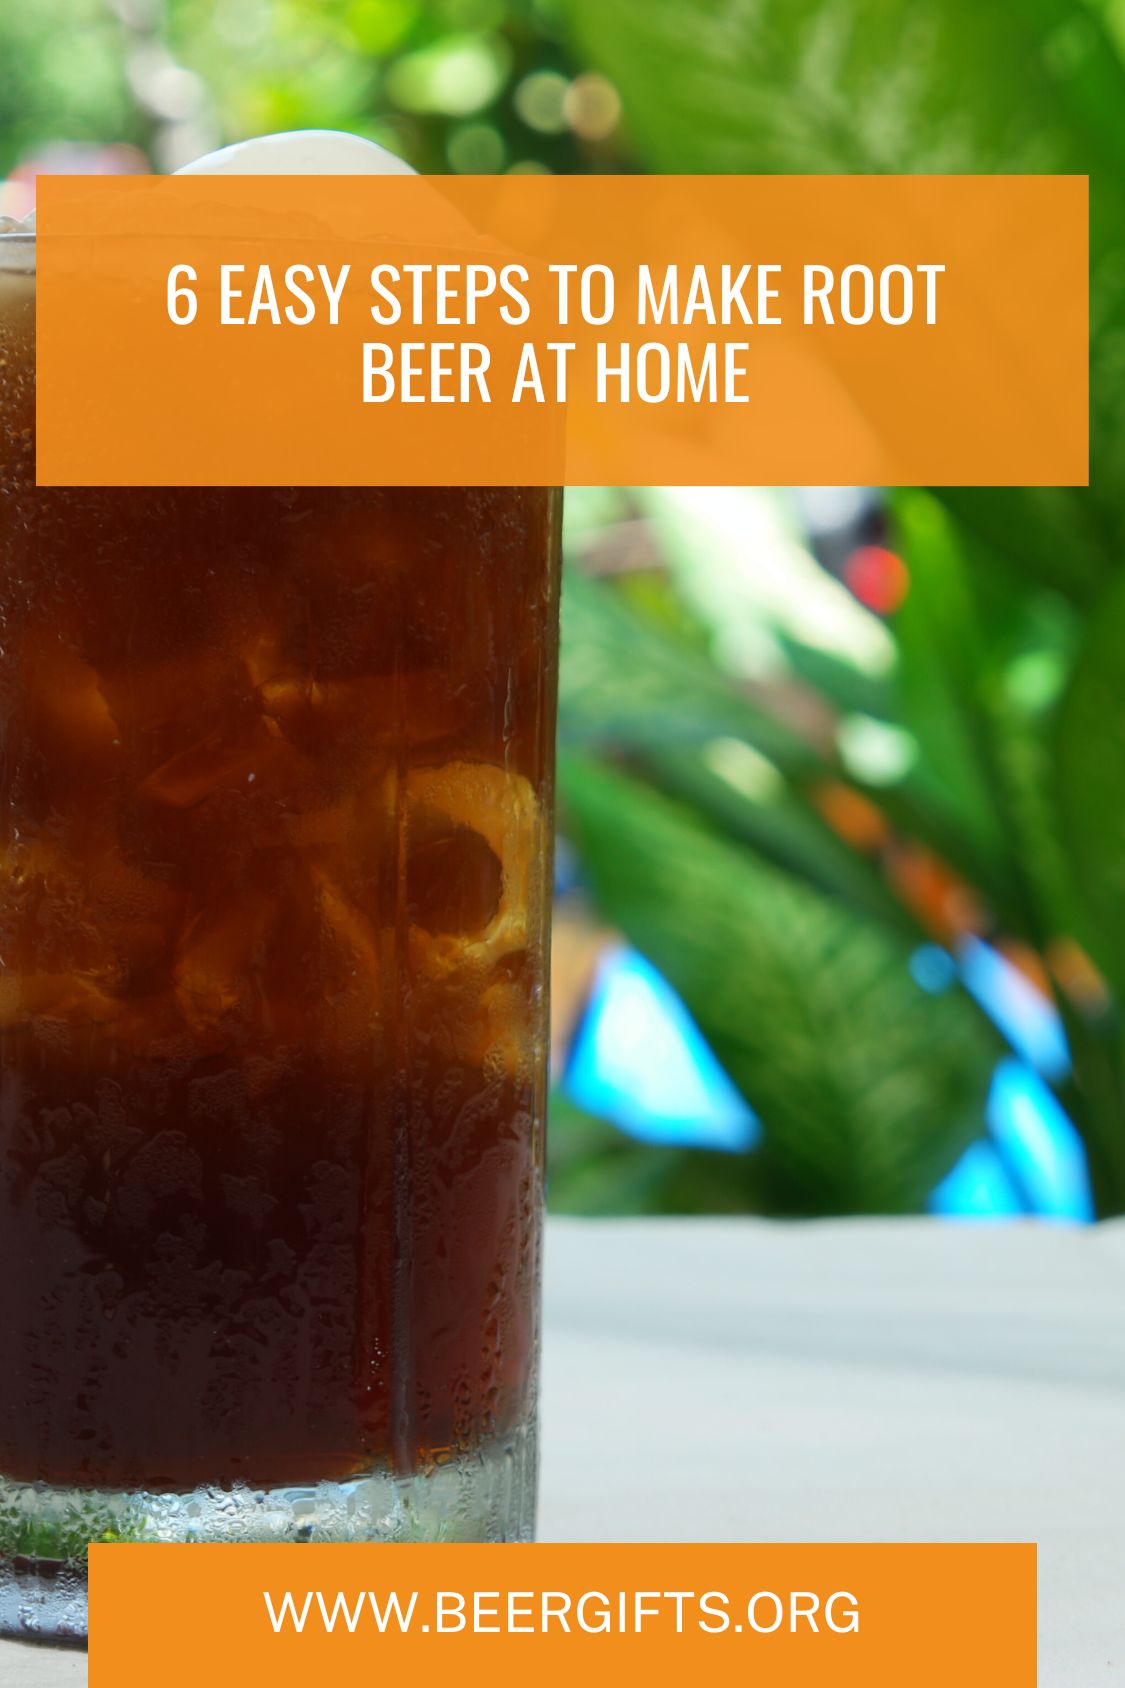
Sweet, crispy with hints of musk and earth, root beer is the ultimate summer chill-out drink. Traditional root beer is made using the real root of the sassafras tree. But, do not worry if you do not have sassafras trees growing in your area—you can make root beer with dried roots and the drink will still come out great.
Making root beer at home is such a great idea because you can control the amount of sugar in the drink and experiment with different flavors until you find something that suits your palate.
Some of the dried roots you will need for this recipe can be slightly costly but they do go a long way. Other than that, you will not need any expensive equipment to pull this off. Read on and follow our simple instructions showing you how to make root beer at home.
Tools and Equipment For Making Root Beer
- Two 5-gallon stock pots
- Long-handled stainless steel spoon for stirring
- Plastic funnel
- Cheesecloth or fine sieve
- Storage bottles with caps
- Cooler (optional)
- Kitchen thermometer
- Stovetop or other sources of heat
There are many root beer recipes but we’ve chosen to go with one that is as close to the traditional root beer recipe as possible. Here is what you will need:
- ½ teaspoon brewer’s ale yeast
- ½ cup molasses
- 1 ¼ cups brown sugar
- 1 teaspoon freshly crushed ginger
- 1 split and seeded vanilla bean
- 4-star anise pods, crushed
- 1 tablespoon wintergreen
- 1 tablespoon freshly ground nutmeg
- 1 tablespoon birch bark
- 1 tablespoon sarsaparilla root bark
- 1 tablespoon sassafras root bark
- 2 pieces of cloves, crushed
- 4 tablespoons licorice root
- 1 gallon of distilled water
Step-By-Step Guide to Make Root Beer
Here is our easy guide, which includes tips and recommendations on making root beer right from your kitchen.
Step 1: Prepare the yeast beforehand
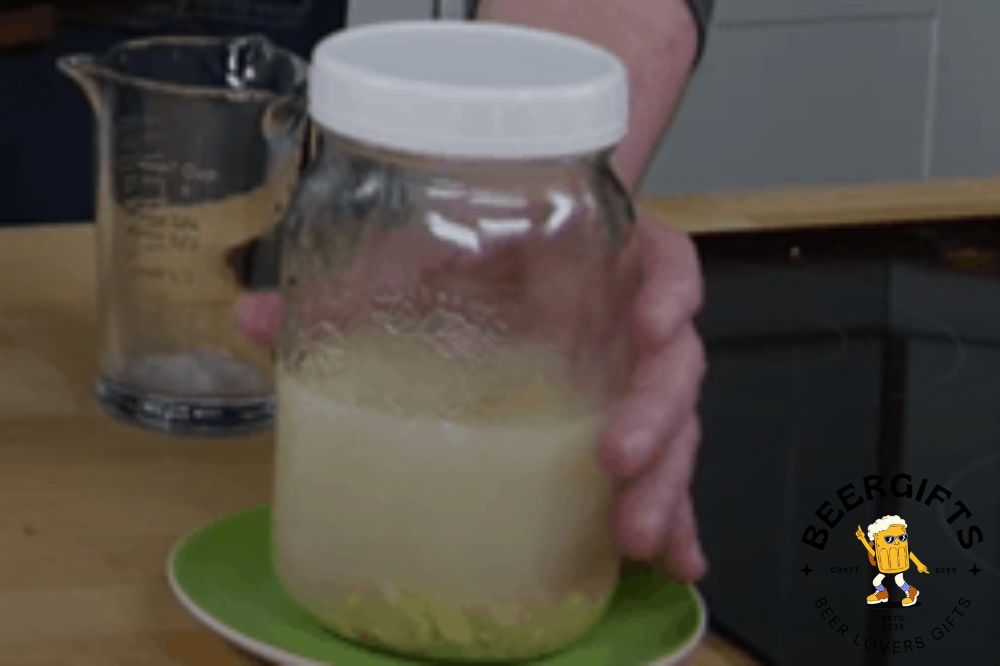
Later in the process, you will use yeast to carbonate the beer. Before then, you want to activate your yeast and set it aside as you prepare the beer.
For this recipe, we will use ale yeast. To activate the yeast, pour it in a half cup of distilled water and set it aside. The water should be at room temperature.
Never mix yeast with hot water. The heat will kill the yeast and therefore you will not be able to use the yeast to ferment your drink.
Step 2: Boil the herbs and spices together
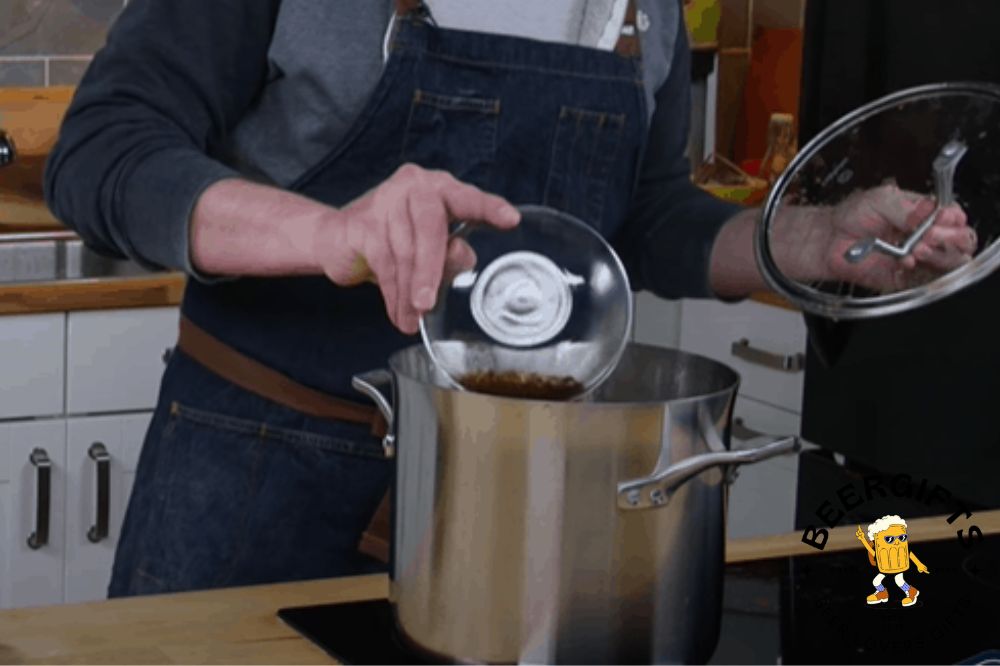
This next step basically entails brewing up a herbal tea that will make up the basis of your root beer.
Pour distilled water into a 5-gallon stainless steel pot. Then, add the mixture of herbs and roots including sassafras, sarsaparilla, mint, wintergreen leaves, cinnamon, cloves, star anise, licorice, ginger, nutmeg, and vanilla beans.
Bring the pot to a boil at high heat for about 30 minutes. This infuses your water with the flavors of the herbs and roots. When the water and herbs mixture comes to a rolling boil, turn off the heat.
Let the pot of herbs steep for about 2 hours. Steeping extracts all the flavors from the herbs, ensuring that your drink is packed with maximum herby flavors and spice.
If you do not have one of the roots, herbs, or spices that we are using in this recipe, feel free to substitute. You can also throw in as many spices, herbs, and flavors as you want to come up with your signature root beer drink. You are only limited by your imagination, so experiment as much as you can.
Step 3: Strain the herbal tea
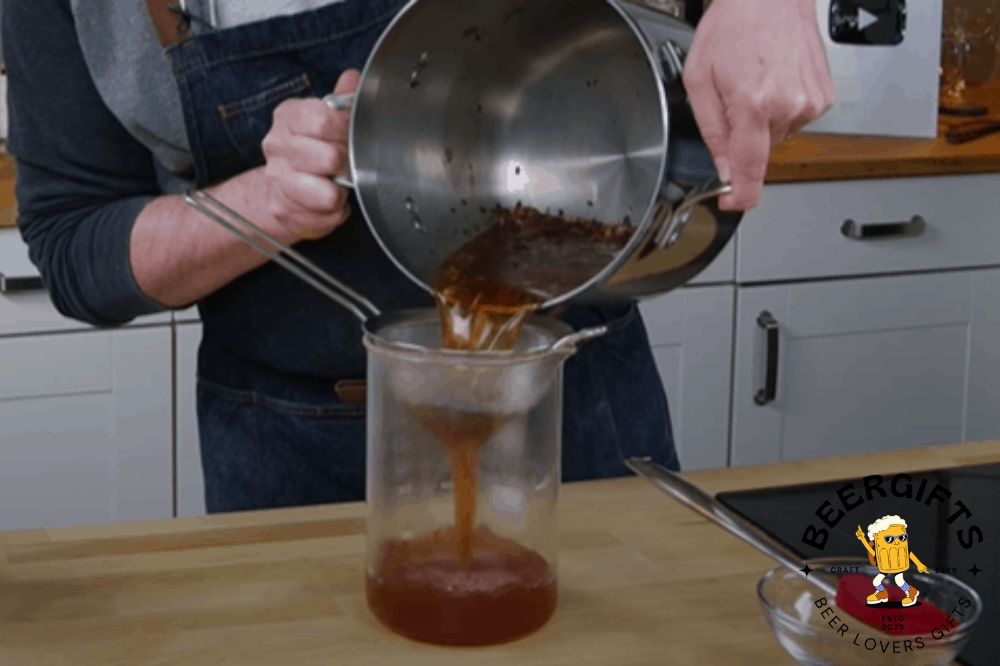
Once the liquid has had enough time to steep, much of the herbs and roots and other additions will fall to the bottom of the pot.
Now, you want to separate the water from the herbal residue in the pot. This will simply leave you with a herbal tea.
You can use any type of strainer but we prefer cheesecloth because it traps even the smallest particles of the residue. Sieving with cheesecloth ensures that the resulting tea is clear with few if any, impurities.
So, hang the cheesecloth over another stock pot and fasten it in place with a string to create a sieve. Next, carefully pour the contents of the pot over the cheesecloth sieve. Discard the residue that is left on top of the cheesecloth.
Now, you have a herbal tea that is ready to be fermented into a root beer.
Step 4: Add Sweeteners
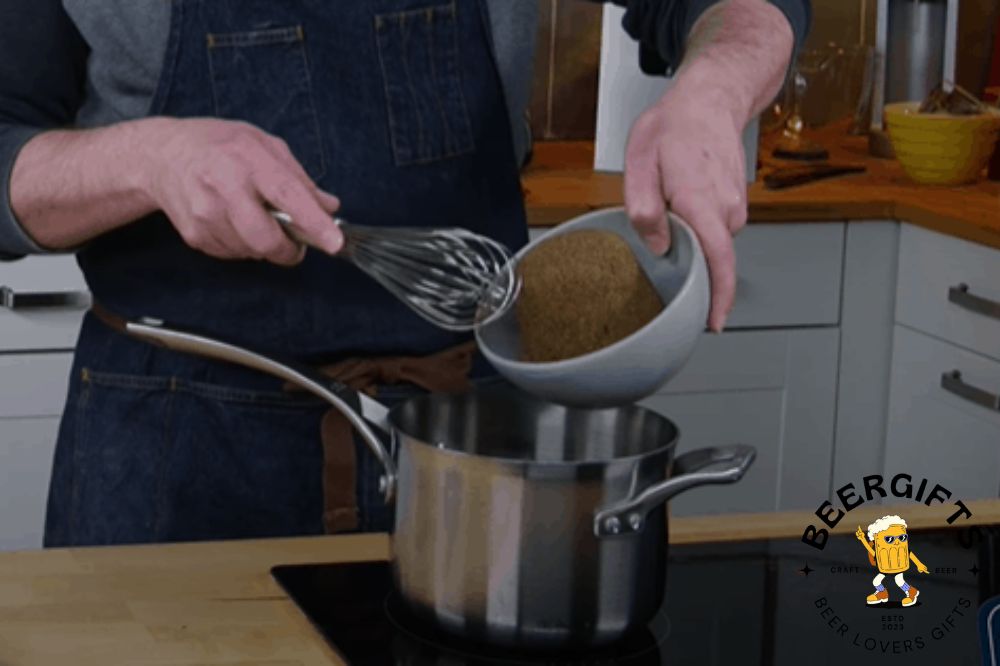
In addition to its crispy mouthfeel and fruity flavors, root beer is popular for its sweetness. For a homemade root beer, the main sources of sugar are brown sugar and molasses.
You might be wondering: why use molasses and brown sugar, and not white sugar? We’ll, the brown sugar will give your drink a nice, brownish color while the molasses bring a delicious caramel flavor. And of course, both help to sweeten the drink.
What’s great about making your own root beer is that you can control the amount of molasses and brown sugar to add to your beer.
So, add the molasses and brown sugar into the stockpot containing the strained tea. Place the pot on medium-high heat and stir the liquid until the sweeteners dissolve. Boil the mixture for an extra 20 minutes for the tea to really soak up the sugars.
Now, remove the pot from the heat. Cover and allow the sweetened herbal tea to steep and cool for about two hours or until the tea is about 800F.
Pro Tip: You can top up the volume of the herbal tea by adding water to it. This way, they’ll be more liquid to ferment and enough root beer to enjoy at the end of this process.
Step 5: Pitch the yeast

As we mentioned earlier, yeast plays an important role in fermenting the herbal tea and transforming it into a delicious carbonated drink.
With the herbal tea at a temperature range of between 750F-800F, you can now safely add the yeast. Pour the entire contents of the yeast cup into the stockpot containing the herbal tea.
Stir the mixture and let it sit for about 30 minutes before you can transfer it to the storage bottles.
Step 6: Bottle and allow to ferment
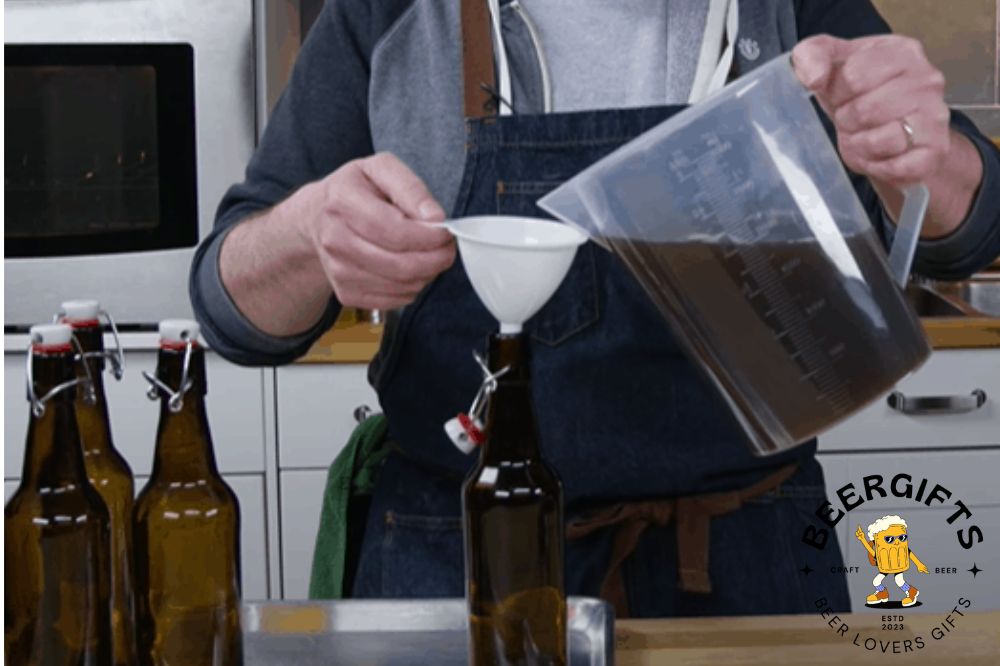
Use a funnel to transfer the root beer to the bottles for storage. Don’t fill the bottles to the brim. Instead, leave an inch or two to give the liquid enough space to expand as it cools and carbonates.
By the way, before bottling, be sure to sanitize those bottles to get rid of any unwanted microbes that can contaminate and lower the quality of your root beer. We like this explainer on how to sanitize your brewing equipment.
Screw on the bottle caps and store the bottles in a warm, dry spot for 36 hours. If you have stored the drink in clear bottles, you will begin to see bubbling as early as 12 hours after bottling.
The bubbles tell you that fermentation is underway and the bubbly by-product is carbon dioxide. Due to the yeast action, root beer contains a small percentage of alcohol but not enough to cause inebriation.
If your bottles are not transparent, you will have to open one to check if there is enough carbonation. You can also taste the drink to get a feel of the level of carbonation. If the carbonation is not enough, reseal the bottle and store for an additional 12-24 hours to achieve the desired level of carbonation.
Once you are satisfied with the level of carbonation, stick the bottles of root beer in the refrigerator and chill for 2 days.
Extended Tips
- Consider using plastic bottles to store root beer during the fermentation process. Glass bottles can easily explode under the pressure of carbonation and cause a mess.
- You could still use glass bottles to store your root beer but wrap each bottle in bubble wrap to contain an explosive mess that might happen.
- During fermentation, a nice little trick is to store the bottles in a cooler to regulate the temperatures. The lower temperatures will minimize the chances of the bottles exploding under the pressure of carbonation.
- Instead of tossing the roots and herbs directly into hot boiling water, place them in cold water first and allow everything to boil together. Coldwater allows the herbs to release their aroma and flavor slowly, which eventually makes for a more flavorful drink.
- Toss in the sassafras last. Sassafras loses its flavor and aroma faster than the other herbs in the recipe do. To get the most from your sassafras bark, try adding it to the pot when the simmering process is almost ending to retain the aroma of the bark.
Are you thirsty for root beer? Why not make some today!
Homemade root beer is so much better than the commercially made ones you buy from the stores. When you make root beer at home, you can play around with flavors, sweetness, as well as levels of carbonation—basically, you can create the carbonated drink of your dreams.
The best part is that you do not need any fancy equipment, exotic ingredients, or sassafras trees to brew root beer. With a few ounces of the relevant dried herbs and roots plus basic brewing tools that you probably already have, you can easily put together the best root beer you have ever tasted. Cheers!

How much does this yield?
Do you have a recipe for the video at the top? It seems completely different that what is printed out on this page.