
Mead is a delicious drink, with bags of history. Whether you’re planning a medieval banquet, or just want something different at your dinner party, it’s a great choice.
But what ingredients go into mead? And how exactly do you make it?
That’s what we’re going to find out! Read on for our step-by-step guide to how to make mead. When you’ve finished, you’ll have everything you need to make an authentic version of this ancient drink!

Equipment and ingredients for making mead
- Brewing sanitizer
- Carboy with airlock and bung
- Funnel
- Tubing – a short length will suffice
- Large food-safe bucket
- Big metal spoon
- 5 liters of boiled water
- 750g honey
- Sachet of brewer’s yeast (or wine yeast)
- Extra honey for back-sweetening
- 5g acidity regulator (e.g. citric acid)
- 10g yeast nutrient
- 2 Campden tablets
Step by step guide for brewing mead
Step 1: Make sure everything is clean
The lovely sweet flavor of mead is just as appealing to microbes as it is to humans! That means you need to guard against them getting into your drink. If they do, they’ll ruin the taste – and can give you an upset tum into the bargain.
Wash all your equipment in hot, soapy water and dry it thoroughly before sanitizing. Use a no-rinse brew sanitizer and you’ll find this second stage goes far quicker. Remember, you need to clean and sanitize anything that will be coming into contact with the mead.
Step 2: Choose your honey
The honey you use will have a big impact on the flavor of your mead – so choose carefully.
You’ll need 150 grams of honey for every liter of mead. The recipe you’re using here will give you 5 liters of mead, so you’ll need 750 grams of honey. You’ll need extra for back-sweetening too.
Pro tip: Unpasteurised honey will give a greater depth of flavor to your mead.
Step 3: Mix up your mead
Now you’ve selected your honey, it’s time to mix up your mead.
Add five liters of boiled water to your bucket. (Make sure your bucket is made from food-safe plastic, so no chemicals leach into your drink.)
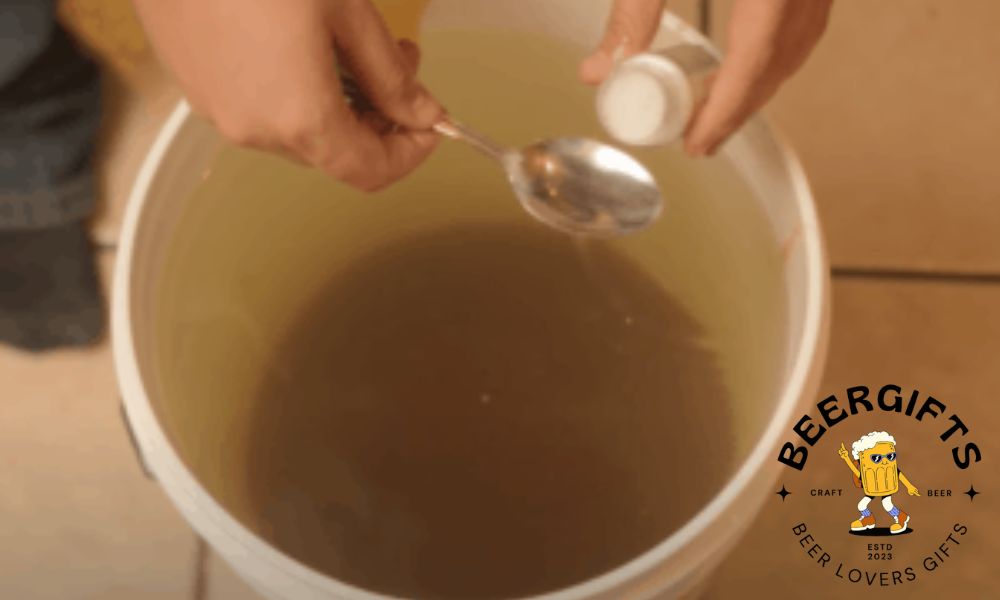
Next, add the yeast nutrient (NOT the brewer’s yeast!) and your acidity regulator. Stir them into the water with a metal spoon until they’ve dissolved.
Then add 75 grams of honey, stirring as you do so. Keep stirring until all the honey has dissolved into the mixture.
Pro tip: As a natural substance, honey often crystallizes. Don’t be put off if that happens! Simply place your honey in its container inside a bath of warm water. Leave it for a few minutes and the crystals will melt and your honey will turn to liquid once more.
Step 4: Add the yeast
Now leave your honey mixture to cool down. You want to make sure it’s not so hot that it will crack your carboy when you pour it in.
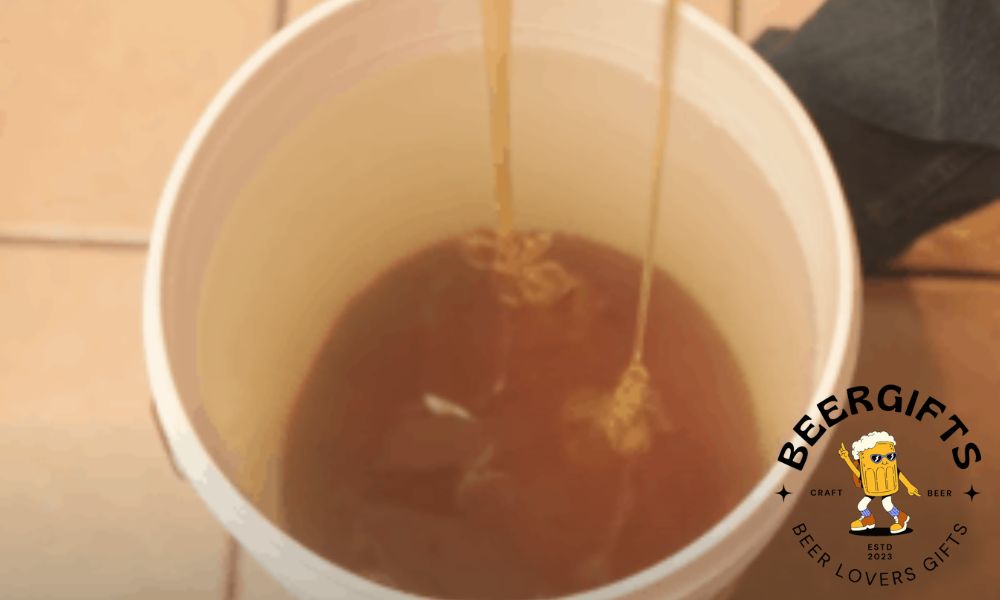
When it’s cooled, place your funnel into the neck of the carboy, and pour in the honey mixture. Then leave it to cool further. You want it to be at room temperature when you add your yeast.
When it’s ready, add water to the brewer’s yeast in line with the instructions on the packet. Leave it to stand for five minutes, then add it to the carboy.
Pro tip: Give your carboy a shake when you’ve added the yeast. This will add oxygen into the mix and boost the fermentation process.
Step 5: Leave your mead to ferment
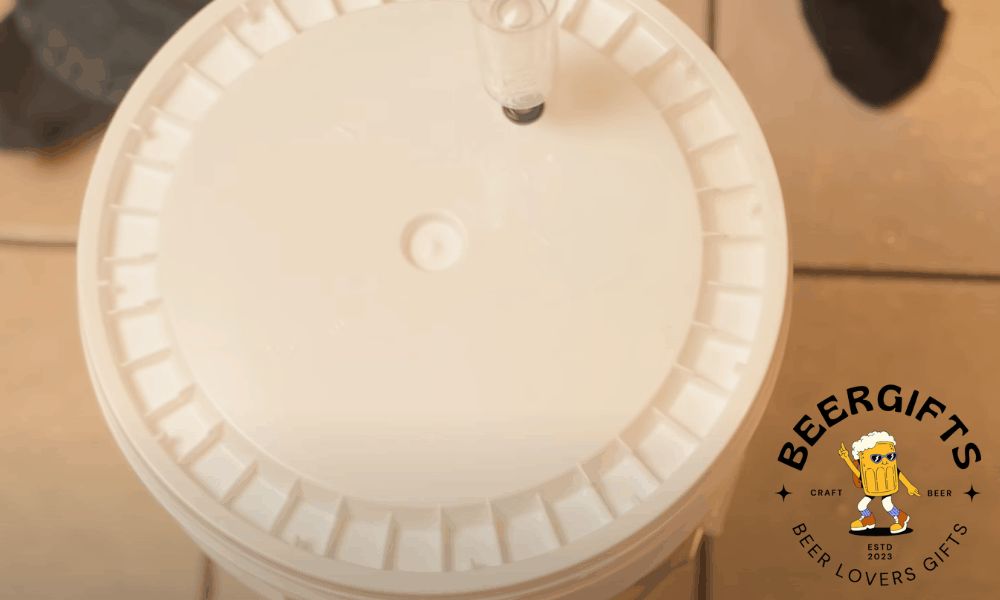
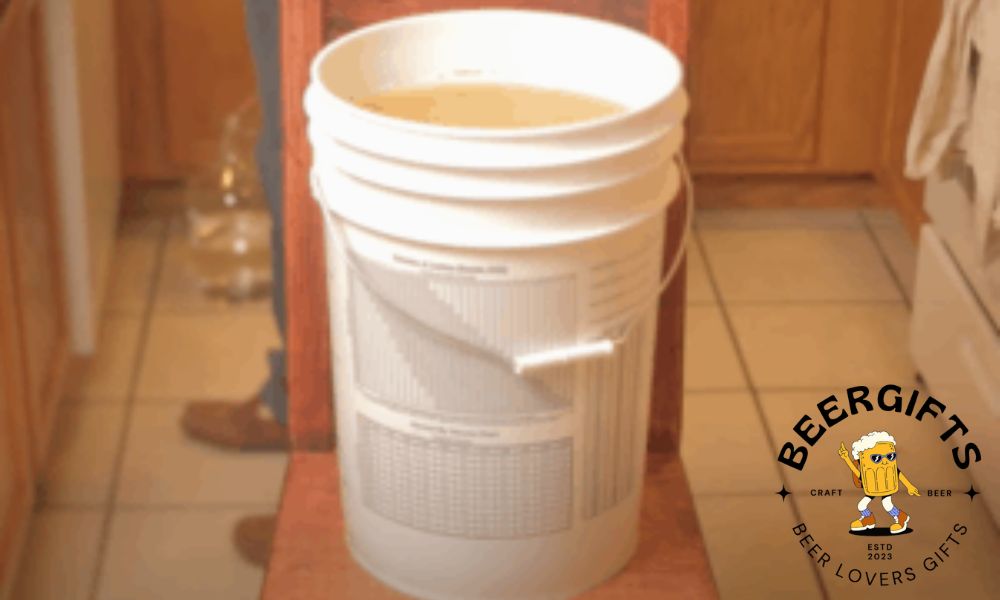
You’ve now added all the ingredients your mead needs to ferment. Replace the airlock and bung in your carboy and place it somewhere dark and cool. It will need to stay there for between two and three weeks.
After about six hours, take a look at what’s happening. You should see gases bubbling through the airlock. This is carbon dioxide, and its presence shows you that the mead is fermenting.
Over time, you’ll also see a thick layer of yeast forming at the bottom of the carboy. This is dead yeast, and it’s known as a yeast cake. Try not to disturb it, as it will impair the flavor of your mead.
When there are no bubbles in the airlock, you’re ready to move on to the next stage.
Step 6: Refrigeration
You now want to remove all the yeast that’s still suspended in your mead.
To do that, place your carboy upright in your refrigerator. Leave it there for between 24 and 48 hours. The low temperature will make the yeast become dormant and fall to the bottom, where it will add to the yeast cake.
As this happens, your mead will become gradually clearer. The longer you leave it, the clearer it will get.
Step 7: Back-sweeten your mead
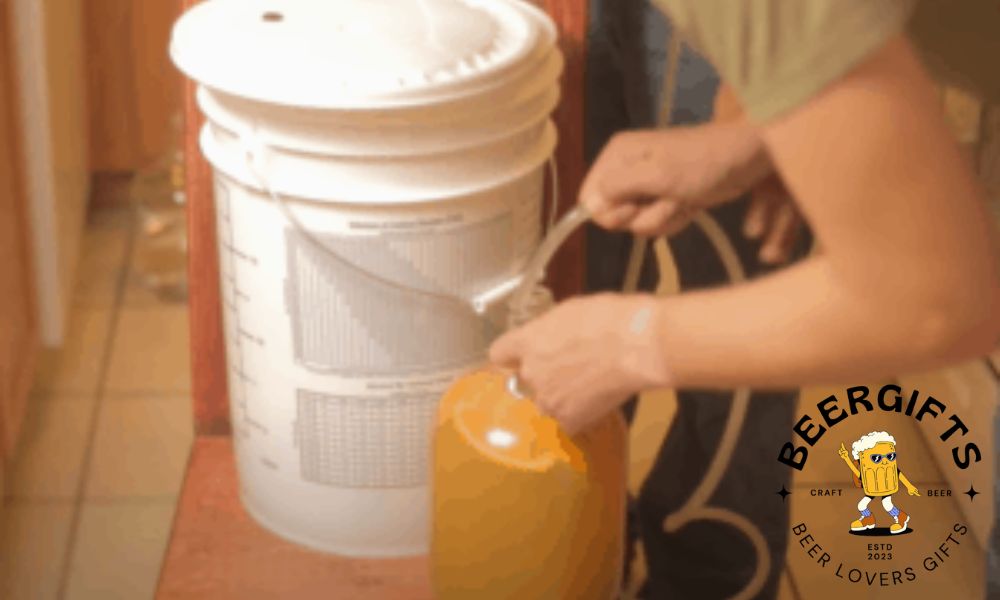
Now that your mead is nice and clear, it’s time to remove it from the carboy.
Use your siphon to suck it into your bucket. (Make sure that you’ve sterilized both your siphon and bucket first.) Keep the end of the siphon about an inch away from the yeast cake and keep it as still as possible. You don’t want to disturb those sediments.
The fermentation process will have turned all the sugar in your honey to alcohol. That means the flavor will be quite dry. Back-sweetening is the process of replacing that sweetness by adding more honey.
But you don’t want the new honey to kick-start fermentation again. This is where the Campden tablets come in.
Dissolve however much honey you want to add, together with two Campden tablets, in a small amount of hot water. Then stir it into your mead.
Pro tip: Add your extra honey in small amounts and taste samples as you go. That will allow you to get the right level of sweetness for your palate.
Step 8: Conditioning and maturing
You’ll now have between 4 and 5 liters of mead that’s just the right sweetness. The alcohol content will be around 4% alcohol by volume.
You now need to give the flavors in your mead time to develop. Sanitize your carboy again and transfer the mead from your bucket back into it.
Now you need to wait. Leave it for between two to six weeks before bottling it. Then store the bottles in a cool, dark place. The mead will continue to mature in the bottles, and will reach peak flavor after six months to a year.
Extra tips
Getting the best results through fermentation
- Keep your mead at a temperature of between 65 and 75 degrees Fahrenheit as it’s fermenting. Although you want it to be somewhere cool, don’t place it on a cold floor. And keep it away from doors, or other locations where the temperature could fluctuate.
- Stir it twice daily for the first 24 to 48 hours. That will add oxygen to the mixture and encourage fermentation.
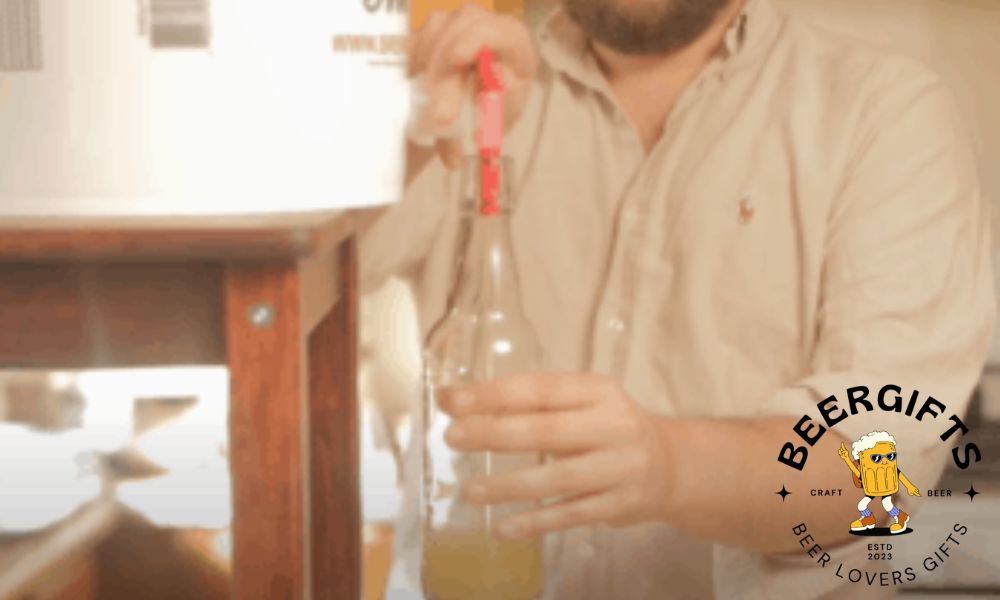
- You can use a hydrometer to check that fermentation is complete. Immerse the (sanitized) hydrometer in the mead and check the measurement. Repeat the process over the following days. If the measurement doesn’t change, fermentation is complete.
If you’ve overdone the back-sweetening
- If you find you’ve added too much honey and your mead is too sweet, don’t worry. You can drop back the sweetness by adding an acid blend.
- You can buy these from home brewing suppliers. They usually involve a mixture of citric, tartaric and malic acids. For each teaspoon you add, the acidity of your mead will increase by 0.1%.
Still or sparkling mead?
- If you don’t want bubbles in your mead, you’ll need to add potassium sorbate to the mixture before you bottle it.
- If you want sparkling mead, leave out the potassium sorbate. Decant your mead into Vichy bottles to keep the bubbles for longer.
Add a fruity flavor
- You can give your mead extra flavor and sweetness by adding fruit. Some people use fresh fruit, but fruit purees have the advantage of being sterile. That means they can be added directly to the honey and yeast mixture (known as the “must”).
- Many homebrewing suppliers will carry fruit purees specifically designed for mead. Choose from options including blueberry, apricot, peach, plum, raspberry, strawberry, pear, mango and cherry.
- If you’re going to add fruit puree, you’ll need to keep stirring the mead for a while afterwards. If you don’t, it will settle at the bottom.
- During fermentation, you’ll have the opposite issue. The fruit will float to the top and form a cap, which traps carbon dioxide. You’ll need to knock the cap down into the mead at least three times a day.
Ready to make your own mead?
That brings us to the end of our simple guide to making your own mead! We hope you’re now feeling confident enough to try it for yourself.
Start with a simple recipe to get a feel for the process and flavors. Take your time back-sweetening, and remember you can add an acid mix if you overdo it. When you’re more experienced, experiment with adding fruit puree for different flavors.
We hope you enjoy making your own mead. And we’re sure you and your friends will enjoy drinking it even more!