
Bottle conditioning is a vital brewing phase that gives the beverage the final taste. If you brew beer for the first time, you will inevitably wonder how long to bottle condition beer. The answer to this question is a bit complicated since it depends on several factors. Let’s take a look.
Steps Before Conditioning
Beer conditioning success primarily depends on how you managed previous brewing phases. If you brew low-quality beer, conditioning can’t make it better. There are few steps you need to take before you move on to the final brewing phase.
Checking gravity
You can only condition your beer after the fermentation is over. Some brewers calculate the final gravity value every couple of days, but it is better to use a hydrometer or refractometer to check it daily.
If a device shows lower gravity than the day before, fermentation is still in progress. Bottling the beer too early can spoil the whole batch, so you shouldn’t start conditioning it until you get stable and desired final gravity.
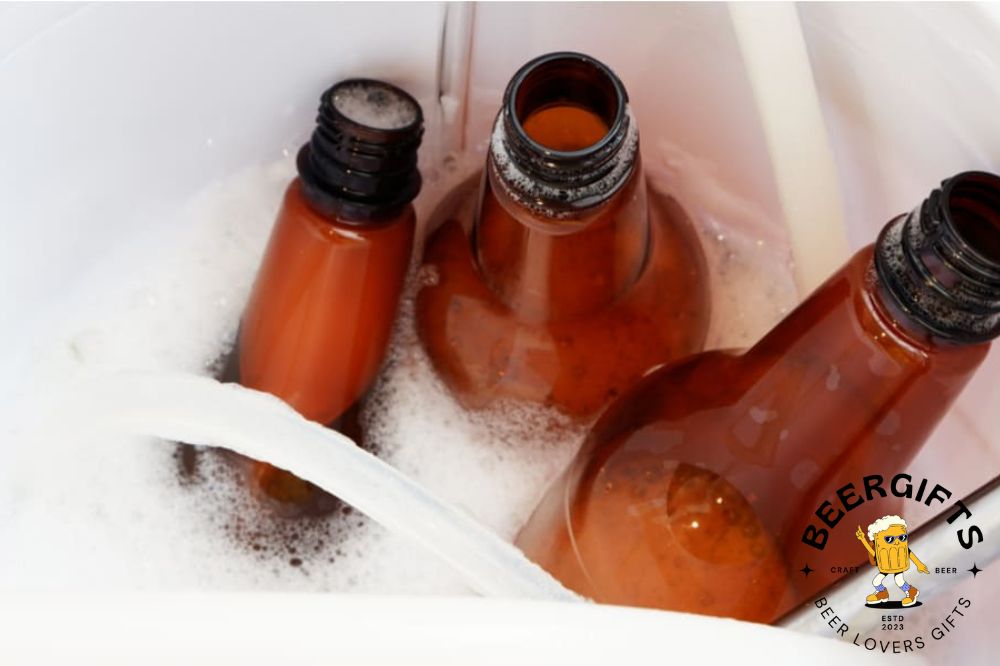
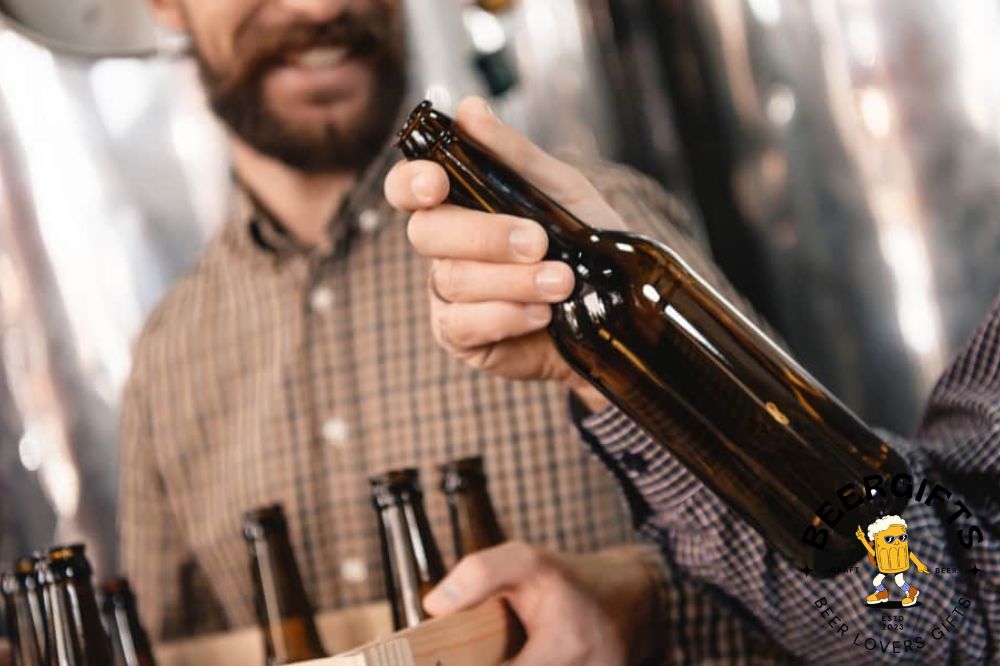
Sanitizing bottles
Make sure to clean all the bottles thoroughly and remove the labels while washing. Any mold, dirt, or bacteria can spoil your brew or potentially lead to a bottle explosion.
Plus, take a close look at every single bottle and use only ones without cracks and fractures. Don’t forget to sanitize the rest of your equipment, as well, including the bottling bucket and siphon.
Adding priming sugars
The yeast in your brew needs sugars for priming and carbonation, so you need to add some priming sugars before bottling the beer. Check the recipe for the exact amount of primers you need to boil.
Once it cools off, you can pour it into the bottling bucket. Keep in mind that various sugar types affect both beer taste and conditioning time. The most common choice is corn sugar, but you can choose the one you prefer.
What is Bottle Condition?
Bottle condition is a simple method many homebrewers use to carbonate beer. Once you add priming sugars, yeast will convert sugars into CO2. The beer then absorbs this gas.
The whole process lasts somewhere between two and four weeks. However, it can take far longer to condition some beers, like IPA. Bottle conditioning melts all the flavor components and makes the difference between green, young brew and an aged beer you will enjoy.
This secondary fermentation produces a negligible dose of alcohol. Sometimes, the dead yeast cells sediment on the bottle bottom as your beer age. There is no harm in consuming this sediment, and some people actually prefer its taste and a cloudy texture.
Factors Affecting Conditioning

As I mentioned before, the bottle conditioning lasts a minimum of two weeks. However, the beer flavor gets better as it matures in the bottle. The main difference between regular and conditioned beer is that the conditioned beer still ferments in the bottle.
Theoretically, you can leave the bottles intact for much longer than a few weeks, and some brewers keep beer for months or even years. Contrary, large companies can’t afford to wait that long, and they condition beer quickly. Few factors influence bottle-conditioning duration, including:
Beer style
The beer style and the alcohol content you desire are crucial when planning bottle conditioning. Hops-based beers like IPAs, double IPAs, and pale ales go under the carbonation process in a couple of weeks.
However, imperial stouts, Belgian ales, or English porters belong to malt- and yeast-focused beer. They need more time, so you should leave the bottles intact for at least five to six weeks.
Plus, you can add fresh yeast directly in bottles if you want a beer with over 8% ABV (alcohol by volume).
Yeast
Healthy yeast is a necessary prerequisite for the bottle condition process. If you add enough yeast during brewing, you won’t need to worry about carbonation once you bottle the beer.
Still, Yeast flocculation can make it inactive and result in slower and longer second fermentation. Your beer won’t carbonate fittingly in that case.
Besides, filtering beer can remove some yeast cells, resulting in under-carbonation. That is why many brewers pitch more yeast in the bottling bucket.
Sugar
Nowadays, you can choose from many priming options, including corn sugar to malt extract, molasses, watermelon juice, and honey. The prime sugar affects the final beer flavor and color and how long you need to condition it.
Corn sugar belongs to simple fermenters, making it ideal for quick conditioning and carbonation. Contrary, honey will take a week or two more to resolve completely.
It is not only the choice of sugar that matters but also its quantity. If you add too much sugar, you will have so-called exploding bottles as a result of over-carbonation.
The usual recipes include 4 ounces (113 g) of sugar per 5 gallons (19 liters) brew. Still, an experienced brewer will adjust the recipe to fit the desired taste and carbonation level.
Temperature
If you keep your beer bottles in the dark and cold place, the brew will take longer to condition. It is simple as that. The warmer temperature speeds up the yeast activity and carbonates beer faster.
Typically, brewers keep the temperature stable somewhere between 68 F (20 C) and 80 F (27 C). If you wait a couple of weeks and your beer is not ready, you need to adjust the temperature.
Time
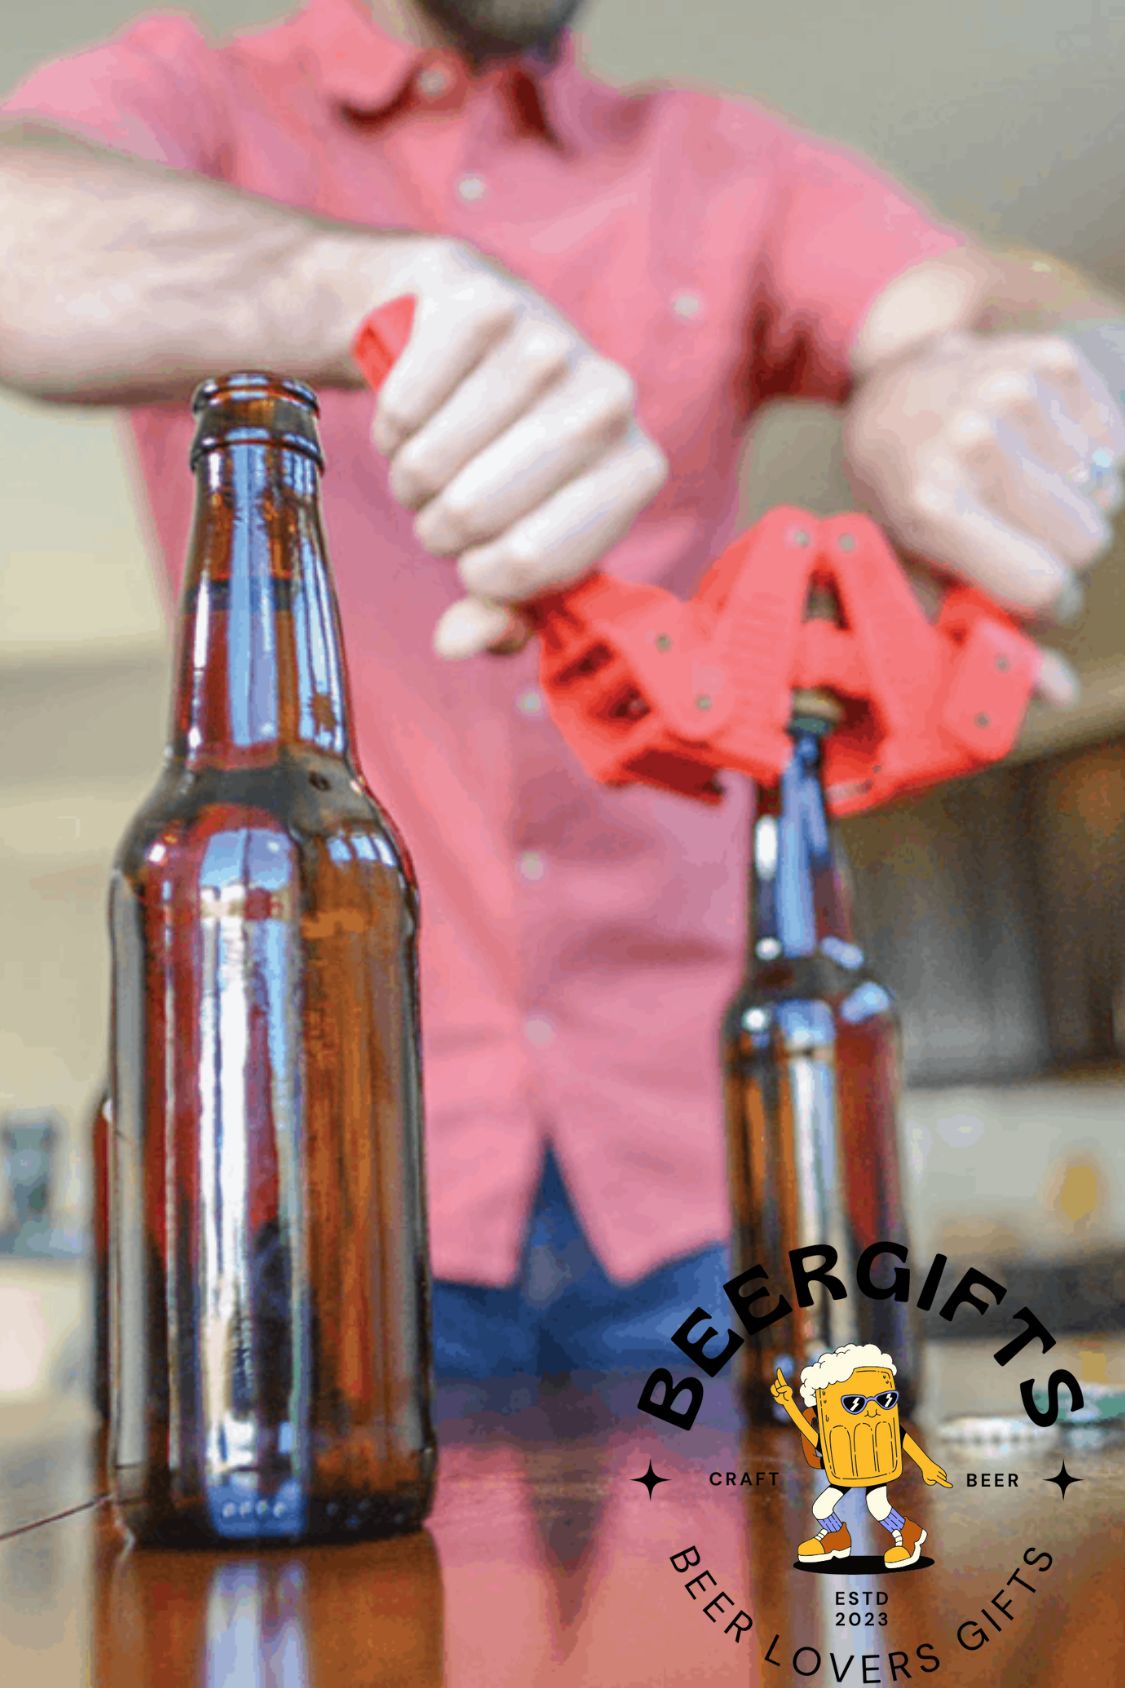
There is no way to know if the carbonation is complete unless you open the bottle. If two weeks have passed, you can try one beer. Proper conditioning will result in the carbonated, tasty beer.
You will also hear the hissing sound of carbonation when you open the bottle. On the other hand, you can safely leave the beer for up to four weeks to make sure yeast has used all the priming sugars.
Bottle choice
Choosing the right beer bottle can affect your brew quality on several levels. Although you can condition the beer in both glass and plastic bottles, the plastic ones are far more affordable. Plus, there are fewer chances they will explode due to over-carbonation.
Further, glass color will influence the bottle conditioning. Many brewers go with dark bottles instead of clear or green ones. The reason is that light-colored bottles let in more light and are more sensitive to temperature, which may speed up carbonation.
Finally, pick out large bottles if you condition highly carbonated beer like Belgian ales. That way, you will leave plenty of space for growing foam and avoid bottle exploding.
Over- and Under-carbonation
Many experienced brewers will give you great advice to fill at least one plastic bottle before conditioning a beer. That way, you can track the carbonization process and squeeze or shake a bottle from time to time.
These tests will show you the current foam level. Plus, it is easier to spot dead yeast cells sedimentation on the bottom. This sediment is a clear sign that everything is going according to the plan.
A miscalculated sugar dose, lack of yeast, or a wrong temperature can cause bottle-conditioning problems. The good news is that you can effortlessly notice both over-carbonation and under-carbonation.
If you add too much priming sugar, you will hear a loud pop when opening the bottle. Besides, beer foam will seem rich initially, but it is actually thin and dissipates quickly.
Over-carbonation can also lead to exploding bottles, which will ruin your batch and make a mess in the room you keep them in.
Under-carbonation is easy to fix. You will notice there is no sediment, foam is practically non-existing, and there is no sound when you open the bottle. The simplest solution is to re-condition beer again by adding small doses of yeast and sugars in every bottle.
However, don’t rush and do this trick after a week to prevent over-carbonation. If you feel your beer is under-carbonated after two weeks, give it another week or two before you try to save it.
Useful Tips
Once you start brewing beer, you will quickly discover that you should learn from your mistakes. Bottle conditioning is not an exact science, and you need to try, take notes, observe, and practice. With that in mind, few tips can help you:
- Be 100% sure that the primary fermentation is completed before you bottle a beer
- Use an online calculator to determine the precise dose of priming sugars
- Keep the bottles away from direct sunlight and select the right, stable temperature
- Check the bottles once in a while. You can open the first bottle after two weeks to try your beer
- Be 100% sure that the primary fermentation is over before bottling the beer
- Use fining agents like gelatin to clear the beer and reduce the sediment excess
- Avoid pouring beer straight from a fermenter. Instead, use a siphon and a bottling bucket
Summary
Typically, the bottle conditioning lasts between two and four weeks, but it depends on many factors. Some beer styles require longer conditioning, which will prolong the process to several months in some cases. Be careful since both over-carbonation and under-carbonation can spoil your beer.
Good information. I always bottle one brew in a 500ml plastic soda bottle. When it is rock hard I know all the glass bottles will be ready.