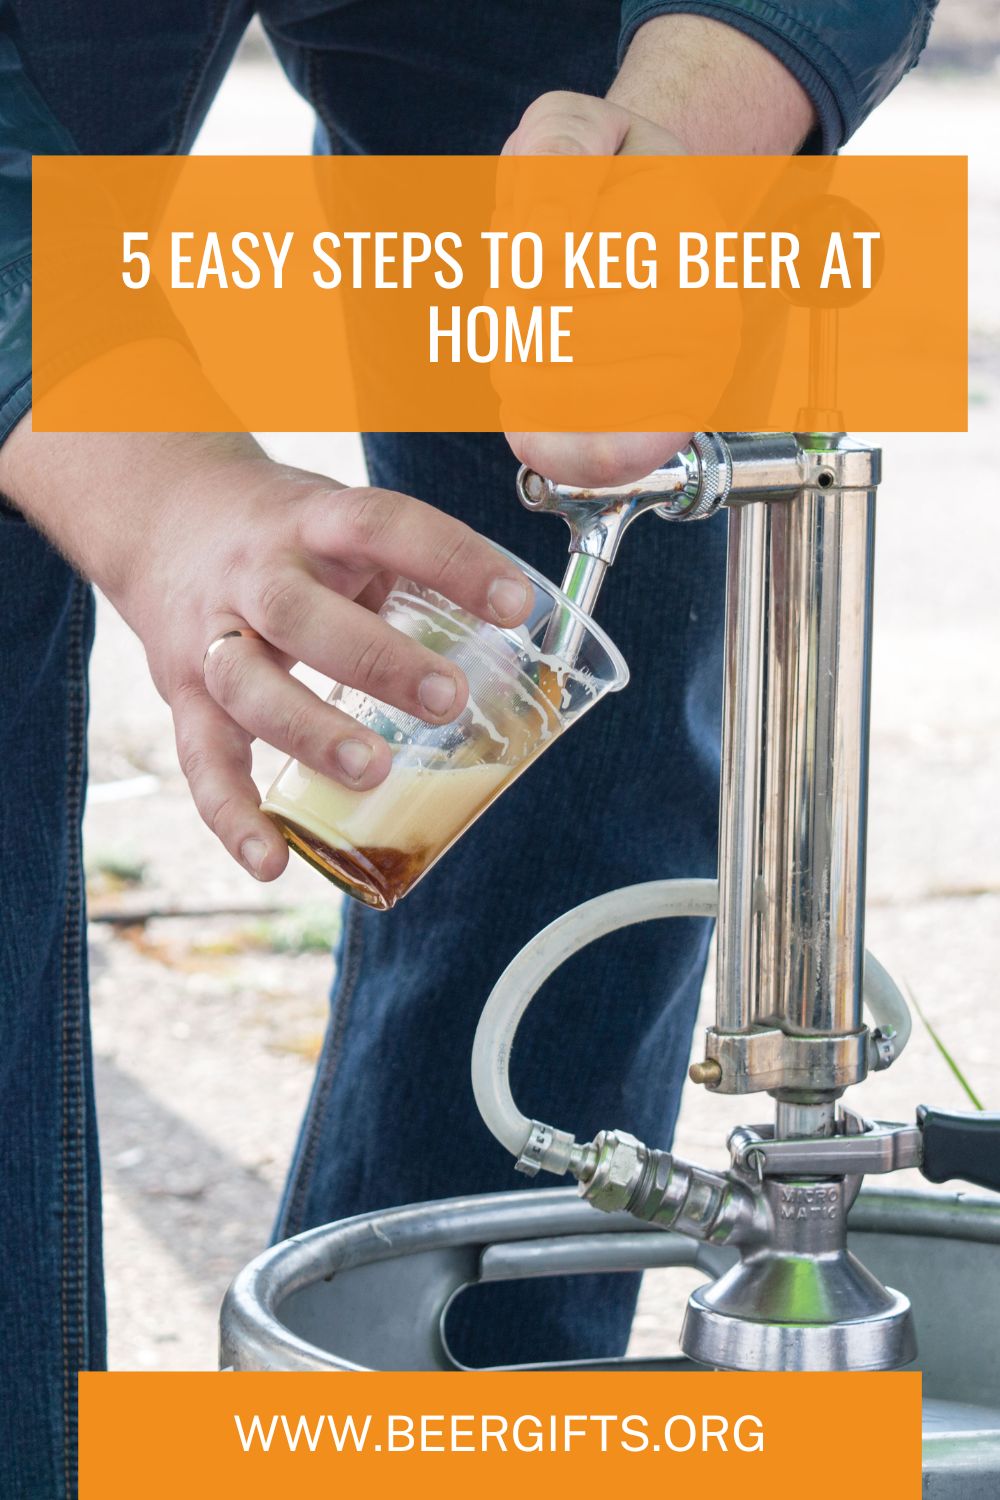
If you’ve brewed your own beer, you want it to stay in perfect condition until you drink it! Bottling can be a laborious process, and you’ll get more consistent results by storing it in a keg. You won’t need to use conditioning tablets either.
But just how do you go about kegging your homebrew? And how do you avoid disasters when it comes to pressurizing your keg?
We’re here to help! We’ll take you through every step of how to keg beer. And we’ll add in some extra tips to give you results master brewers would be proud of. So if you’re ready to find out more, step this way…
Equipment for kegging homebrew
- 5 gallon Cornelius style keg
- Siphon hose and autosiphon
- 10 to 20 pound CO2 tank*
- CO2 regulator* – look for one with two gauges
- 6 feet of food-grade CO2 hose*
- A few hose clamps*
- Pair of ball lock connectors*
- Beer faucet*
- Beer line – if you want to make your own kegerator
- Wine thief
- Hydrometer
- Socket wrench
- Sanitiser
- And of course, your own homebrew
*If you already have a kegerator, you’re unlikely to need to buy any of these things separately. You will need to replace your CO2 tank when it’s empty, though.
Step by step guide on how to keg beer
Step 1: Sanitise everything!
Make sure that everything that will come into contact with your beer at any stage is completely clean. Start by washing all your equipment in hot, soapy water, and waiting for it to dry completely. It’s best to leave it to air dry, as that will avoid transferring any lint from cloths.
Now use a brewer’s sanitizer to ensure it’s all chemically clean. If you use a no-rinse formula, you’ll find this a much quicker and easier process.
It’s very easy to introduce microbes into your beer, which can cause the flavor and texture to deteriorate. Some microbes will even leave strands of goo in your brew – revolting! So don’t be tempted to skip this step – it’s crucially important to the quality of your beer.
Step 2: Check the final gravity of your beer
Take your sanitized wine thief and transfer some beer from the carboy to your hydrometer flask. Ensure the level is deep enough to allow your hydrometer to be fully suspended inside. You can see how to do it in this YouTube video from Beer-n-BBQ by Larry.
Use this measurement alongside your original gravity measurement to calculate the alcohol content of your beer. To do this, subtract your Final Gravity measurement from the Original Gravity, then multiply the answer by 131. That will give you the percentage alcohol by volume (ABV) of your beer.
Now you’ve done this, your beer is ready to go into the keg.
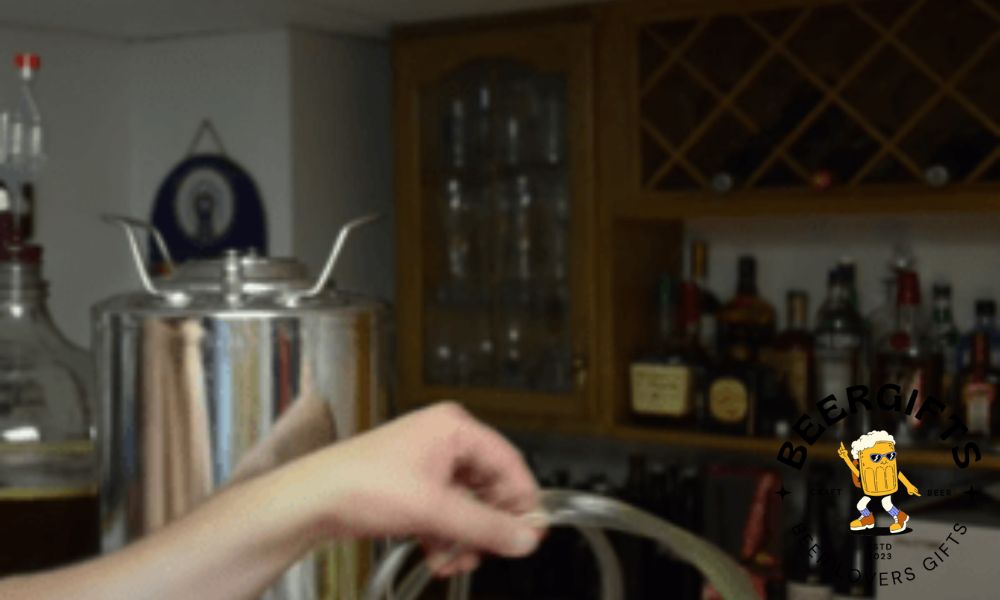
Step 3: Purge your keg of oxygen
If you don’t have a ready-made kegerator, it’s easy to create a set-up to pressurize your keg.
Start by using a socket wrench to securely attach your regulator to your CO2 tank. Now attach your CO2 hose to your regulator, and fix it tightly in place with a hose clamp.
Connect the other end of the CO2 hose to the gray ball lock connector. Add a hose clamp there too, to keep everything nice and secure.
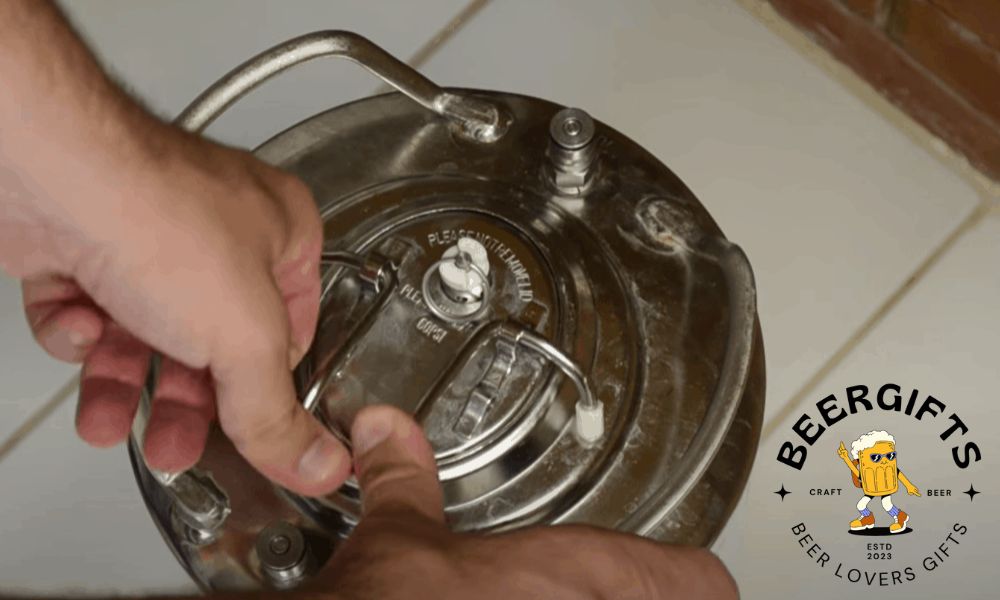
Now place the ball connector with the CO2 hose attached onto the post on top of your keg. You’ll see there are two posts. You want the one that isn’t connected to a stem inside. (On some kegs, it will be marked with a “G” for gas.)
Snap the lid on your keg and turn on the gas. Turn the valve on the CO2 tank, and turn on the regulator too. Set the pressure to 12 psi.
After about 20 seconds pull up the pressure release valve. The CO2 will come into the tank and the oxygen will escape from the valve at the top.
Repeat the process for a second time. This will ensure you’ve got rid of as much oxygen as possible from the keg. Now turn off the gas and remove the lid of your keg. You’ll see lots of misty CO2 inside.
Pro tip: Remember, the gray ball connector is always used for the gas. The black connector is used for the beer.
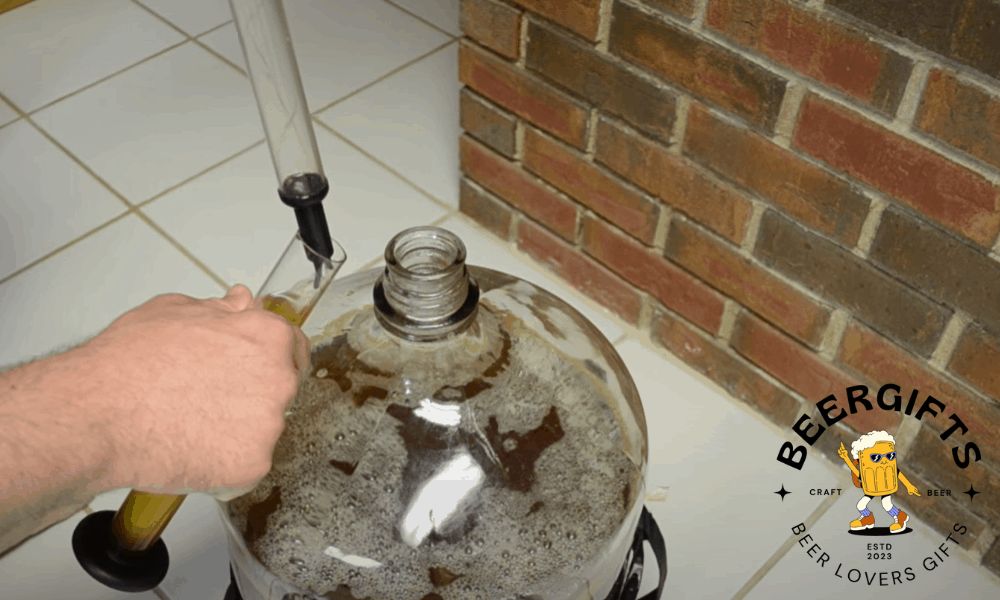
Step 4: Siphon your beer into your keg
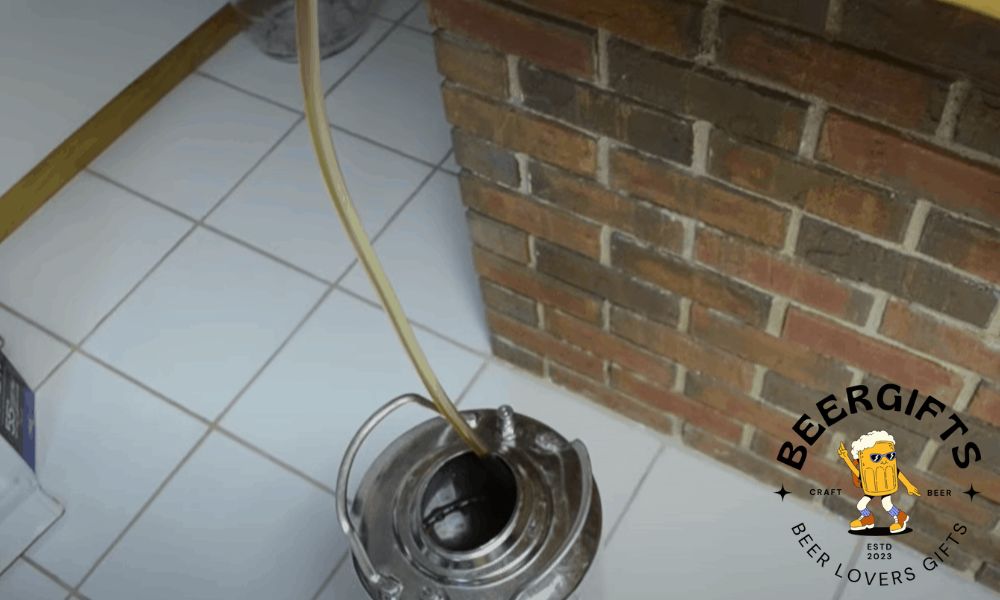
Position the carboy containing your home brew on a raised surface like a table or countertop. Place your keg on the floor beneath it. That will allow gravity to do the work of transferring your brew at a nice, fast pace.
Place one end of your siphon hose into the keg, and place the end with the siphon into the carboy. Make sure you keep the siphon away from the yeast cake at the bottom of the carboy.
Then pull out the siphon and push it back down again. You’ll see the beer rise up through it and into the hose. It will run straight down into your keg.
Pro tip: Get the hose right into the keg to minimize splashing. Splashing will introduce more oxygen into your beer, which will cause the flavor to deteriorate.
Step 4: Pressurize your keg
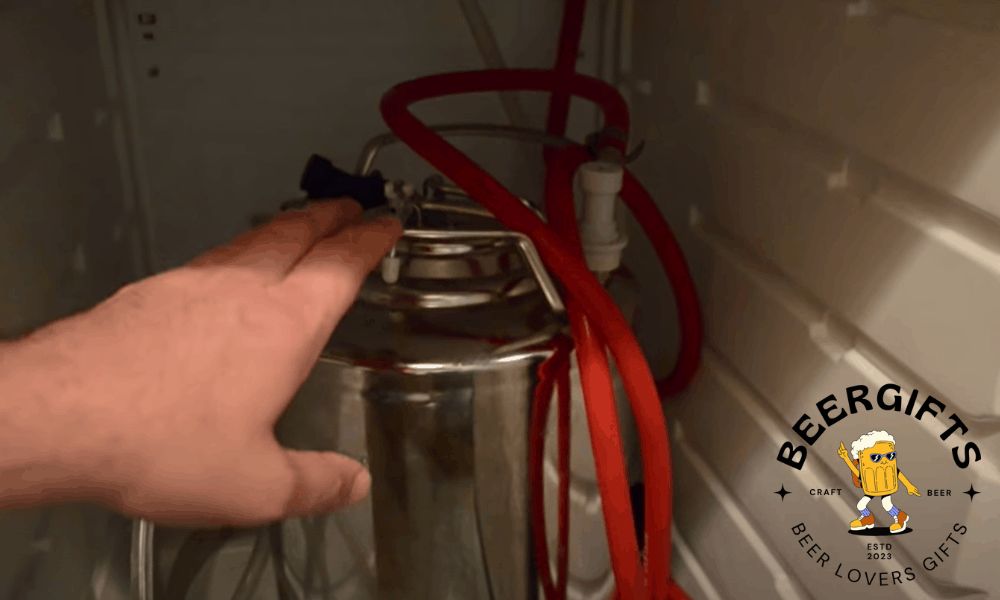
When the keg is full, remove the siphon hose and replace the (sanitized!) lid.
It’s now time to purge the keg a couple more times. This will remove as much remaining oxygen as possible.
Replace the lid of your keg and turn on the gas again. Let it run for 30 seconds as before, at a pressure of 12 psi. You’ll hear the gas hissing as the keg pressurizes. Then pull on the pressure release valve to let the oxygen escape (cue more hissing!). Repeat once or twice more.
When you’ve done this, don’t turn off the gas. That gas is going to stay on until all your beer is drunk, preventing oxygen degrading the flavor.
Step 5: Connect your keg to a faucet
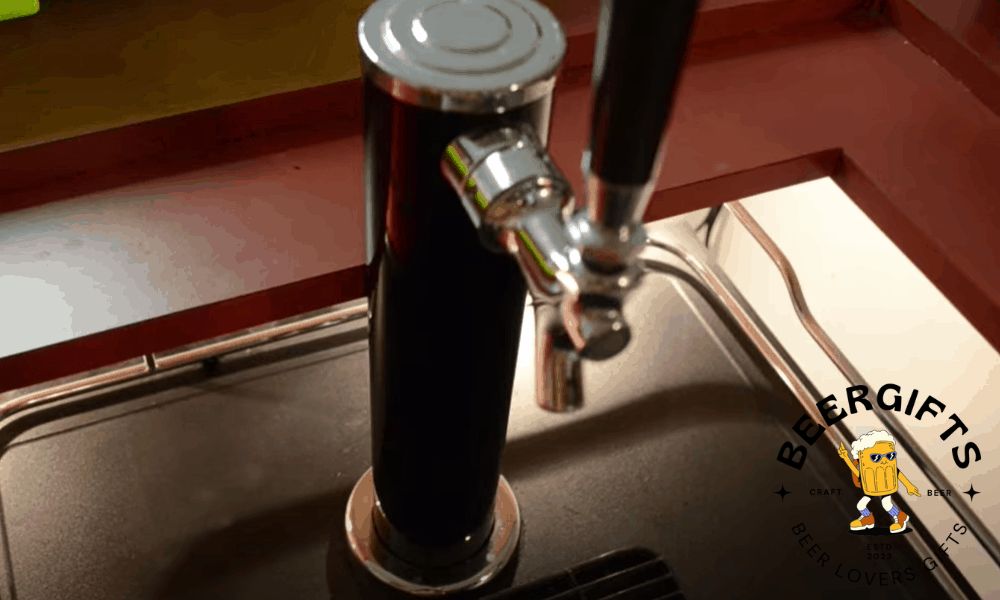
Your keg of beer is now primed and ready to go. All you need to do is get the beer out!
There are a number of different ways to do that. The easiest is simply to connect your beer out line and faucet directly to the keg.
Now you need to wait. It takes between three and four days for the CO2 to be absorbed by the beer. That’s what will give your beer those lovely bubbles. Keep your keg upright, and ensure the pressure doesn’t go above 12 psi.
Extra tips
Don’t be afraid to experiment
- Your final gravity measurement isn’t just useful for calculating the strength of your beer. You can also use it to tweak your recipe. That’s the beauty of homebrewing, after all – you’re in control!
Ways to cut costs
- You don’t need to buy all the equipment listed here brand new. Lots of it is available second-hand – just make sure that things like gas regulators are in good condition. Check the tension in the pressure release valve in particular. It should slide back down after you pull it up.
- The exception to this is the CO2 hose and beer out lines. Used hose can add unwanted flavors to your beer. Make sure that it’s food grade too, so no chemicals leach into your brew.
- If you’re making a kegerator, make sure your keg will fit in your fridge! Place it inside before you get started transferring your beer into it. And remember that you’ll need to allow space for the hose and connectors too.
Avoid wasting CO2
- Make sure you use hose clamps to keep all your connections secure. CO2 is expensive, and this will avoid any being wasted.
- A good way to check for leaks is to sponge a little soapy water on the connections. If any gas escapes, the liquid will form bubbles and you’ll know you need to tighten your clamps.
Speeding up carbonation
- If you can’t wait the few days required for your beer to carbonate at 12 psi, you can turn up the pressure. This is called “forced carbonation”. Put your beer in the fridge the night before you do this.
- Follow the process up to step 5. Just make sure you don’t fill up the whole keg. You’ll need at least a quarter of a gallon at the top to hold the carbon dioxide.
- Then turn up the pressure on the regulator to between 25 and 30 psi. Tip the keg on its side and roll it back and fore for about 200 seconds.
- Now disconnect the gas and replace the keg in the fridge for 30 minutes. Remove it, then purge the keg. Reconnect it to your CO2 tank and bring the pressure down to between 8 and 12 psi. Your beer is now carbonated and ready to drink.
Time to keg your beer!
We hope we’ve demystified the process of how to keg beer. Follow the instructions carefully, and you’ll get good results. And remember, while this might involve a lot of equipment, lots of it can be purchased much cheaper second-hand.
Don’t be put off by needing to use CO2. There’s really no need to worry about exploding kegs! They’re designed to safely hold much higher pressures than you’ll be using in this process.
Here’s hoping you now feel confident to keg your next batch of homebrew. Enjoy the results!