
If you’re planning to make your own beer, you may have heard of a yeast starter. But what exactly is it? What does it do? And how do you go about making it?
We’re going to answer all these questions! When you’ve finished reading, you’ll know exactly how to make a yeast starter for beer. And you’ll have some top tips to get brilliant results.
So read on for a step-by-step guide to making your yeast starter.
Ingredients and equipment for making a yeast starter
This will give you a 1.5-liter yeast starter
- Erlenmeyer flask, jar, pitcher or bottle capable of holding at least 2 liters
- Foam stopper for your container
- Aluminum foil
- Small pan – if you’re not using an Erlenmeyer flask
- Funnel – if you’re not using an Erlenmeyer flask
- Water
- Yeast
- Dry malt extract
- Scissors
- Brewing sanitizer
- Stir plate (optional)
Step by step guide on How to Make a Yeast Starter
Step 1: Decide whether you need a yeast starter
Before you get stuck in, consider whether your beer will really benefit from a yeast starter.
The point of a yeast starter is to turbo-charge the yeast and boost fermentation. It basically increases the number of yeast cells in your wort. (Wort is the sugary mixture at the start of the brewing process.)
It’s made by brewing a small batch of wort a day or so before you start your main brew. It allows the yeast cells to reproduce and acclimatize before they start work fermenting your beer.
If you’re using dry yeast that’s been properly stored, a starter usually won’t be necessary. The dry yeast should contain all the live cells you need for your beer. The sachet for a 5-gallon brew will typically contain between 220 and 230 billion yeast cells.
But liquid yeast contains fewer cells – around 100 billion. You’ll need to double that to get good results. Of course, you could simply buy more liquid yeast – but that can get expensive. A yeast starter is a more cost-effective alternative.
It’s also a good idea if your dry yeast is old, or hasn’t been properly stored. The same goes if you plan on brewing a large batch of beer.
If any of these circumstances apply to you, move on to step 2!
Step 2: Sanitise your equipment
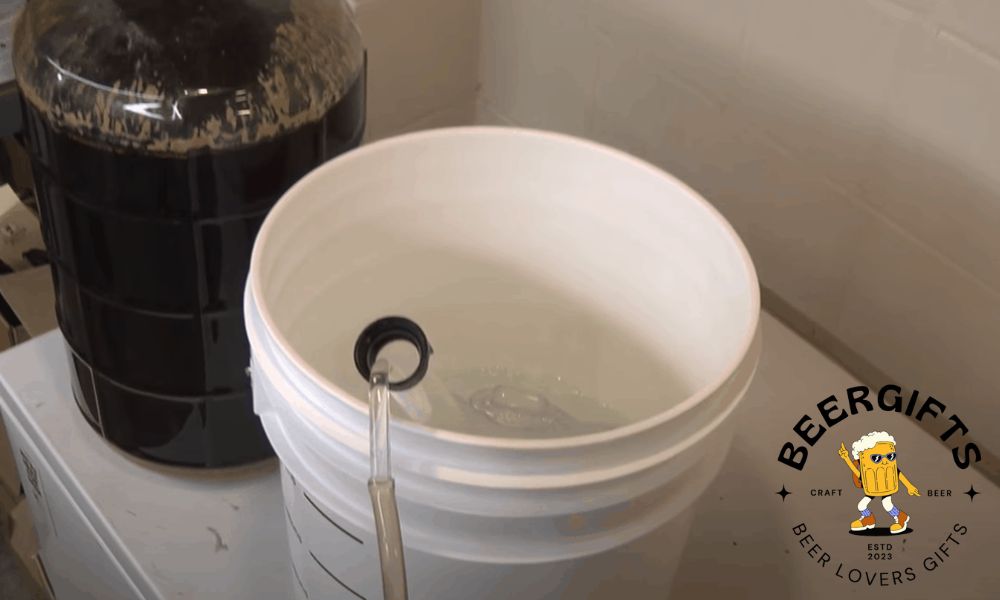
Wort is a very sugary substance, and it’s like an all-you-can-eat buffet for microbes! If they get into the mixture, they can pose a hazard to health. At the very least, they’ll interfere with the flavor and texture of your beer.
Avoid that by ensuring all your equipment is absolutely clean. Start by washing it in hot soapy water and drying it thoroughly. Then use a brewer’s sanitizer to sanitize everything that’s going to come into contact with your yeast starter.
This YouTube video from Northern Brewer shows you how to sanitize your brewing equipment.
Pro tip: Some brewing sanitizers are formulated so that they don’t need to be rinsed away. That will make sanitizing a quicker and easier process.
Step 3: Get the yeast ready
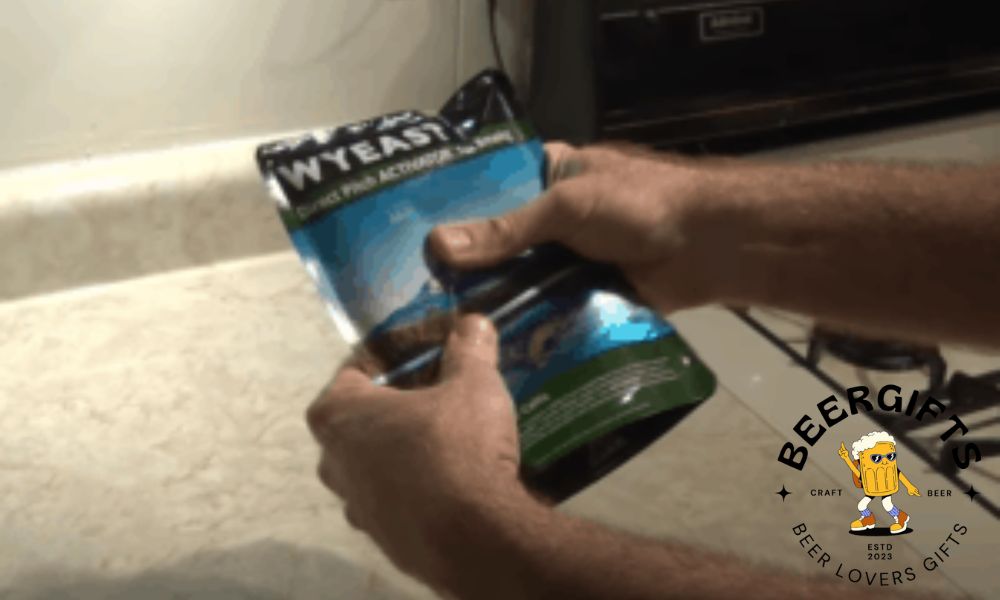
Most liquid yeasts come in what’s known as a “smack pack”. To activate the yeast, you’ll need to give the pack a good, hard smack. Work it slightly between your fingers too. Then leave it for a few hours to incubate.
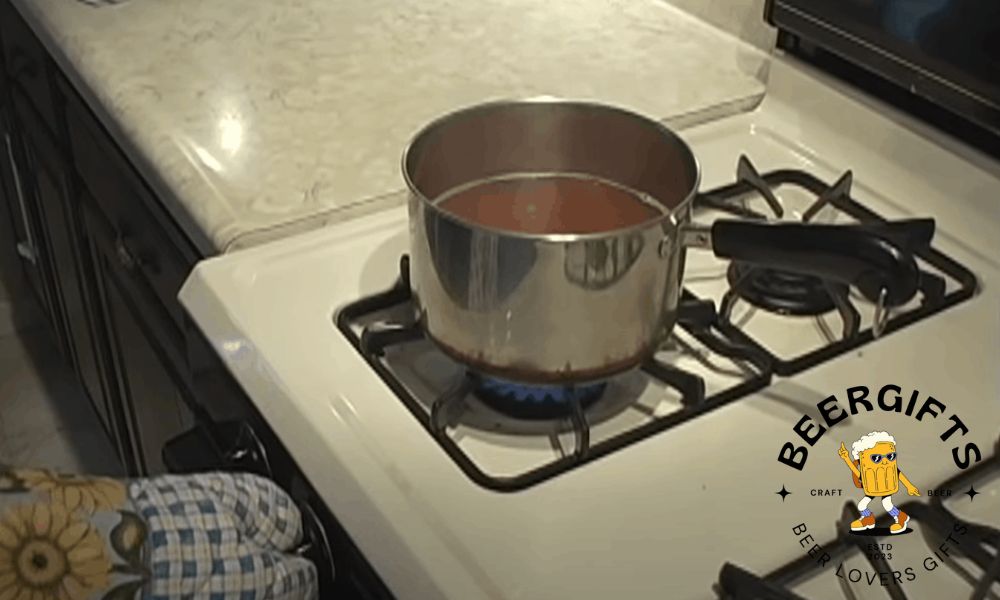
While that’s happening, decide how you’re going to boil the wort for your starter. If you have an Erlenmeyer flask and a gas stove, you’ll be able to boil the wort directly in your flask.
If you’re going to keep the wort in a jar or bottle instead, you’ll need to boil it in a separate pan. It’s also the only option if you have an electric stove. It’s a little more hassle, but it does make it less likely that your wort will boil over.
Step 4: Prepare the starter wort
The next step is to measure out 1.5 liters of water. Use the same water you’ll be using for brewing. Filtered water will avoid transferring any unpleasant flavors from tap water to your beer.
Add the water to your Erlenmeyer flask or pan. Now add one cup of dry malt extract and mix it in. Bring the mixture to a boil, stirring from time to time to help the dry malt extract dissolve.
After it’s boiled for a few minutes, remove the wort from the heat. Remember to use an oven mitt if you’ve boiled it in a flask! If you’ve boiled it in a pan, use a funnel to transfer it to your bottle, jar or pitcher.
Whatever container you’ve used, you now need to cover the opening tightly with a piece of aluminum foil. Put on a thick oven mitt before placing your foil over the top of your container. The wort will be very hot, and the steam could otherwise scald your hand.
Pro tip: If you’re heating the wort in a flask, put on an oven mitt and swirl the liquid inside a few times. That will help the oxygen mix with the yeast.
Step 5: Cool the wort
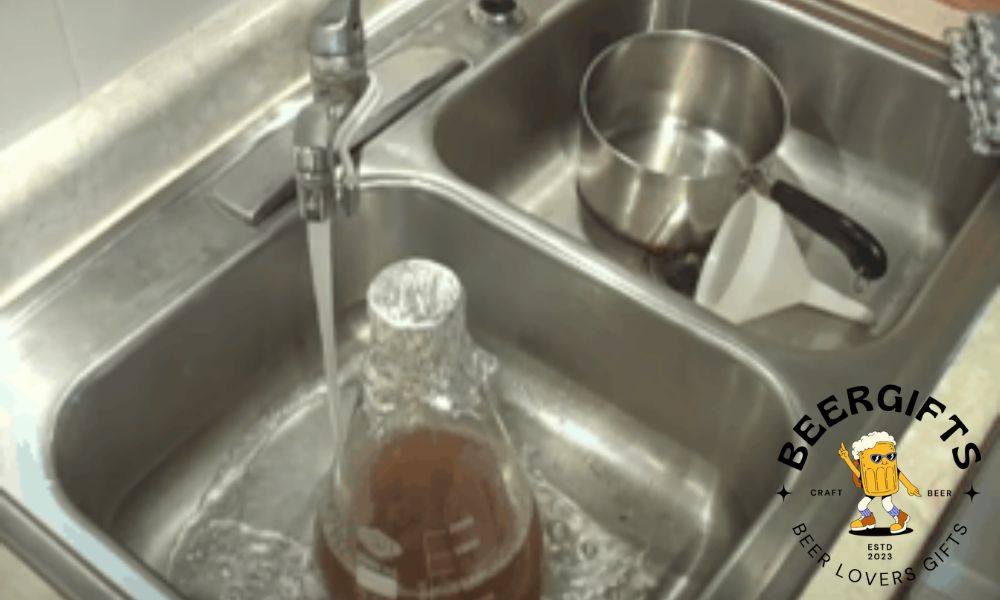
You now need to quickly cool down the wort. To do that, fill your sink with cold water and place the flask or pan inside.
Wait until the container is cool to the touch – around 80 degrees Fahrenheit.
You can speed things up by adding ice and salt to your cold water bath. The salt will prevent the ice from melting and keep it colder for longer.
Pro tip: If you’re using a flask, adding a flask weight around the neck will keep it from floating in the water. It will also allow you to increase the depth of the bath, cooling the wort more quickly.
Step 6: Add the yeast

While you’re waiting for your wort to reach pitching temperature, sanitize your yeast pack, a pair of scissors and your foam stopper.
When the wort has cooled, remove it from the cold bath and take off the aluminum foil cover. Cut open the yeast pack with your sanitized scissors, and add the contents to the wort. Now seal the container with your foam stopper.
Your yeast cells now need between 12 and 24 hours to incubate. During this time the cells will reproduce. At the end, your yeast starter will be ready for use!
Step 7: Pitch your yeast starter
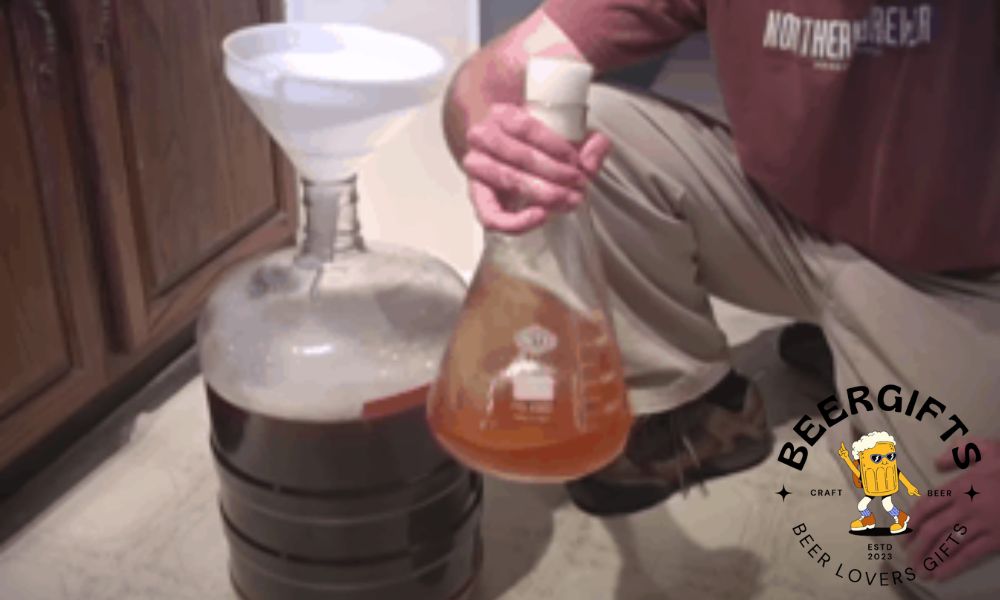
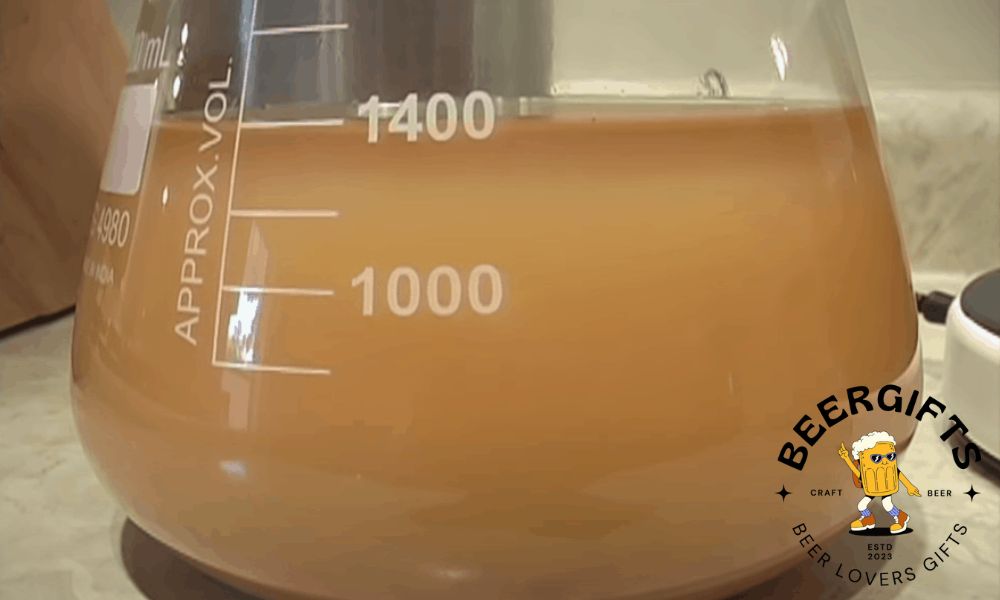
While your yeast starter is incubating, the mixture will look cloudy. When it’s ready, the liquid will be almost clear, and there’ll be a thick layer of yeast at the bottom. That’s the new, larger yeast cell population.
Lift the container and give it a swirl. That will dislodge the yeast cells that have settled at the bottom of the container. Now pitch the contents into the cooled wort in your primary fermenter.
If you prefer, you can just add the yeast. To do this, first refrigerate the container for several hours. This will encourage any yeast that remains in suspension to clump together and fall to the bottom. Then gently pour away the spent wort. Leave just enough to hold the remaining yeast in suspension.
Give the container another swirl and pour the yeast into your primary fermenter.
Extra tips
Help your yeast starter to incubate successfully
- Keeping your starter at the right temperature during incubation will promote the growth of lots of new, healthy yeast cells. The temperature can be warmer than you’d have it while fermenting beer. The aim here is to multiply cells, rather than to develop flavor.
- You’ll get best results by incubating your yeast in a warm room. Aim for a temperature of between 70 and 75 degrees Fahrenheit.
- Good cell reproduction also requires plenty of oxygen. Some of the oxygen will have been removed from the wort when it was boiled, so add it back in. A simple way to do this is to swirl the contents of your container regularly while it’s incubating.
- You don’t need to leave your yeast starter in the dark, either. Instead, leave it somewhere you’ll see it regularly to remind yourself to give it a swirl.
The case for a stir plate
- You can skip the swirling if you have a stir plate. That will keep agitating your yeast starter throughout the incubation period. It will maximize the oxygen that’s added in, boosting reproduction of those yeast cells.
- You can buy a stir plate – or if you’re handy, you can make one yourself. You can find instructions on how to do that at the website of the American Homebrewers’ Association.
Increasing yeast cells even more
- If you’re making a large batch or a high gravity beer, you can increase the number of yeast cells even more. To do this, prepare and incubate a starter in the usual way. Then pour away the spent wort.
- Now pour a second batch of boiled, cooled wort into the yeast remaining in the container. Incubate it for a second time. The result will be a starter with even more yeast cells.
Time to make your yeast starter!
We hope you’ve enjoyed our step-by-step guide to making a yeast starter for beer. If you’re using liquid yeast, it’s a great way to get better results without spending a fortune on yeast.
Take your time to make sure all your equipment is properly sanitized before you start work. And remember to keep swirling your starter as it incubates to add more oxygen. Alternatively, buy or make a stir plate to do that job for you.
Good luck with your yeast starter – and enjoy the delicious homebrew it helps create!
‘Pro Tips’ are great, much better than regular Tips!