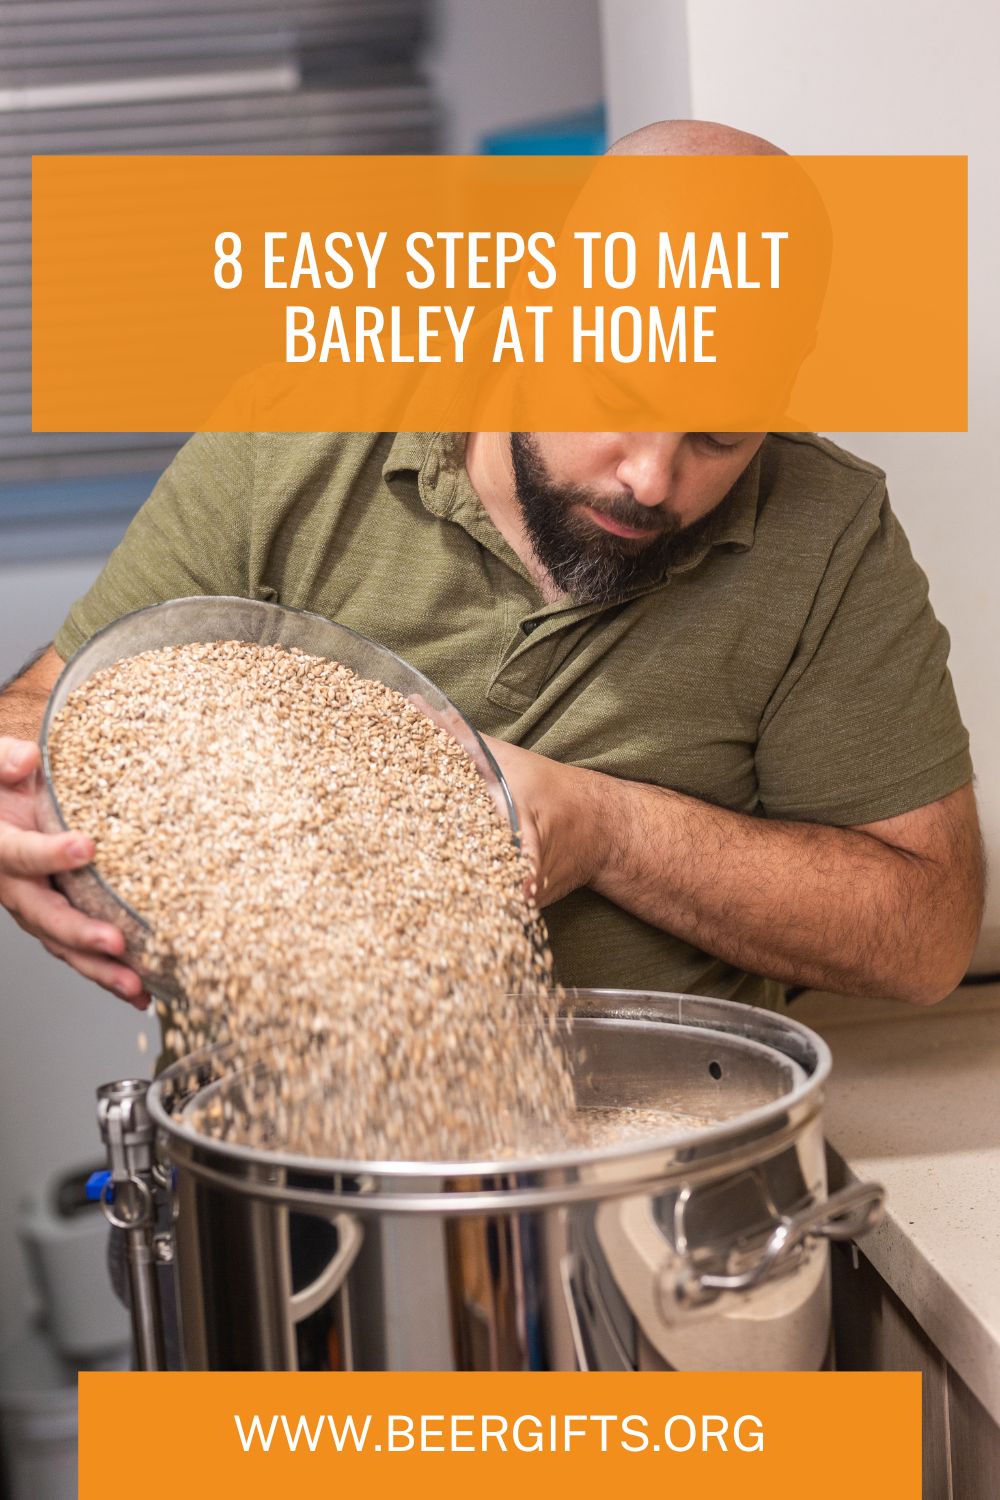
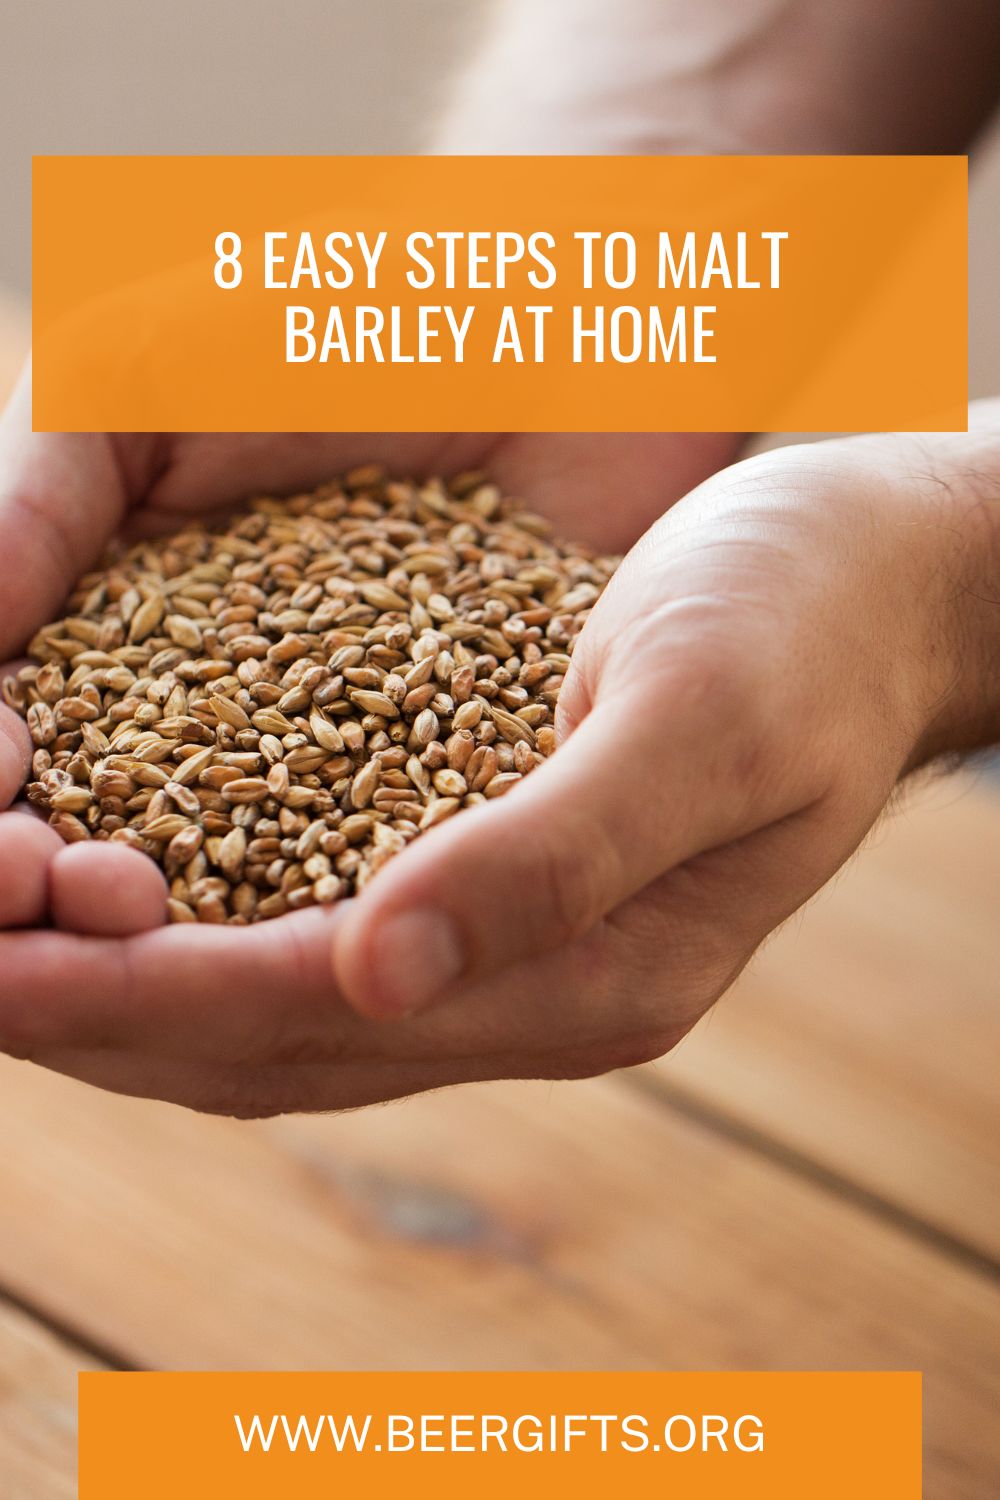
If you want to take your brewing to the next level, you might be thinking about making your own malt. But just how do you go about doing it?
We’re going to give you an overview of how to malt barley. There’s a lot to cover – there are whole books on the malting process! But we’ll take you through each step and explain how it all works.
So if you’re ready, let’s get started!
Equipment for malting barley
- The grain of your choice – try to find barley that’s been specially formulated for brewing
- Water
- Bucket
- Weighing scales
- Tea ball or mesh bag
- Large, shallow plastic container
- Spray bottle
- Thermometer
- Seive
- Strainer
- Oven
- Baking trays
- Cool place – a temperature-controlled refrigerator is ideal
Step by step guide on how to malt barley
Step 1: Prepare the barley
First, decide how much malt you’re going to make. The final quantity will be 80 percent of the weight of the grain you start with. Measure out the required quantity with your scales.
Now take five grams of that malt and set it aside in your tea ball or mesh bag. This sample is going to go through the same process as the rest of the grain. Setting it apart will allow you to track the weight and moisture content of your whole batch.
Secure the tea ball or bag so none of the grain can escape. Whenever we refer to the grain in these instructions, do the same thing with the grain in the tea ball.
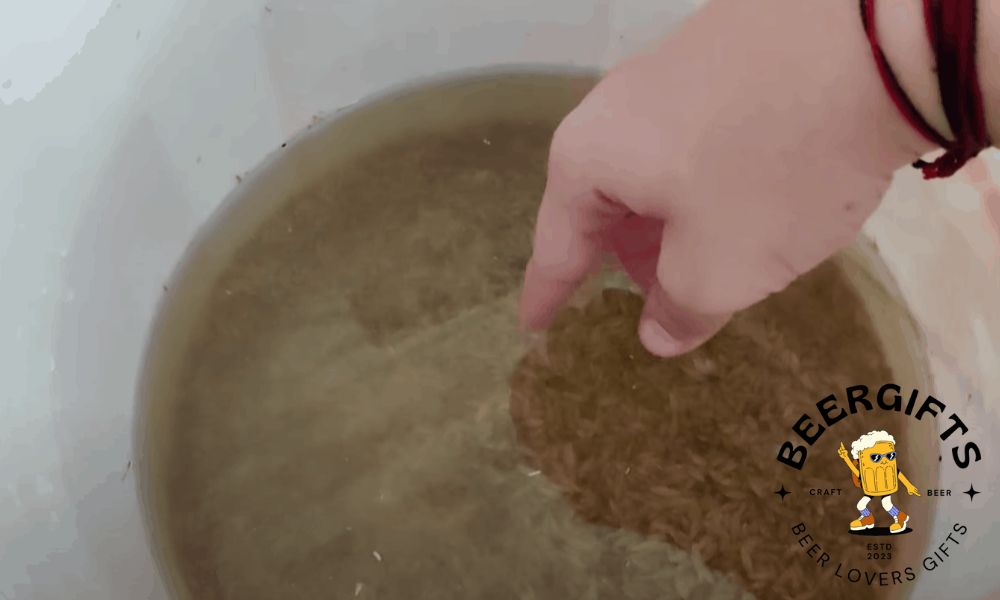
Place your grain in a bucket, add warm water, and stir vigorously. The thins – thin kernels – will rise to the top. Remove them with your strainer, and keep stirring until only a few grains rise to the top.
The water will get pretty brown. Pour it off carefully, trying not to lose any grain from your bucket. Then add more water and repeat the process as many times as necessary until the water is clearer. You need it to be clear enough to see the individual grains through about 4 inches of water.
Step 2: Steep the grain
The next stage is to soak the grain so that it germinates.
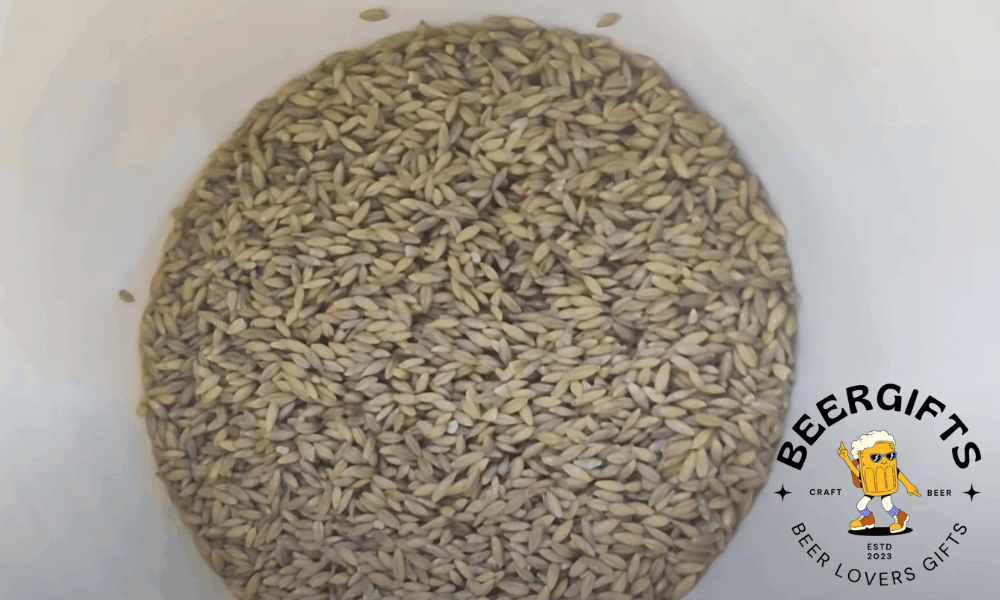
Carefully pour off the water you’ve been using to wash your grain from your bucket. Now add fresh water at a temperature of about 55 degrees Fahrenheit. You want the level to be about an inch above the grain.
Place the bucket somewhere cold. A temperature-controlled refrigerator at 55 degrees Fahrenheit is ideal. If you don’t have one, don’t worry. A cool spot like a basement will work too. You want to keep the temperature between 50 and 60 degrees Fahnrenheit.
Leave your bucket undisturbed for eight hours.
Pro tip: If you’re using a temperature-controlled fridge, place the sensor in the center of the bed of grain.
Step 3: Air dry the grain
Pour off the water and replace the bucket in your fridge or other cold places. Leave it for eight hours to air dry, then repeat the process, adding water to an inch above the grain.
You can vary the timing of these cycles if eight hours doesn’t suit your work or other commitments. Airdrying for longer than eight hours, for example, won’t do any harm. But don’t steep the grain for more than 16 hours at a time.
You aim to get the moisture content of the barley to about 45%. We’ll explain how to measure that in the next step.
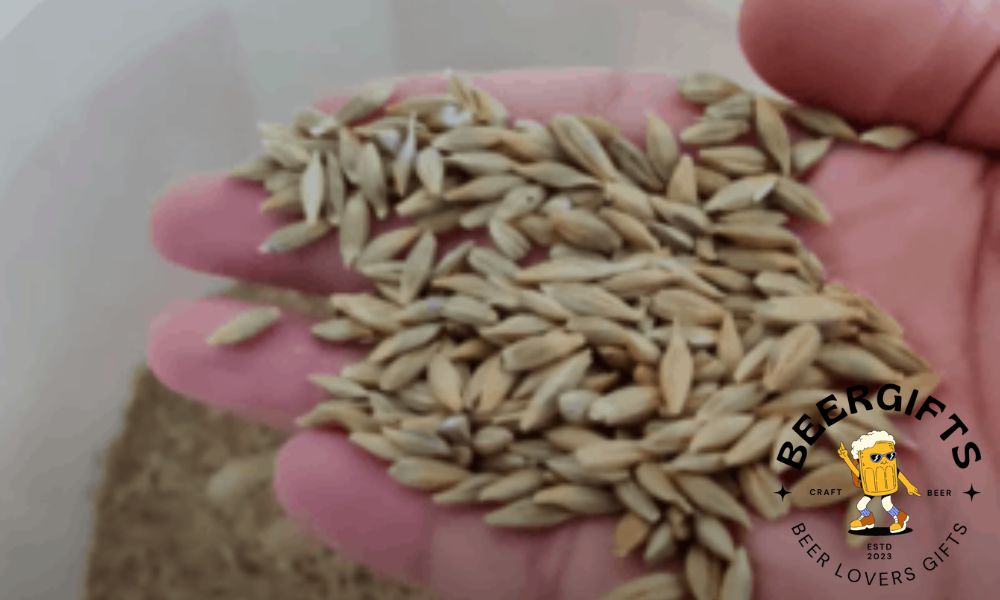
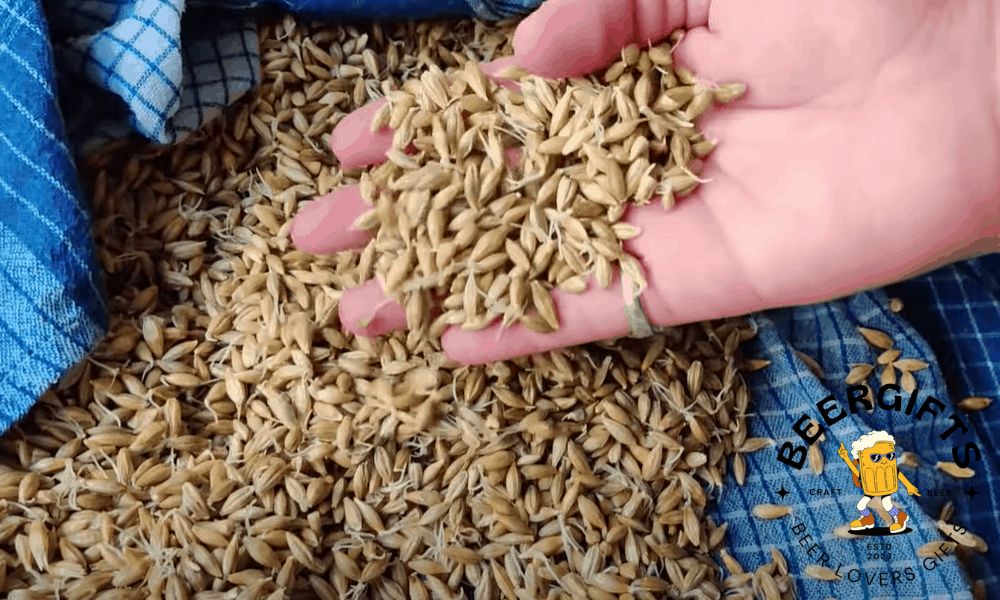
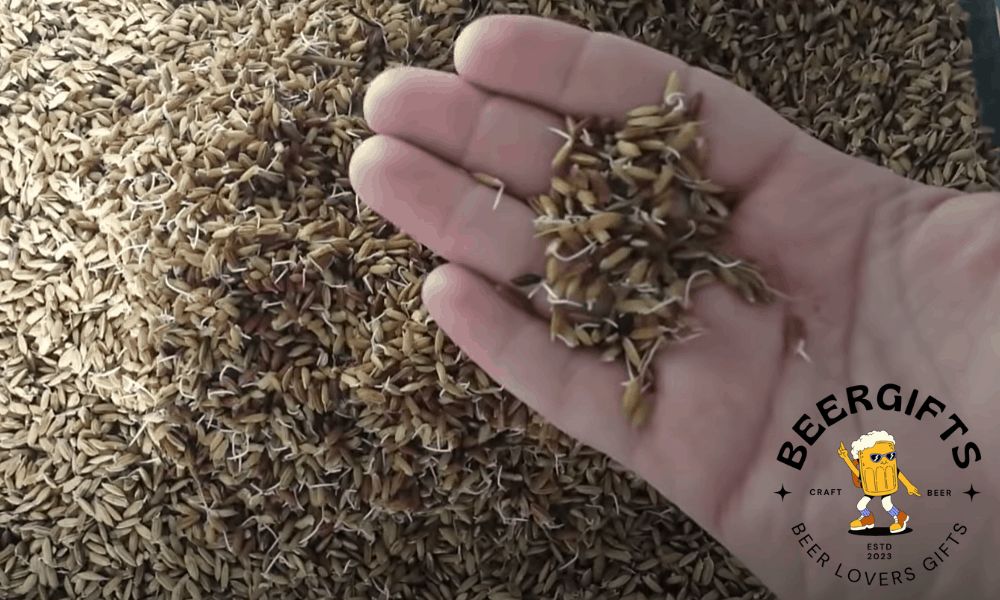
During the airdrying phase, you want to look for what is known as “chits” in your grain. These are the rootlets beginning to appear as the seed germinates. They appear as a white bit sticking out of one end of the kernel.
The further you get into the steeping and airdrying cycle, the more chits will appear. You may see some as early as the end of the first airdrying.
Pro tip: Tracking your chit rate will allow you to get a good feel for the quality of your grain. Count out 50 kernels during the airdrying stage. Check each one carefully and count those where you can see a chit. Then double the total to give you your chit rate. You’re aiming for an ideal chit rate of 99 percent.
Step 4: Measure the moisture content
Measure how much moisture your grain contains when you move from steeping to airdrying it. Take your sample and pat it dry. If you’ve kept it in a tea ball, you’ll need to take it out. If it’s in a mesh bag, you may be able to leave it inside and pat the surface of the bag.
Weigh your grain and take a note of the measurement. If you’ve removed it from the bag or tea ball, put it back inside. Make sure you put back everything that came out, even broken husks or debris. That will ensure you continue to get an accurate picture of your progress.
The starting moisture content of barley is about 12 percent. This needs to increase to between 42 and 46 percent for the grain to germinate.
To work out the new moisture content, you need to do a bit of maths. The formula is:
100 – (88 / (current weight/starting weight)) = percentage new moisture content.
So if you started with 5g of barley in your sample, and it now weighs 8g, the sum would look like this:
100 – (88 / (8/5)) = 45 percent
If the moisture content isn’t yet in the 42 to 46 percent range, keep steeping and drying until it is.
Pro tip: If you weighed your grain at the end of a steeping phase, spray it with water again after weighing. That will allow the grain to soak up the water from its surface as it air dries.
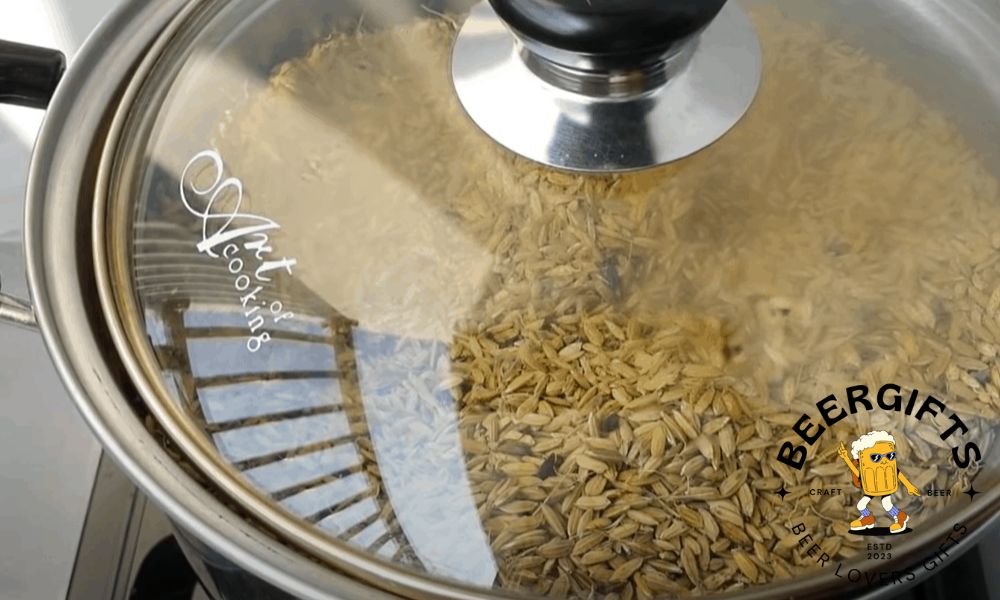
Step 5: Help the grain to germinate
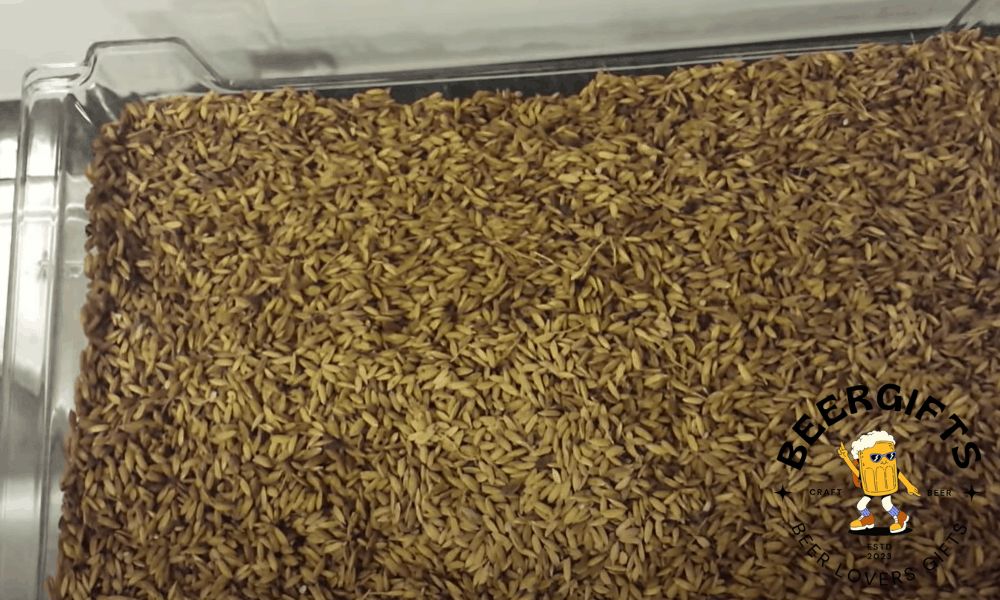
It’s now time to transfer your grain into your plastic container. Spread it out across the bottom. Ideally, it should be between 1 and 4 inches deep.
Turn the grain between two and four times a day. If your grain bed is deeper than 4 inches, you may need to do this more often.
As the seeds germinate, more heat is produced. That means you’ll need to turn the grain more frequently between three and five days into this process.
Check on your grain regularly. If the top layer dries out before it’s time to turn it, give it a spray of water. Look out for rootlets turning from white to yellow or brown. That can indicate it’s getting too dry.
Pro tip: Your grain should have a fresh smell, like cut grass or cucumber. If it smells of rot or mold instead, there’s a problem. It may be too hot, or there may be too many broken husks.
Step 6: Check the modification
You’ll know when the grain is ready to go into a kiln by its appearance. Each kernel grows a shoot called an “acrospire”. You can see one 4.5 minutes into this YouTube video from HomeDistiller. The further into the germination process the grain gets, the larger the acrospire grows.
Hold a single kernel vertically, with the flat side towards you. Split the outer casing with your fingernail, and you’ll see the acrospire growing just inside.
Check the length of the acrospires of 50 kernels once a day. Note how many have acrospires less than three-quarters the length of the kernel, about three quarters the length, and between three quarters and the full length.
It’s time to put your grain into the kiln when the majority of kernels have an acrospire between three quarters and the full length of the kernel. It will take experience to improve your judgment of this. Don’t sweat it if you’re not confident the first time around!
Step 7: Place the grain in the oven
Remove your grain from the plastic container and spread it out on baking trays. Then place the trays into an oven at 120 degrees Fahrenheit for 8 hours. Prop the door open, or open it regularly during this period to allow the moisture to escape.
Now it’s the curing stage. Increase the temperature to 140 degrees for 4 to 5 hours. Finally, increase the temperature to 170 to 200 degrees for 3 hours.
Step 8: De-culm the grain
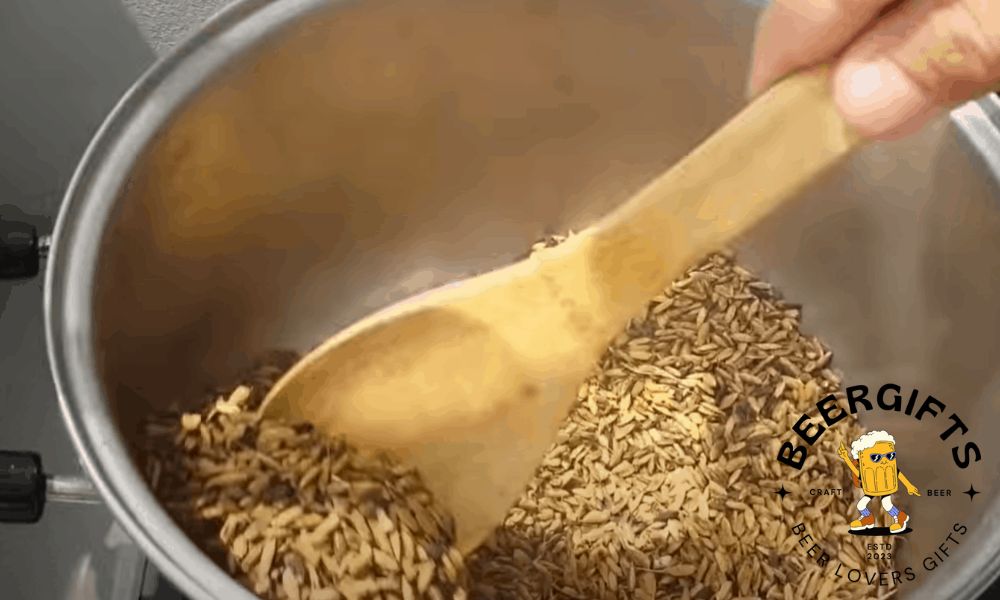
“Culms” are another name for rootlets. They’re believed to add a bitter flavor to beer, so the final stage is to remove them from the kernels.
Do this by sieving your grain vigorously. The rootlets will fall through and you can simply sweep them away. Store your finished malt in an airtight bag until you’re ready to use it.
Extra tips
- An alternative way to check whether your grain is ready for the kiln is to remove the husk. Then smear the white stuff inside – called the “endosperm” between your fingers. If it smears, it’s ready. If it’s a hardball, you’ll need to wait a bit longer.
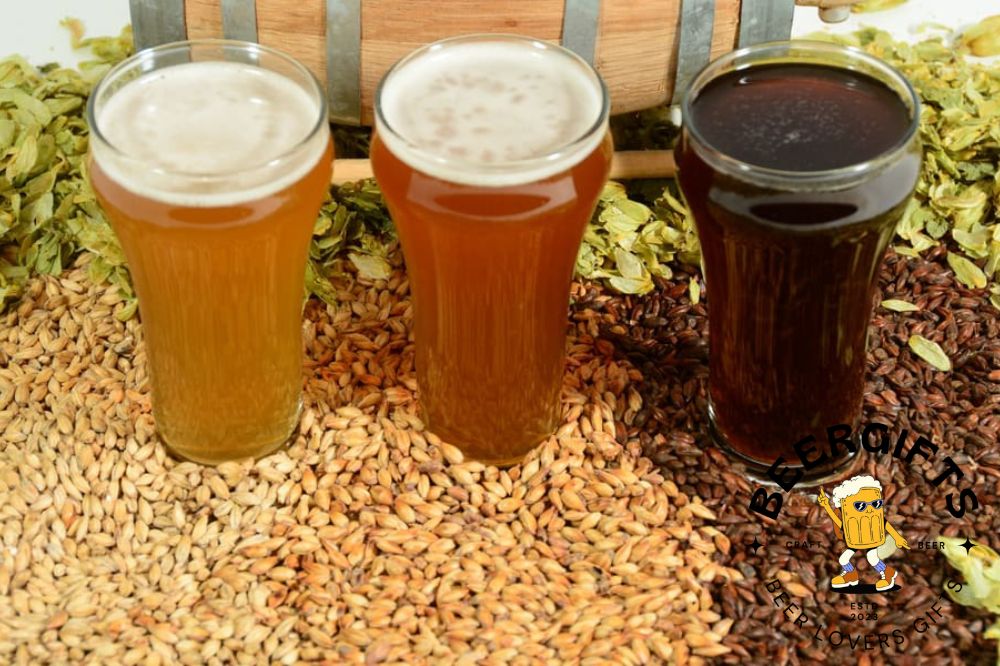
- You can vary the length of time you leave your grain in the oven at different temperatures. Longer on a higher heat will develop the color, giving you a darker beer. It will also give a maltier flavor.
- Test the moisture content of your grain while it’s in the oven. Aim to begin the curing stage when the grain is down to roughly 10 percent moisture.
- The formula for calculating moisture content while your grain is in the oven is different from the formula during germination. That’s because it has to take account of moisture lost during respiration. You can find the correct formula here.
Ready to make your own malt?
We hope you’re now confident about how to malt barley! It’s a great way to add another dimension to your homebrew.
Monitor the progress of your grain regularly, and you’ll give yourself the best chance of getting good results. And be ready to experiment with the time your grain spends in the oven. It’s all part of the fun of developing homebrew that perfectly suits your tastes.
Happy brewing!