Are you done brewing and fermenting your brew at home, and the only thing standing in your way is bottling the beer? You’ve come a long way, and the remaining part is pretty straightforward. Most people know bottling a beer can take much of their time, but what they don’t know is that it is as easy as breathing with the right equipment.
While in the past few years, most brewers have been packaging their beers in the can, we still think beer bottling isn’t going anywhere. Cans may gain popularity, but we believe bottled beers are more flavorsome as you avoid the chance of containers impacting their taste. After all, bottles are very effective for freshness and preventing unwanted air from getting inside.
Now, are you ready to bottle your homebrew without any mess? We’ll take you through how to bottle beer and everything you need to know to complete the bottling successfully. Let’s get started!
When to bottle beer
If you’re wondering what the right time to bottle a beer after brewing is, you can do it after three weeks. Why do we suggest this schedule? In the next one week, after brewing your beer, you allow it to go through primary fermentation, and the other two weeks, the beer will go through secondary fermentation. We know having that kind of patience is tiring, but it’s worthwhile.
Usually, lagers take more time to ferment. Therefore, you might want to give a lager beer up to two weeks in primary fermentation and 4 to 6 weeks in the secondary before bottling. However, you don’t always have to wait if it’s a wheat beer. You can bottle it right after the primary fermentation because you don’t have to worry about the yeast remaining in suspension.
What are the requirements of bottling a beer?
Now that the fermentation period is done, it’s time to package your beer. But do you have the right equipment? When bottling, you need to consider a few options and choose what’s best for your beer. Some of the most important things we think should come across your mind include:
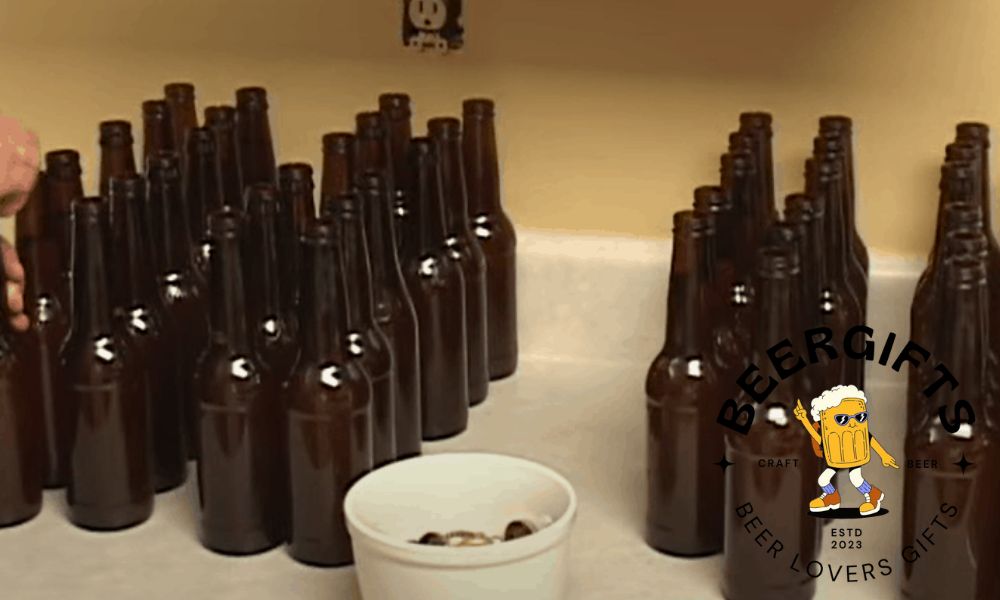
1. Bottles
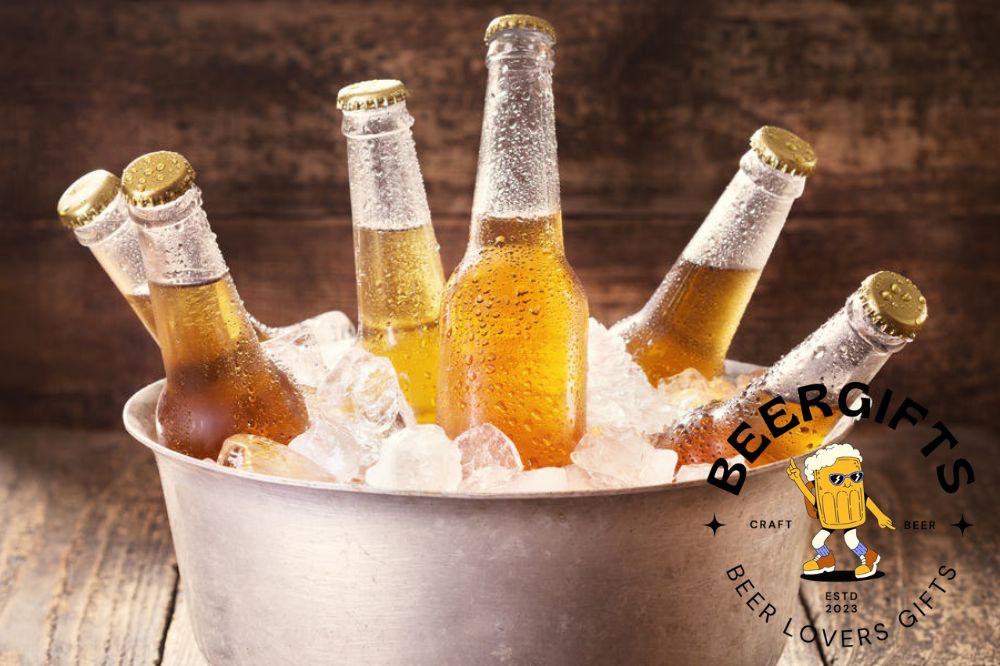
You can choose to store your homebrew in one of the two bottle sizes. If you’re a beer drinker, you must know them- the 22 oz. Bomber and 12 oz. Longneck. They are both excellent options, and it depends on what you want.
However, if you plan to share the beer with your friends, we would recommend bombers because they are handy. 12 oz. Bottles, on the other hand, are great for only personal servings. Not sure about the selection? You can combine the two types of bottles.
Another thing you should pay attention to is the bottle’s collar. American breweries opt for a flat collar bottle only because it works well with a capper, unlike imported bottles with rounded or recessed collars that cause cappers to slip.
In case you come across the twist-off style bottles, avoid them because they are not reusable. They have a threaded lip, and you can easily find them in large quantities, but they are not the best choice. After you put a cap on a twist-off style bottle, the beer might leak or potentially get infected. So, if you want the best results, use bottles with a flat collar, rounded and non-threaded lip.
Also, don’t forget to stick to brown/amber-colored bottles since light is not friendly to beer. The darker the bottle, the better as it helps in blocking ultraviolet rays away from the beer. We insist on using brown bottles because clear and green bottles you see out there are not very effective in blocking out the light.
2. Bottle caps
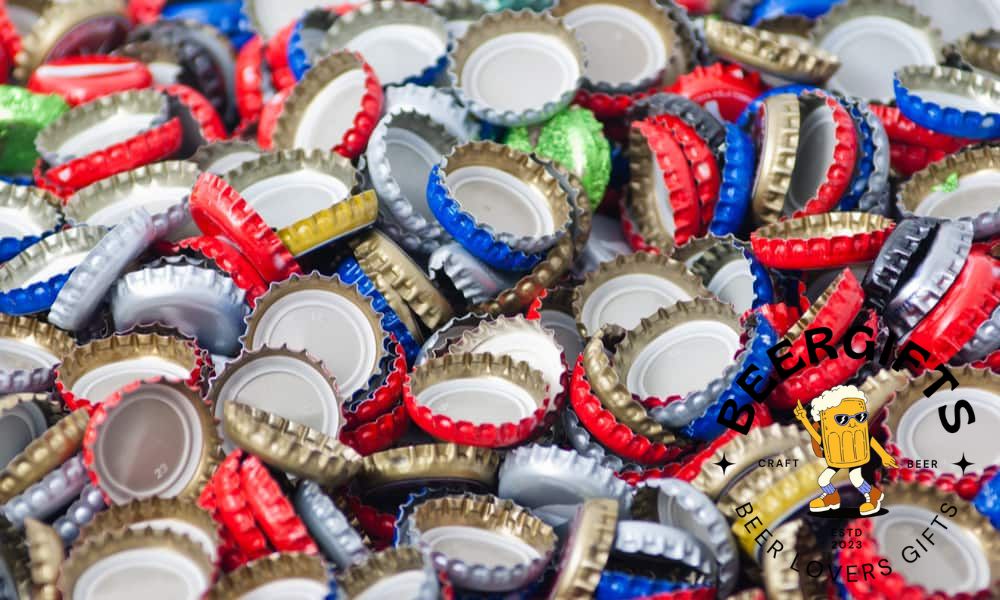
The two types of caps you’ll find in the market are standard and oxygen-absorbing. While each of these caps can work perfectly well, standard caps are commonly used as they are easy to apply on bottles with pry-off lips.
Standard caps do a great job when it comes to proper sealing and keeping the air out of your beer. They come in various styles and colors in case you want to personalize your beer, and you can use any bottle capper.
On the other hand, oxygen-absorbing caps are equipped with a unique liner to absorb and retain oxygen in the headspace between the lid and the liquid. You’re probably asking yourself, what’s the purpose of this, right? It helps reduce the potential for oxidation, which might take away the incredible flavors of your beer.
In this regard, oxygen-absorbing caps would be a great option if you plan to age or store your beer for more than three months.
3. Bottle Cappers
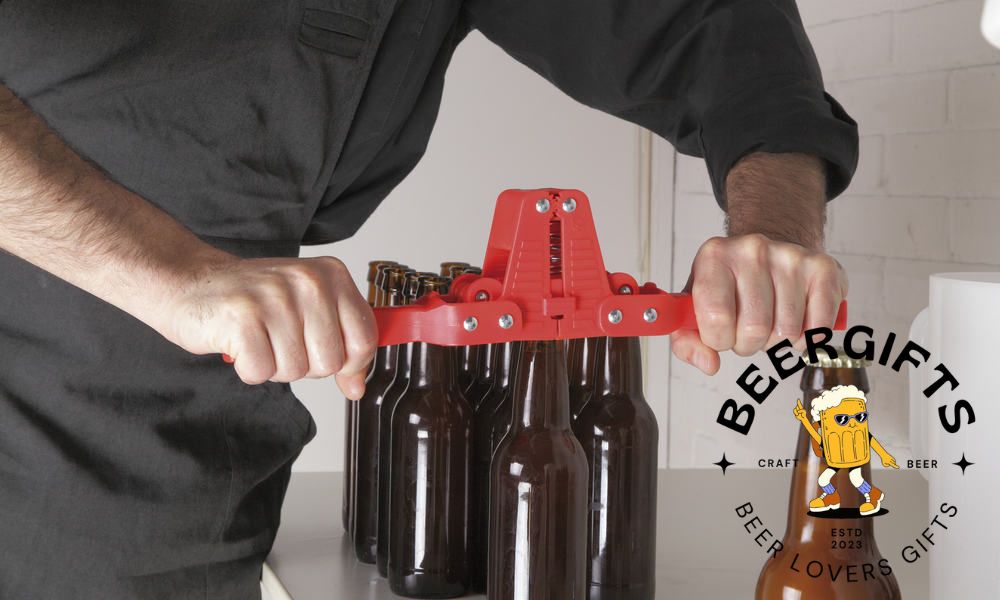
Have you decided on the bottle caps you want to go with? Now it’s time to get them into the bottles. Since there are two ways to do that, we’ll take you through each to pick one depending on your personal preference.
The first option is using a wing-style-hinged capper. In case you have tried home brewing before, this might sound familiar, as the capper is part of the kits you buy for brewing beer. Besides, it is relatively cheap, making it the ideal choice for those on a budget. We would also recommend it particularly to those trying home brewing and bottling for the first time.
So, how will you know that it’s a wing-style triple-hinged capper? It features a magnetic tray for holding the cap into place, two handles, and three hinges to help you apply the required amount of leverage to crimp the caps into your bottles. Not to mention, it has an integrated spring-loaded system to ensure you have an easy time raising the handles. At first, you might find it hard to use, but you’ll get used.
The second option is the bench capper. While this one is a little pricier than wing-style triple-hinged capper, it does the bottling a lot faster. So, if you’re brewing larger batches, a bench capper would be a great choice. It has a broad base to place the bottles and hold them with one hand as you apply the pressure on the cap.
Things are made more straightforward with the bench capper, and you don’t have to worry about the bottle accidentally tipping or breaking after applying too much pressure. Another impressive feature of this capper is that it is adjustable, allowing you to use bottles of different heights.
Apart from the three essentials mentioned above, you’ll also need a no-rinse brewing sanitizer, priming sugar tablets, bottle filler, and an auto-siphon.
Beer bottling process (step by step)
Now that you know the bottling equipment you need to have, we’ll discuss how to bottle your beer correctly. Are you ready? Here is our step by step guide:
Step 1. Prepare the bottling area
Bottling beer can be messy, especially if it’s your first time, so ensure that you have enough space and a stable table since you’ll be applying pressure as you cap the bottles. If you want to fill your bottles on the floor, consider placing down a tarp, clean towel, or sheet to catch any spills. Also, Clean-up will be super easy after you’re done bottling.
Step 2. Proper cleaning and sanitation
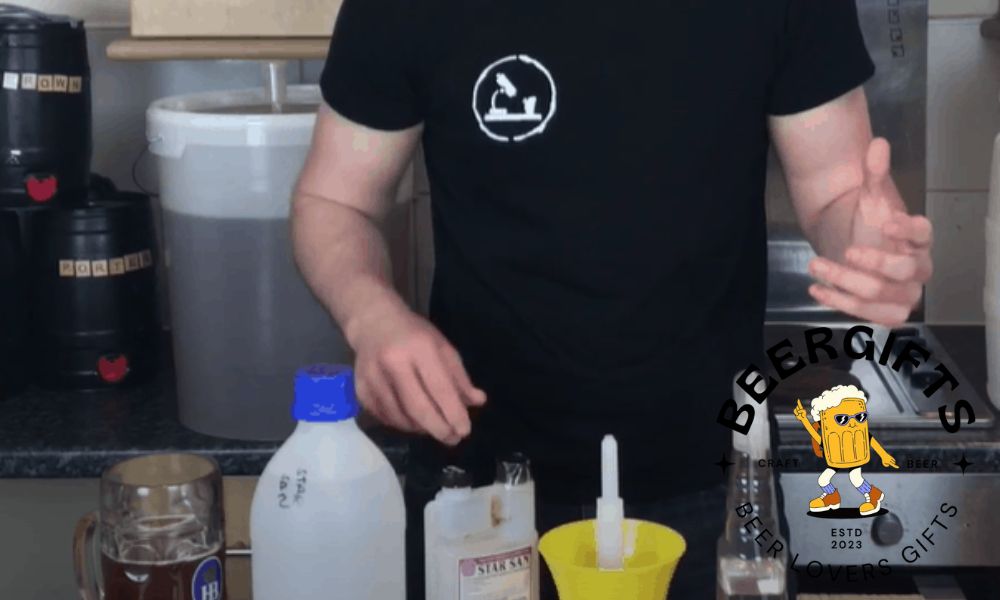
It would be best to make sure that everything that comes in contact with your beer is clean and sanitized. So, please inspect your items and clean them thoroughly since you don’t want to get your beer contaminated. Even though you can sanitize them, that won’t eradicate gunk, crust, or any funky fragments. So, cleaning is the best thing to do.
Clean your working area, gear, bottle caps, and all the bottles you intend to use. Once done, use a no-rinse brewing sanitizer, which is the easiest and quickest. You could opt for bleach since it’s a little cheaper, but you definitely don’t want your beer to end up having a chlorine bouquet. In fact, bleach can contaminate your beer unless you use sterile water to rinse.
Step 3. Prepare the priming sugar
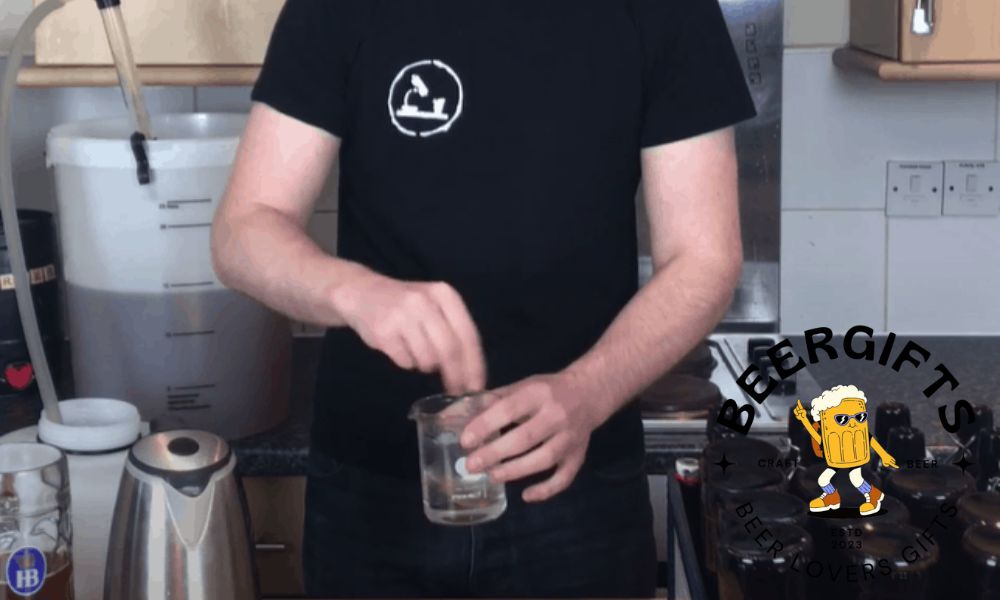
Did you buy the priming sugar tablets? If yes, the bottling process will be a breeze. All you need to do is add these tiny tablets to each bottle after sanitizing to boost your yeast during bottle conditioning. Instead of measuring out a priming sugar solution for each bottle, these small pellets simplifies your work and saves you the energy of racking a beer.
Step 4. Fill and cap the bottles
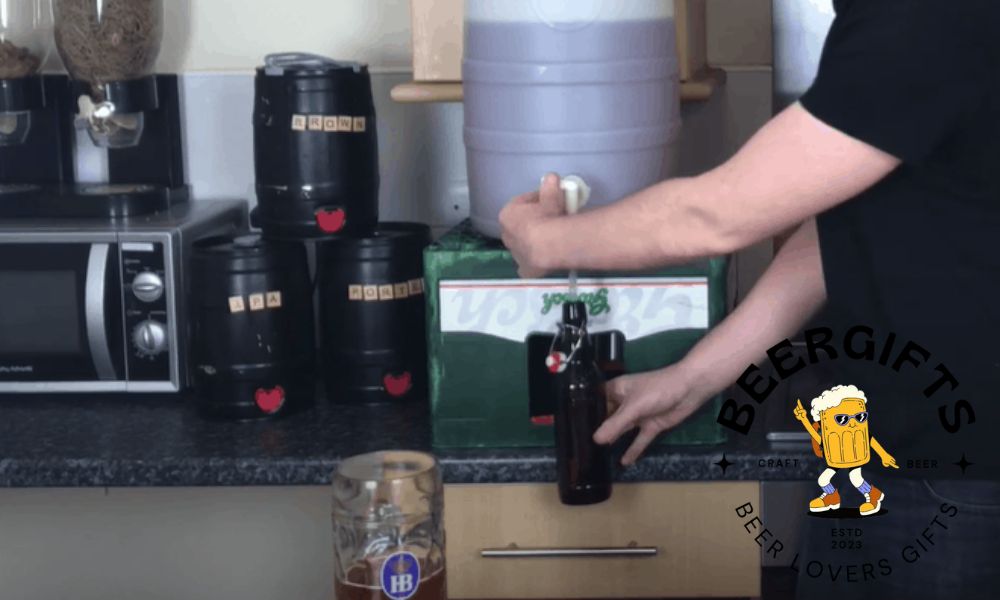
With the help of an auto-siphon, fill each bottle nearly to the top, and avoid overflowing. Since beer carbonates, it is essential to leave headspace or room for expansion at the top before capping. After you have filled all the bottles, place a sanitary bottle cap on each bottle and, with the help of a bottle capper, do the sealing.
Conclusion
Bottling a beer is pretty simple as long as you have all the equipment. However, it is crucial to keep a few things in mind before getting down to it. For instance, you should wait until the fermentation period (both primary and secondary) is done, especially if you want the best outcome for your hard work.
Also, cleaning and sanitation are a must to prevent your beer from contaminating, so you might want to take much of your time here. The rest is a breeze, including the priming sugar stage and capping the bottles. Something not clear? Please don’t hesitate to ask. Also, let us know what inspires you the most to bottle your homebrew.