The sun is blazing down, and you want nothing more than a cool, crisp beer. But for most of us, that also means a beer you can see straight through. The first sip is with the eye!
If you’re brewing your own beer, that level of clarity can be obtained after fermenting. The technique is known as “cold crashing”. If you’re home brewing and want to know how to cold crash beer – read on! We’re going to tell you everything about the process and explain how to get great results.
So step this way for crystal clear homebrew …
The quest for clear beer
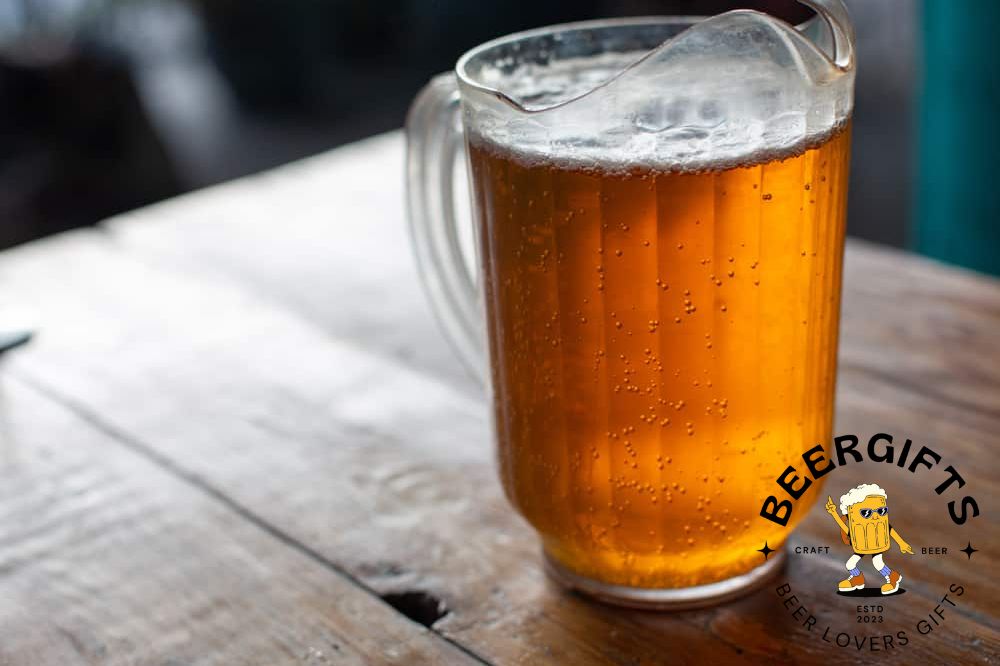
Different beers have different levels of cloudiness. That’s a result of a number of different substances – yeast, proteins, even debris from the hops. They’re held in suspension in the beer, preventing all the light from passing through it.
For some people, a haze in their drink can be quite off-putting. And there’s no denying that the sun glinting off a pure, clear glass of amber nectar is a sight to behold!
The quest for clear beer has given rise to a number of different techniques. These can be used at different stages of the brewing process.
One option is to start early by treating the wort, before the yeast is added. Substances knew as “kettle finings” are added to the wort as it boils.
One such fining is Whirlfloc. This is a mixture of carrageenan and Irish moss and comes in tablet form. It works by encouraging the substances that form the haze in beer to clump together and sink to the bottom. That process is called “flocculation”.
Other brewers use what’s known as “cask finings”. These do the same job, but are added to the beer after it’s fermented. Options include gelatin and “isinglass” – a form of collagen derived from the dried swim bladders of fish.
But if that doesn’t sound too appetizing, there’s another way to achieve the same result. That’s where cold crashing comes in.
Cold crashing allows you to achieve crystal clear beer without adding plant life or fish innards to your brew! In fact, you don’t need to add anything at all. All the work here is done by time, temperature and gravity.
When do you cold crash?
As with adding cask finings, cold crashing is done after the beer has fermented and before it’s bottled. The process simply involves quickly lowering the temperature of the beer. This forces the substances suspended in it to coagulate and settle, leaving the liquid clear.
Aim to cold crash your beer between two and three days before you want to bottle it. That will give the process plenty of time to work, and avoid debris getting into the bottles.
And make sure you don’t start until fermentation is complete. Use a hydrometer to check the final gravity of your beer and ensure it’s stable before initiating the cold crash.
Some brewers recommend not beginning the process until at least a week after brewing. That gives the yeast that remains in suspension time to clean up any “off” flavors that have developed during fermentation.
Finding the right location
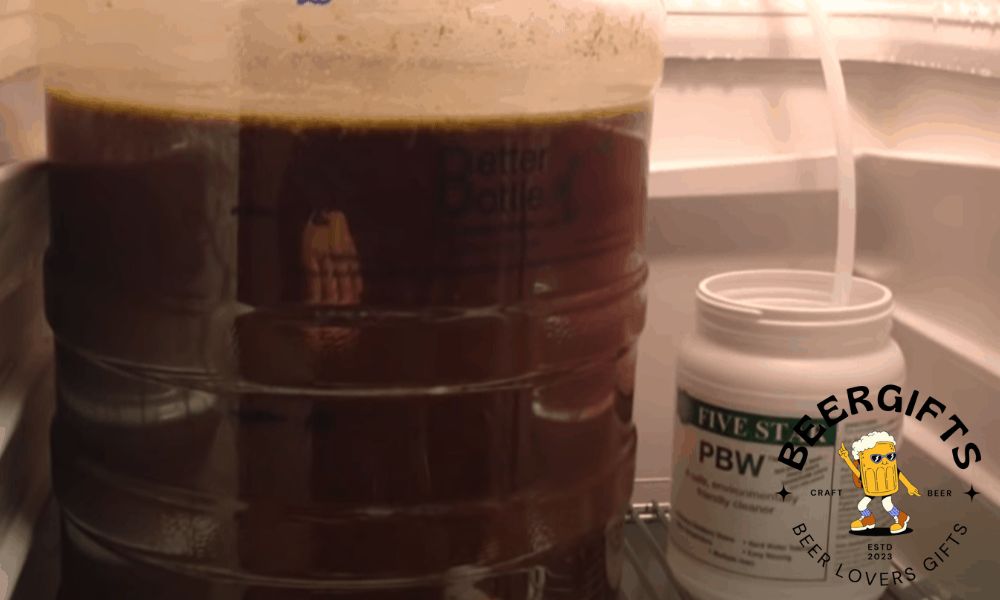
Cold crashing requires your beer to be at a temperature of between 35 and 40 degrees Fahrenheit.
The ideal way to achieve this is in a refrigerator. Just make sure it’s large enough to hold your carboy, or whatever container your beer has been fermenting in. Set the temperature as low as it will go, and wait.
But if you don’t have the luxury of a large, empty fridge just waiting for your beer, don’t despair! Fortunately, there are other options.
An old chest freezer can work, but you’ll need to set it up with an external temperature controller. It’s important your beer doesn’t actually freeze.
If that isn’t an option, a cool box will do the job. You will, though, need it to be big enough to fit your fermenter, together with plenty of ice or ice packs.
And if all else fails, head to the bathroom!
Make up an ice bath with plenty of cold water and ice in your bathtub. Sit your fermenter inside. Then soak a large towel in the cold water and wrap it around the bit that isn’t submerged. Take care that no water gets in at the bung or airlock.
Add plenty of salt in with the ice and you’ll help stop it from melting. Alternatively, you can add gel packs to the water instead of ice.
This method won’t give you quite such a low temperature as a fridge. But if you add more ice regularly, you’ll still get good results.
If you’re brewing at winter in a cold climate, you could even leave your fermenter in an unheated garage or outhouse. The disadvantage to this approach is that you won’t be able to regulate the temperature as easily. And you’ll need to take care that it doesn’t get so cold that your beer freezes.
How long does it take?

The length of time you’ll need to cold crash depends partly on how cold you can get your beer.
If you’re able to refrigerate it, you can complete the process in about 24 hours. If you’re working with a cooler, however, it might take closer to three days.
The best way to tell if your beer is ready is to look at it. But don’t worry if it’s not completely clear when you think it should be. The beer will continue to clarify after it’s been bottled.
And if you’re going to condition your bottles, you’ll want some yeast left in suspension to carbonate the beer. It’s that yeast that will be fed by the sugar in your conditioning tablets, producing the bubbles.
But there’s no need to get hung up on whether you’ve overdone cold crashing. However long you take over it, you’ll almost certainly still have some yeast in suspension. All a longer spell of cold crashing means is that the carbonation process may take longer if you’re bottling your beer.
Just leave your beer at room temperature for two to three weeks after bottling. That will give time for the bubbles to form.
If you need your beer fizzy and fast, however, you can add dry yeast when you bottle it. Products like LalBrew CBC-1 contain yeast cultures that speed up the carbonation process.
A word about pressure
If you’re going to cold crash your beer in its fermenter, note that the process will affect the internal pressure. As the air gets colder, the pressure will drop. That means that more air will be sucked in through the airlock to balance the internal and external pressures.
Don’t worry about this. By this point in the brewing process, your beer will already be covered in a blanket of carbon dioxide. As long as you don’t move or shake the fermenter, that blanket will stay in place. And it will prevent the oxygen reaching the beer and impairing its flavor.
If you’re using a keg
So far, we’ve assumed you’ve fermented your beer in a carboy or similar. But if you’ve used a keg, you can still cold crash without decanting the beer into another container.
You’ll need to add a shot of carbon dioxide to seal the keg and prevent oxygen getting in. Then just leave the keg in the kegerator for a few days. During this time, the yeast that remains will settle to the bottom.
Remove between one and two pints from the bottom of the keg. That will be the bit that contains all the yeast. The rest of the contents should be perfectly clear.
Conquering chill haze

Given that the point of cold crashing is to produce a clear beer, it might surprise you to know the process can actually encourage cloudiness in some circumstances. This cloudiness is called “chill haze”, and it can form when the beer is refrigerated.
The good news is there’s a fairly easy way to deal with this, although it does require an additive. If you find your cold crashed beer is cloudy, add gelatin before bottling.
Mix a teaspoon of unflavored gelatin in half a cup of water. Then microwave the solution until it reaches 150 degrees Fahrenheit. That should take about a minute, but check every 15 seconds or so to be safe. You don’t want to exceed that target temperature.
Then add the hot gelatin to your beer and leave it for between 24 and 48 hours. That will get rid of the haze.
If you’ve done this in the fermenter, decant your beer into a bottling bucket or keg when the time is up. If your beer is in a keg, just draw off a pint or two from the bottom to get rid of the yeast.
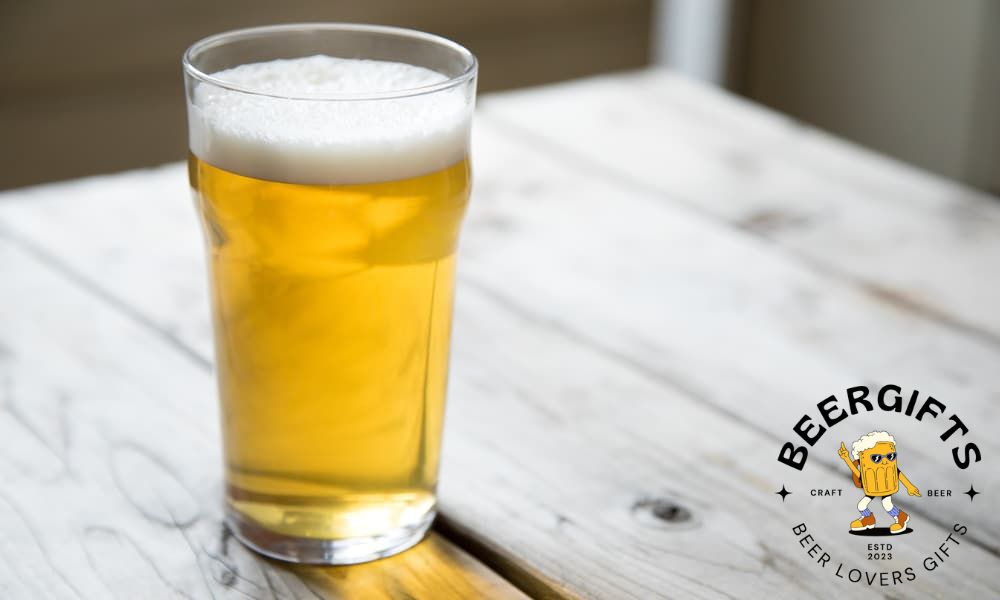
Ready to cold crash your beer?
We hope you’ve enjoyed our guide to cold crashing your beer. This simple process can turn a cloudy beer into the pure, clear amber nectar of your dreams!
All you need is cold temperatures and patience. If you have space in your refrigerator, it couldn’t be easier to cold crash. But if you don’t, there are plenty of alternatives that can also deliver excellent results.
Good luck with cold crashing – and enjoy that crystal clear beer!